travelcade
-

-
Join us at the Avion Travelcade National Rally- Sept 2026!
Save the dates now and get planning for an amazing rally event! Be sure to follow…
-

Our 4 Week June 2022 NY to TN Trip
June 2022 we traveled from NY through 9 states with furthest southern point in Lebanon, KY.…
-

You Just Bought an Avion….Now What?
Just bought your first Avion travel trailer or slide in truck camper? This article connects you…
-

MORryde Suspension System & Kodiak 7K Hydraulic Disc Brakes -Major UPgrades to our ’87 Avion
Pro’s and Con’s to our MORryde Independent Suspension System Upgrade in July 2021 to our 1987…
-
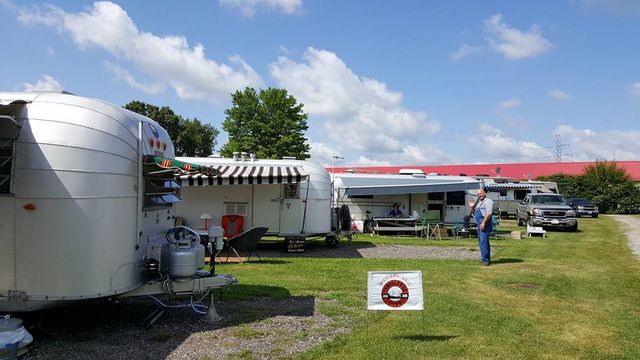
2021 Silver Avion Fellowship Rally- Elkhart, Indiana – Why Attend a SAF Rally?
It’s AVION HEAVEN! Why you need to come to Silver Avion Fellowship Rally! Information, tips, topics,…
-
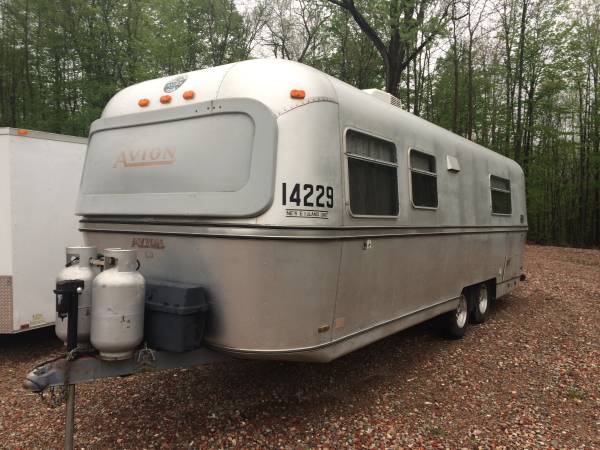
What do these numbers mean? Travelcade Club Explained
Many first time Avion owners wonder what the big (normally black but sometimes red) numbers mean…
-
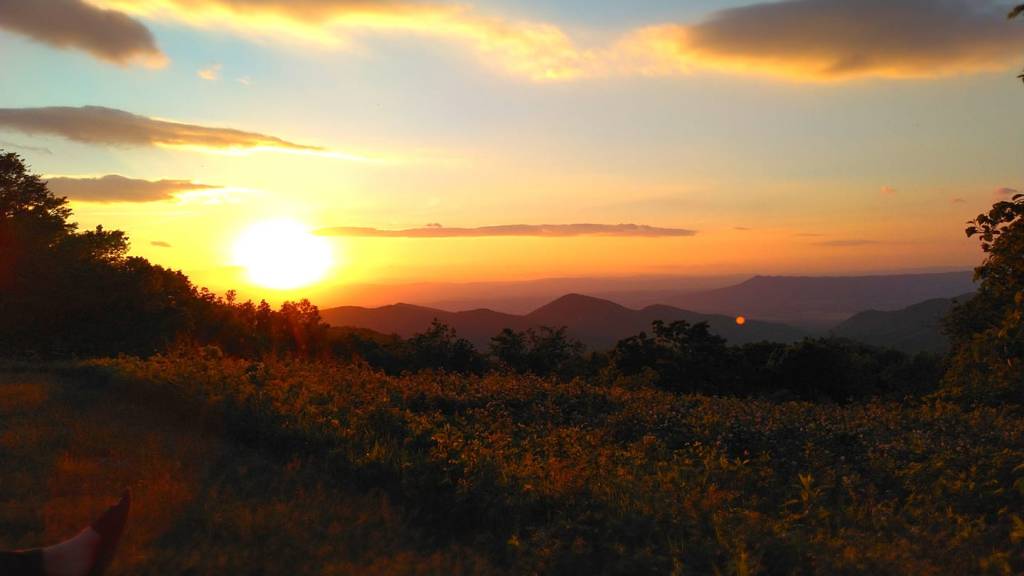
3 weeks along the Shenandoah National Park-Summer ’21(Part 1, NY-PA-VA)
Part 1 of our 3-week trip takes you from NY to PA to VA- along the…
-
Sneak preview Video, Our big Bathroom expansion VIDEO! just for our Blog Subscribers!!
We have completed our walk through video of our BIG Avion trailer mid bath expansion project!…
-
QuiCk Take!- No Microwave? No “reheat” problem!
Let’s get it right out on the table now….we do NOT have a microwave in our…
