Welcome!
Traveling – Learning – Sharing
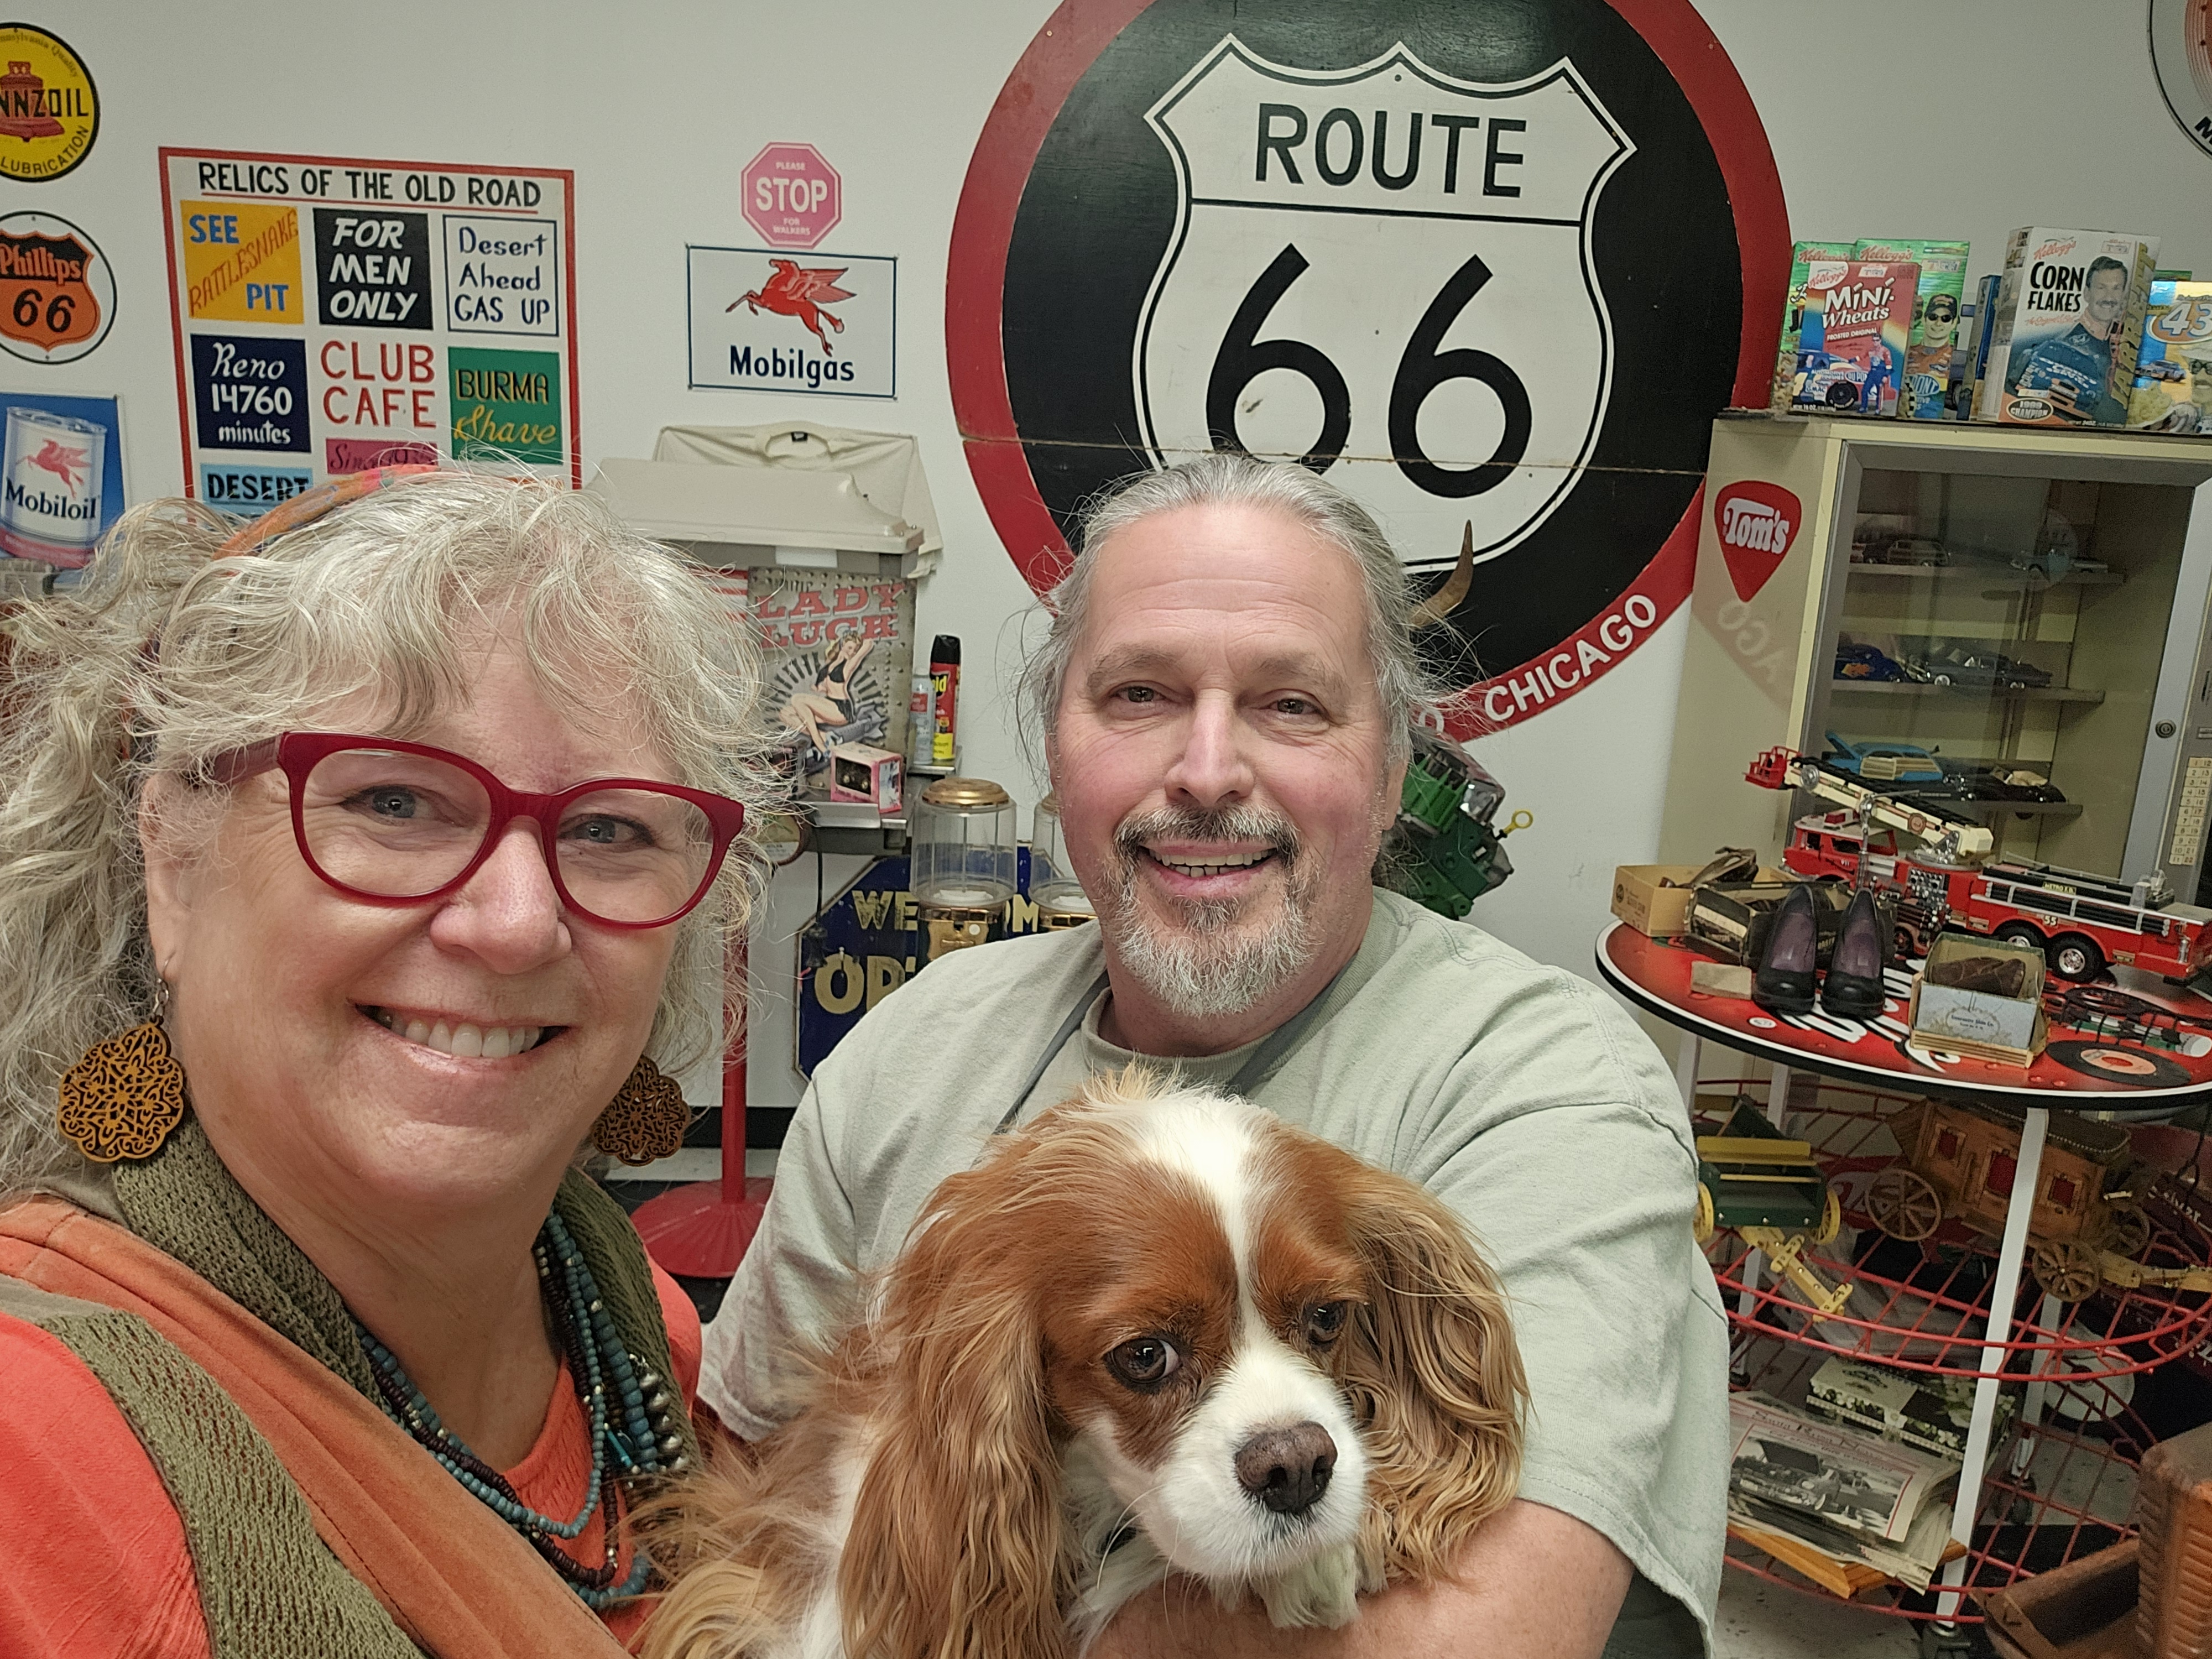
About Us About The Pewter Palace…
Resources & Links to Avion Parts & SupportThe Pewter Palace- Avion RV Resources & Links

click here….to find out about the AVION TRAVELCADE NATIONAL RALLY!
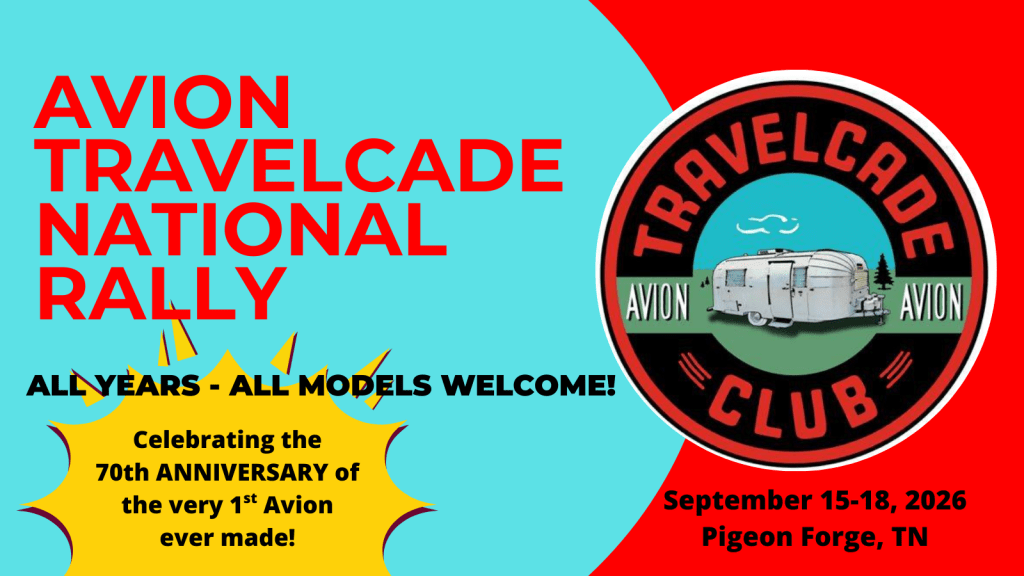
Sorry! All sites have been filled! We have started a “waitlist”!
If you wish to get onto the waitlist then proceed with the link above and compete the online registration form. Waitlist folks will be notified of cancellations in the order in which your registration form was received and put on the waitlist.
❤️
❤️
❤️
❤️
❤️
❤️
❤️
Tour the Pewter Palace!
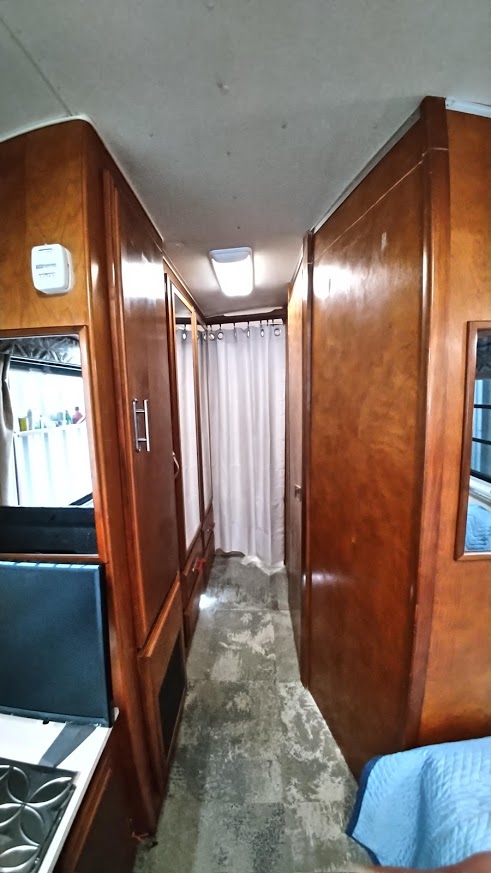
Archived Video- Exterior Tour ARCHIVED VIDEO- Interior Tour (both from 2021)
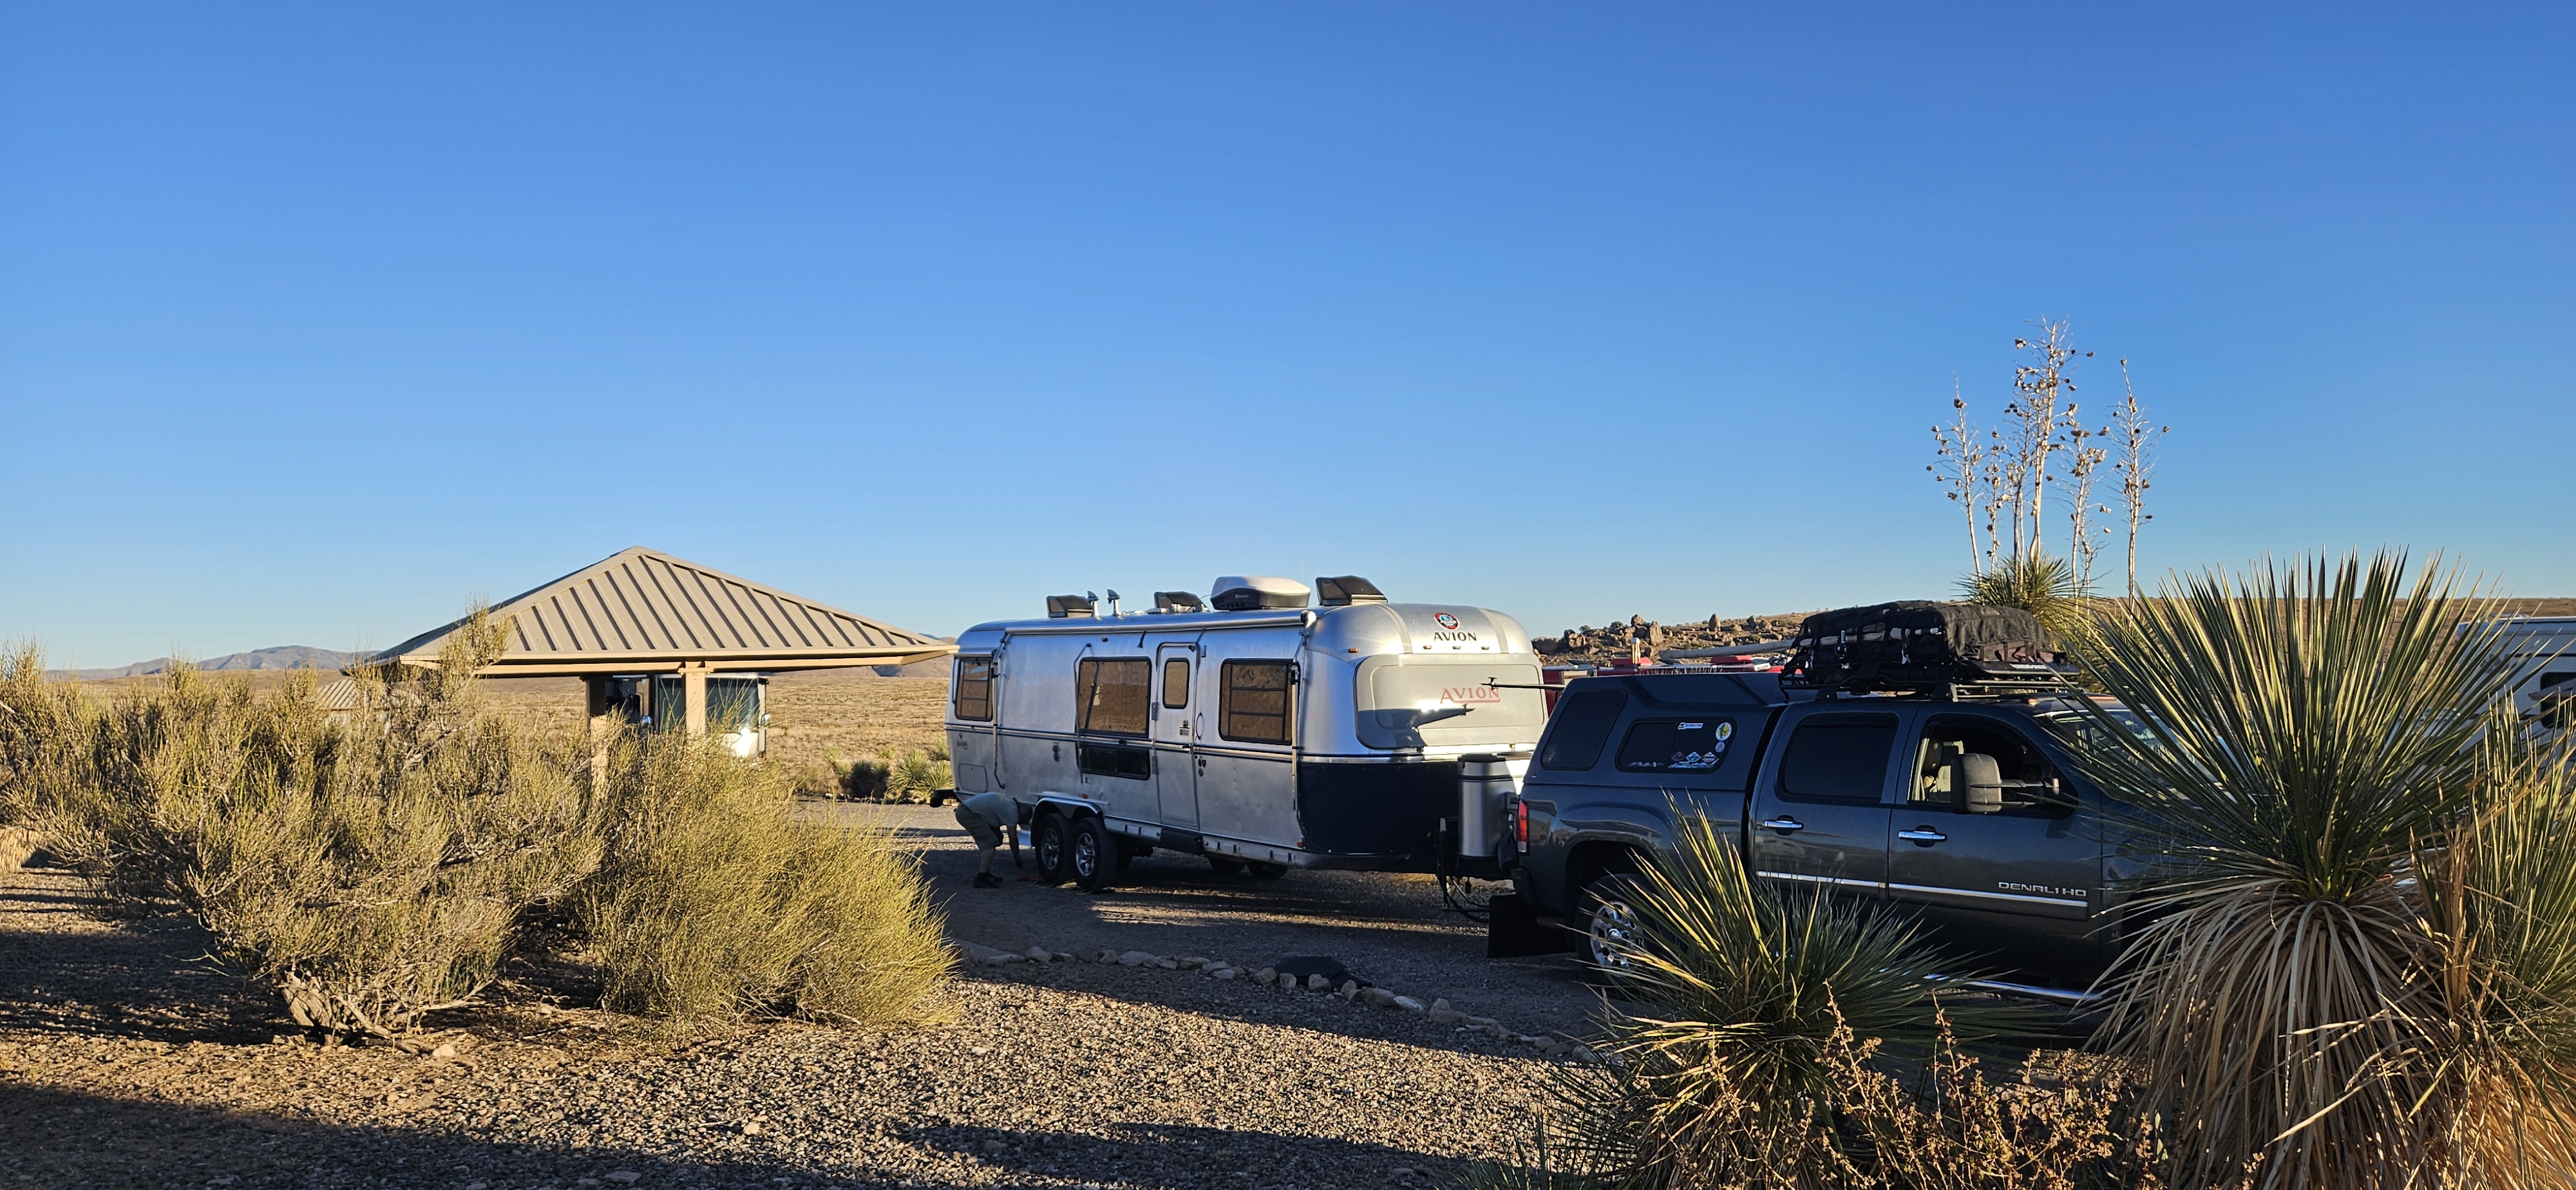
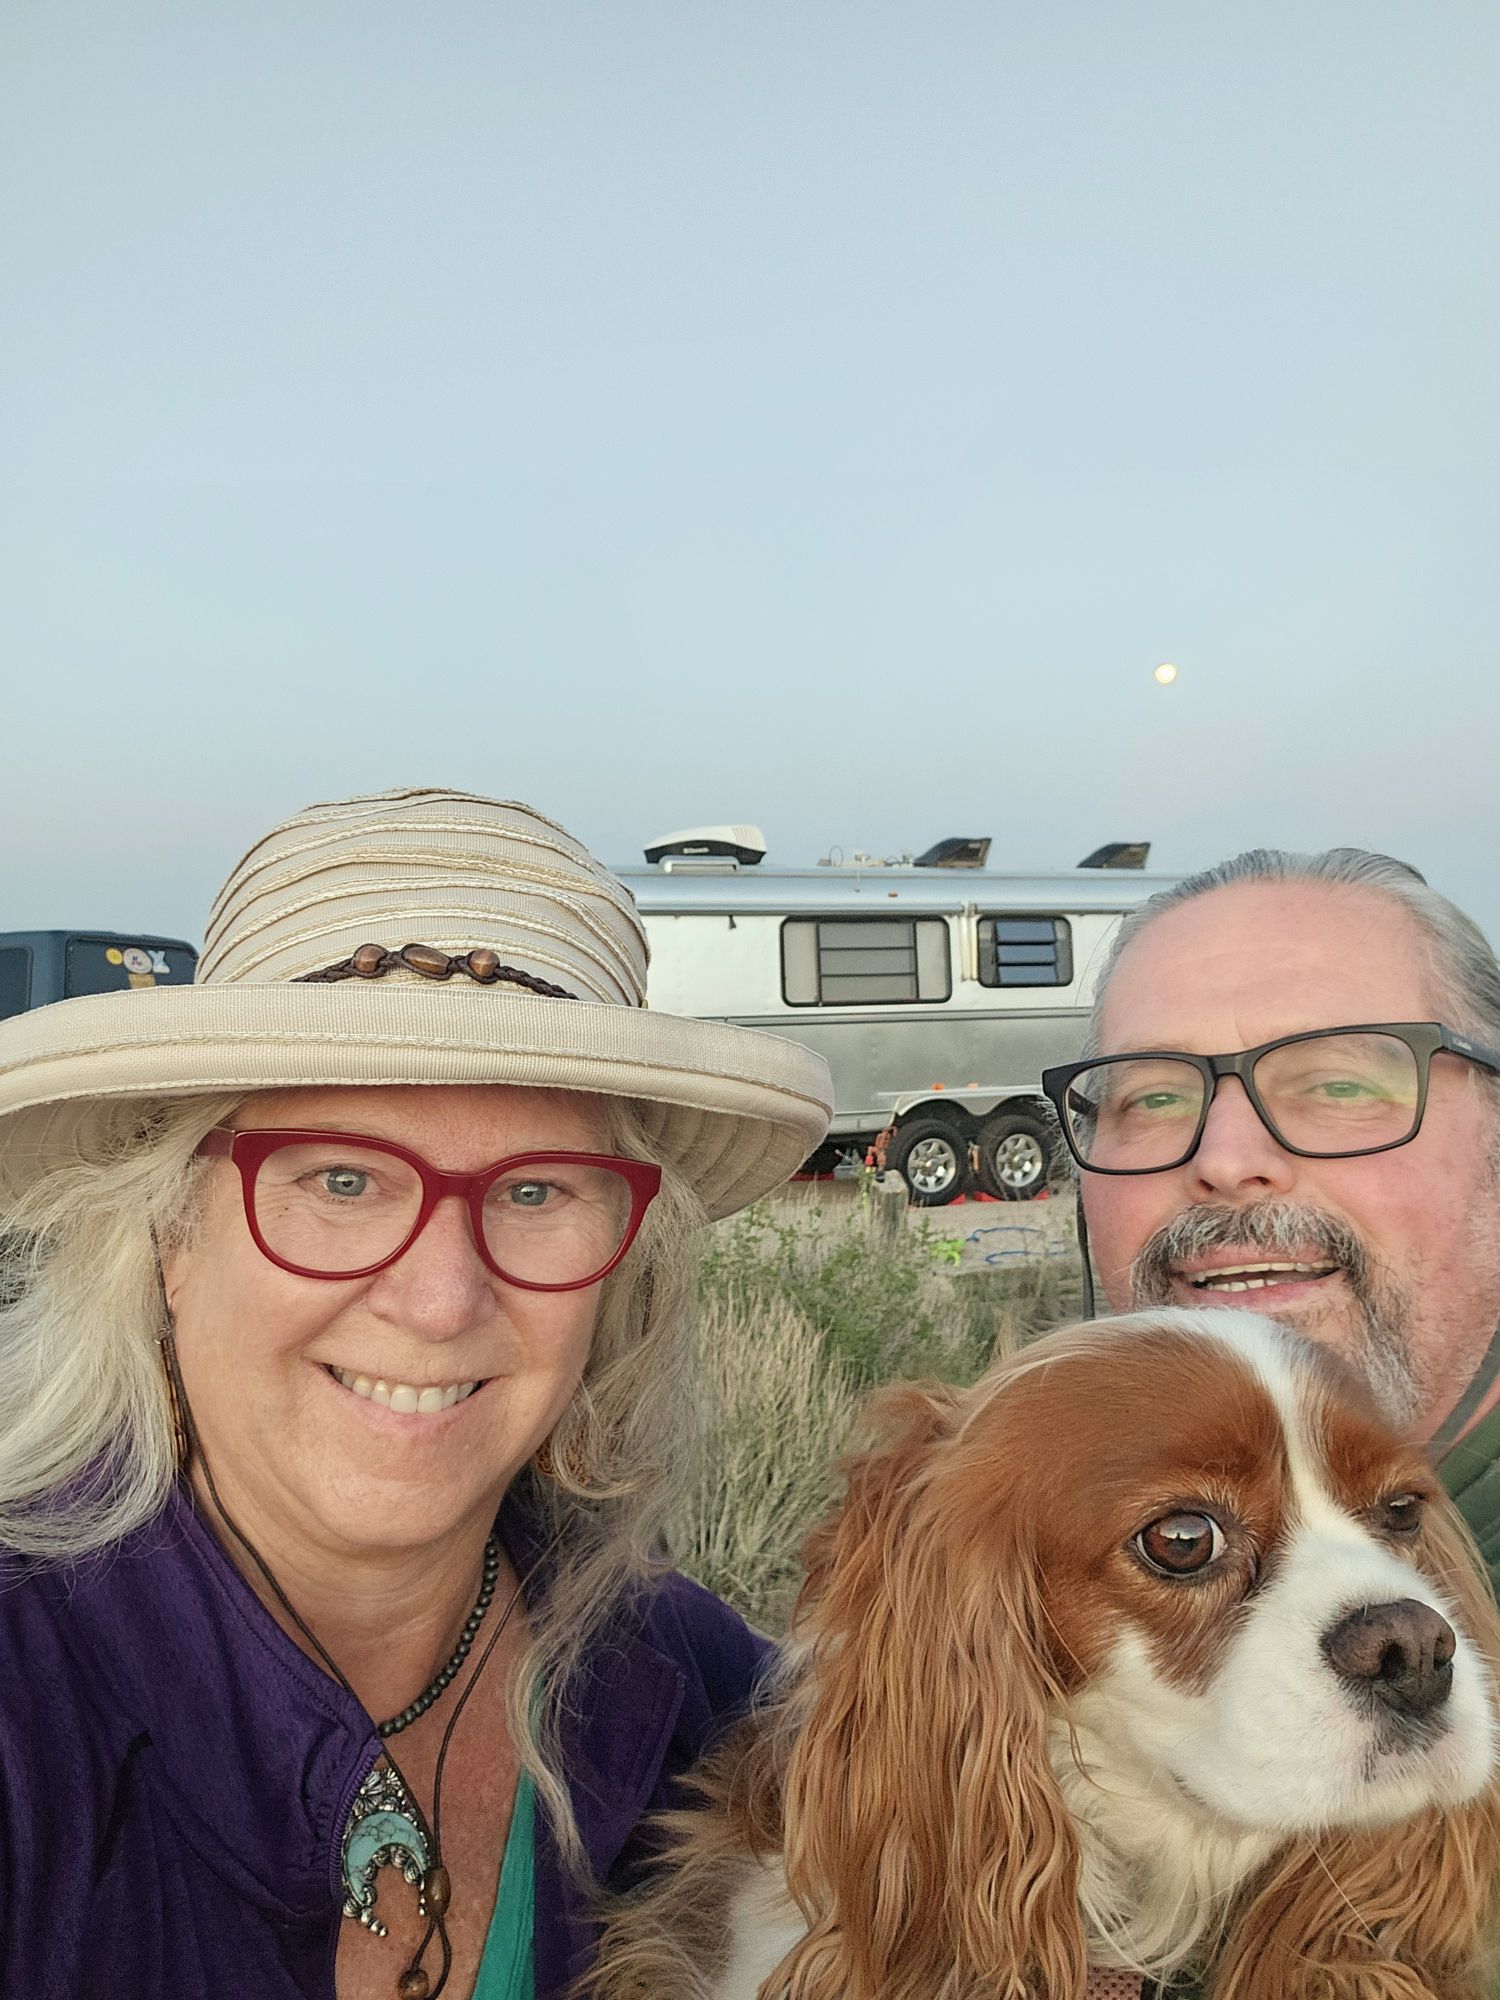
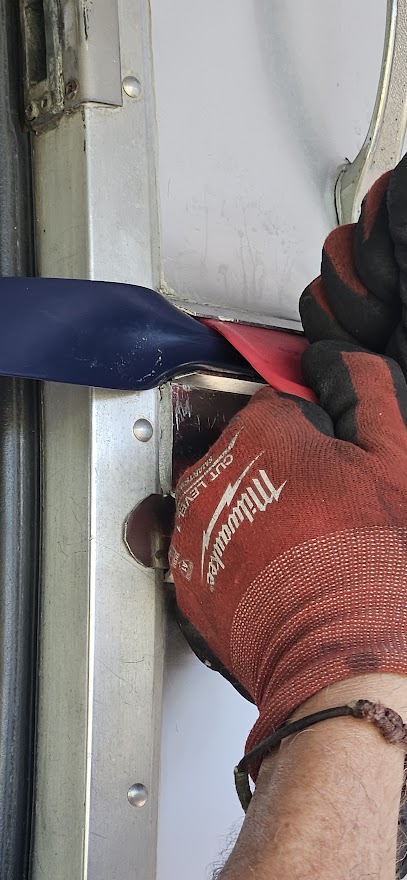
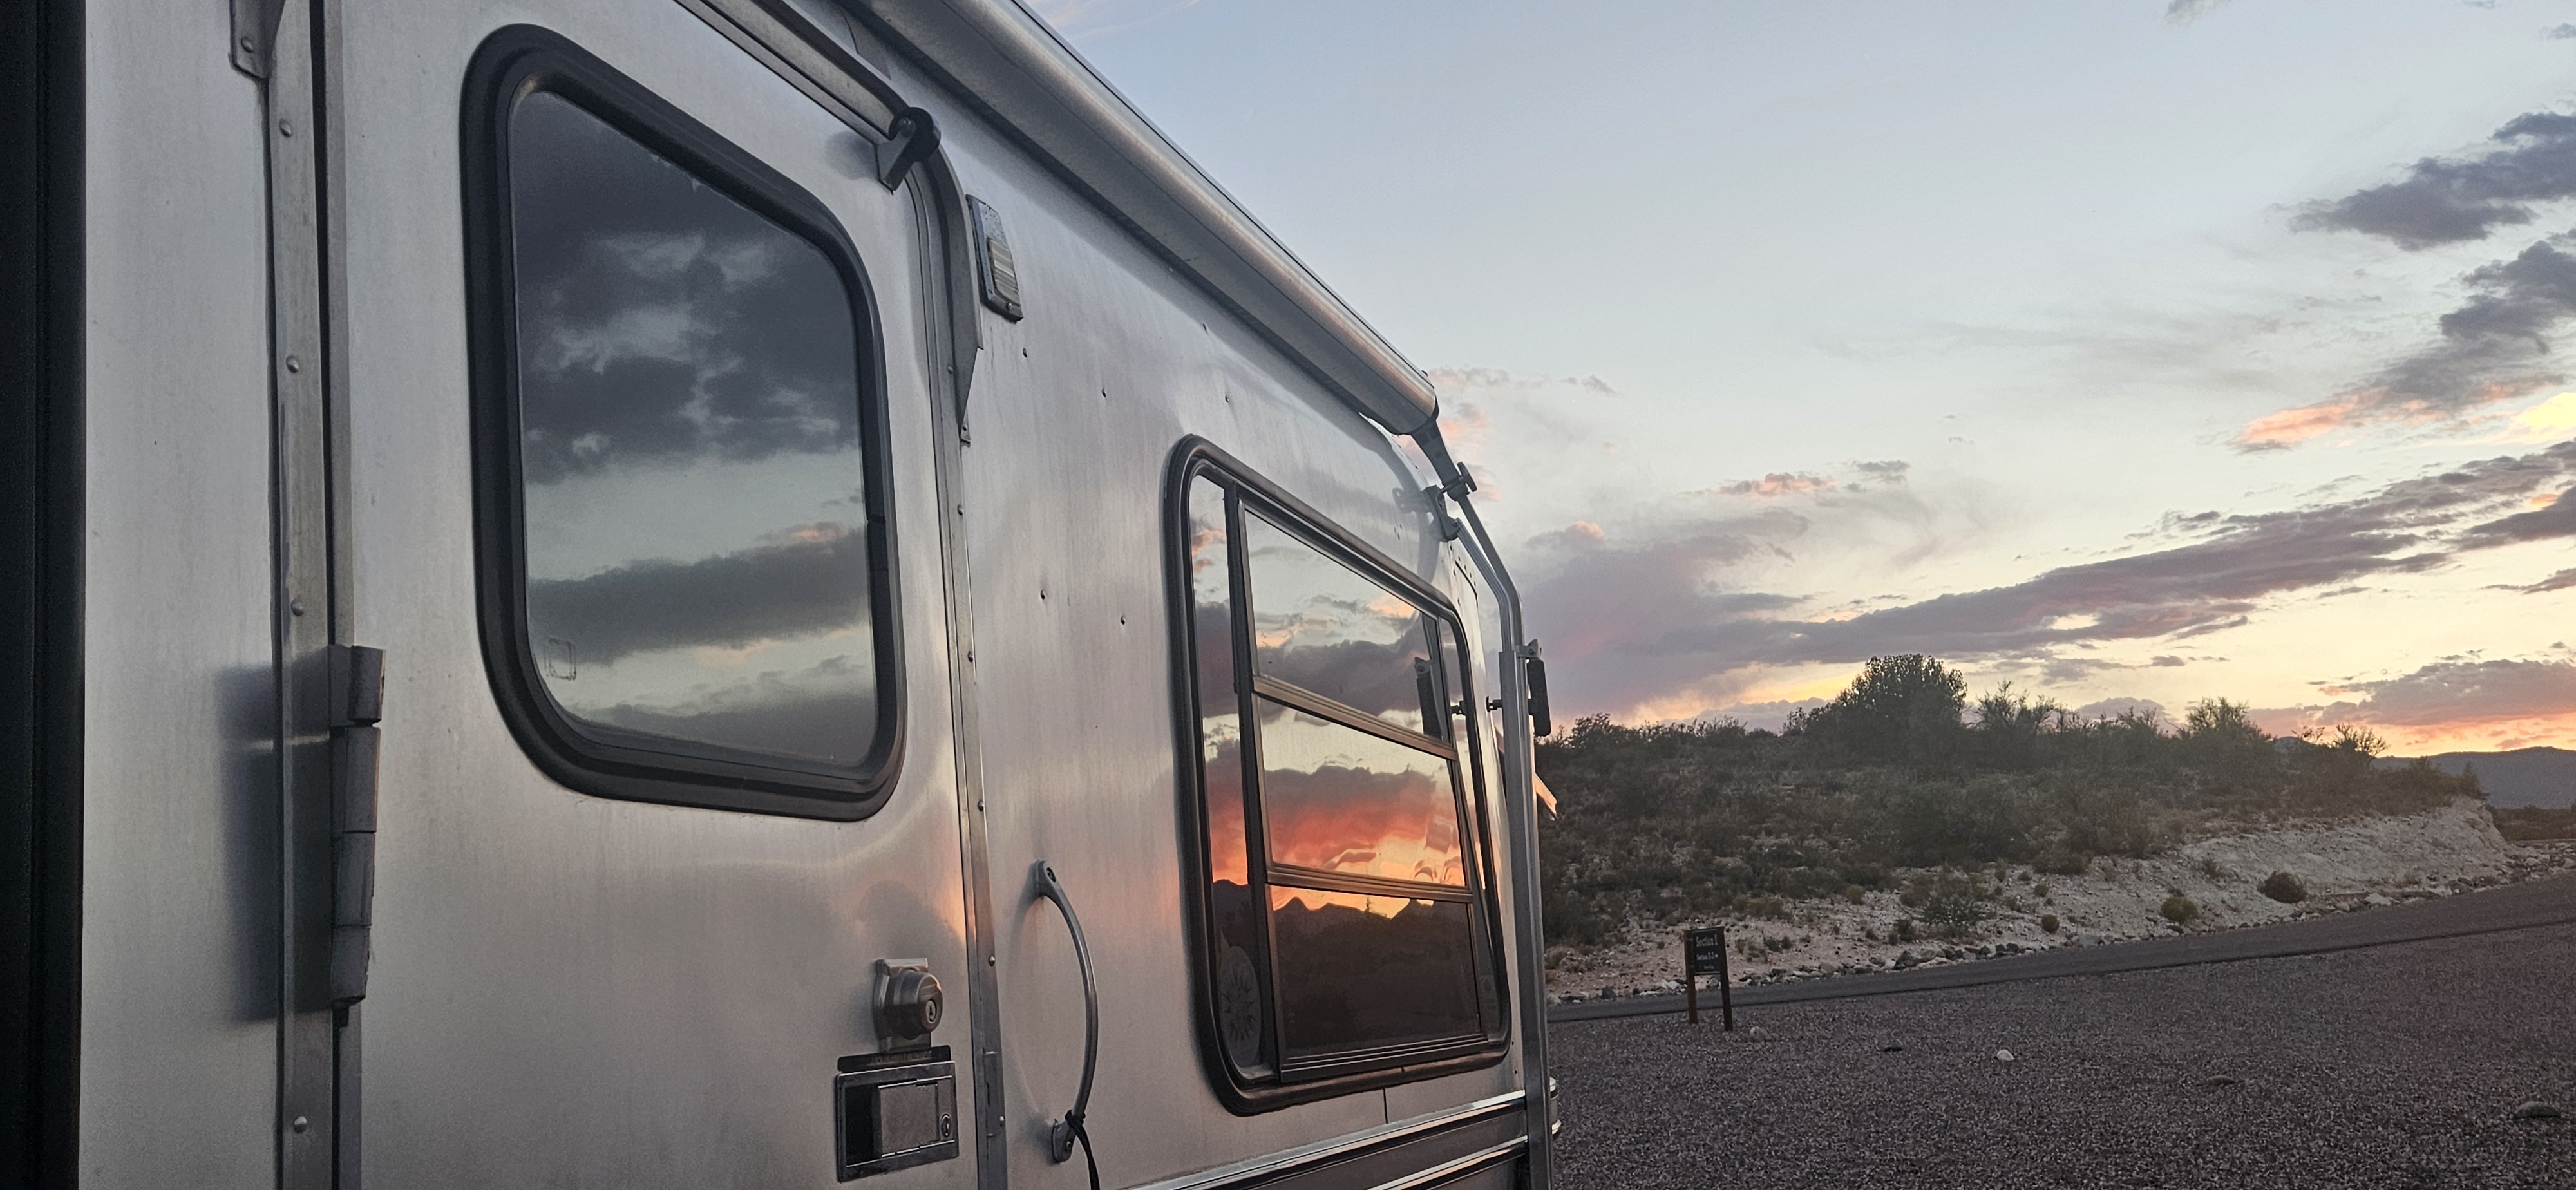
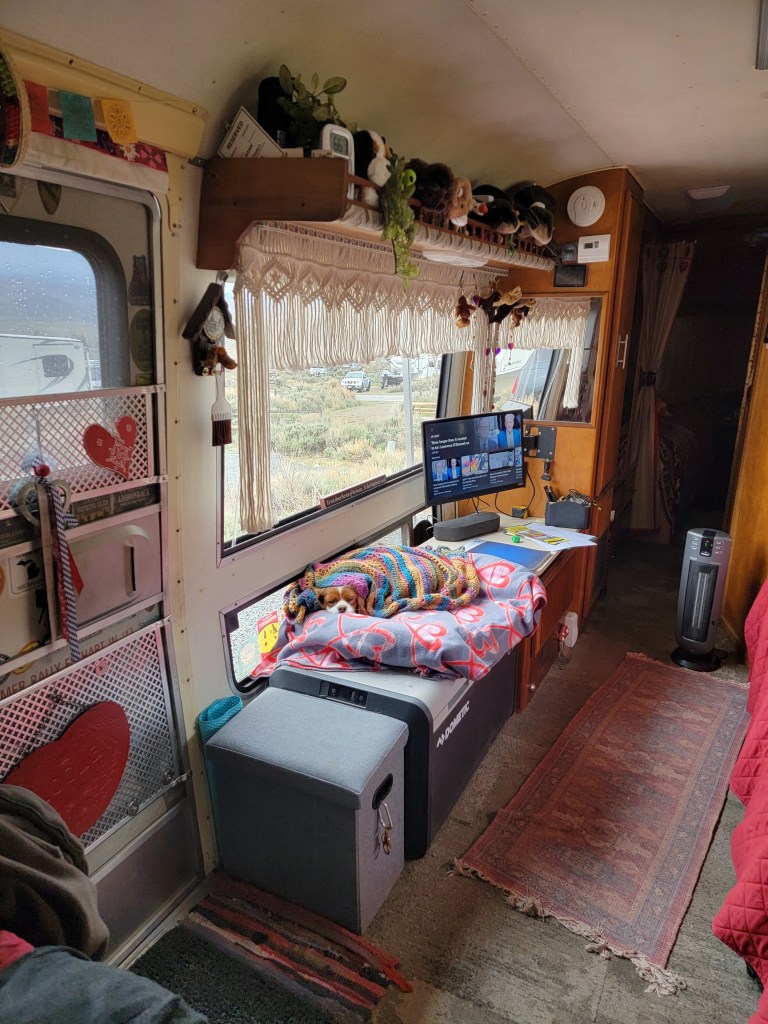
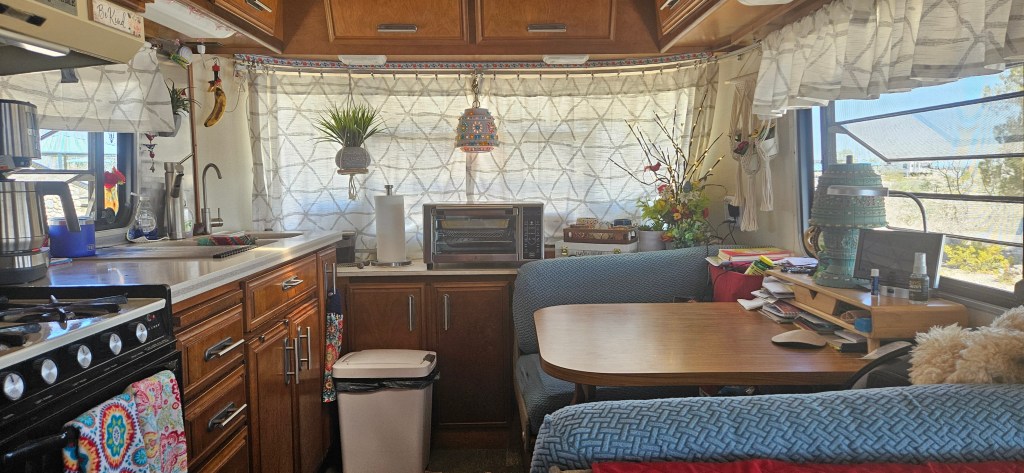
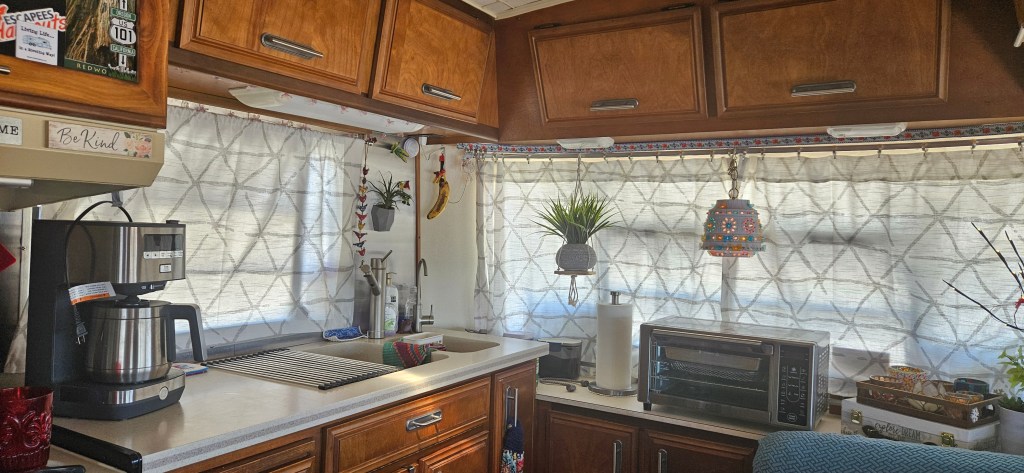
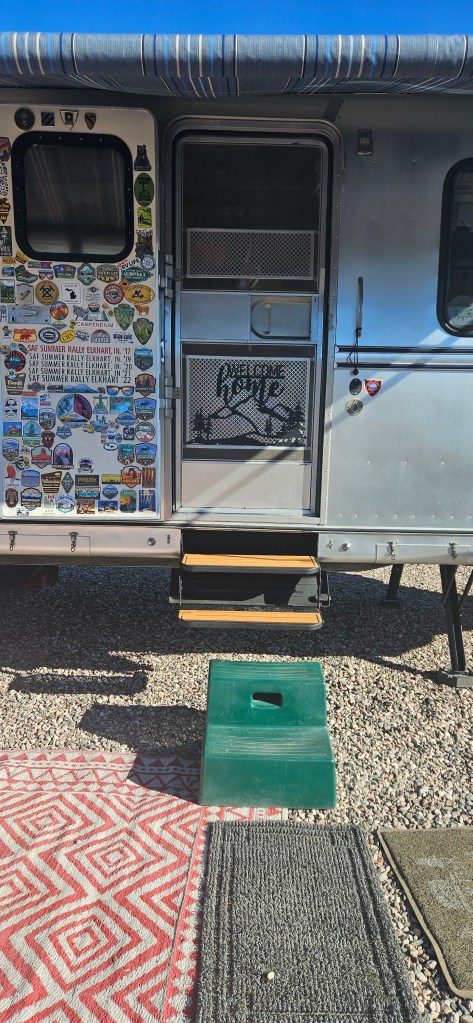
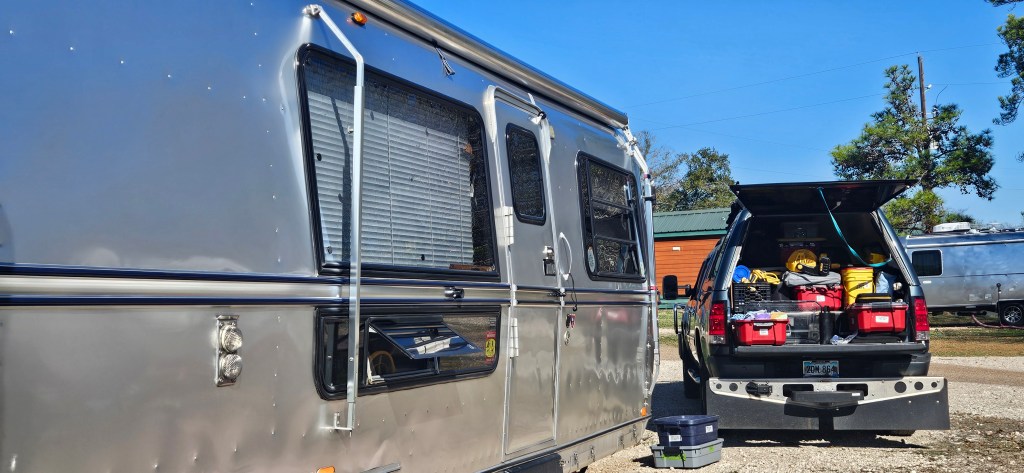
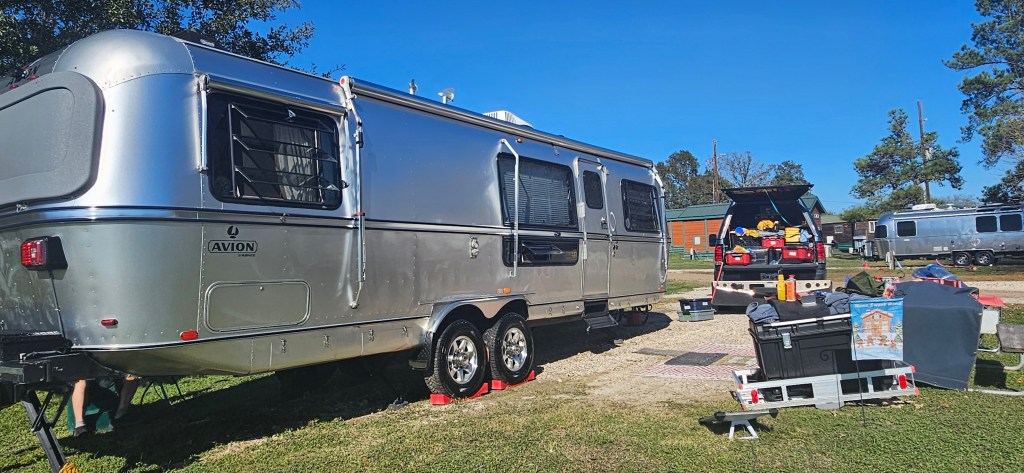
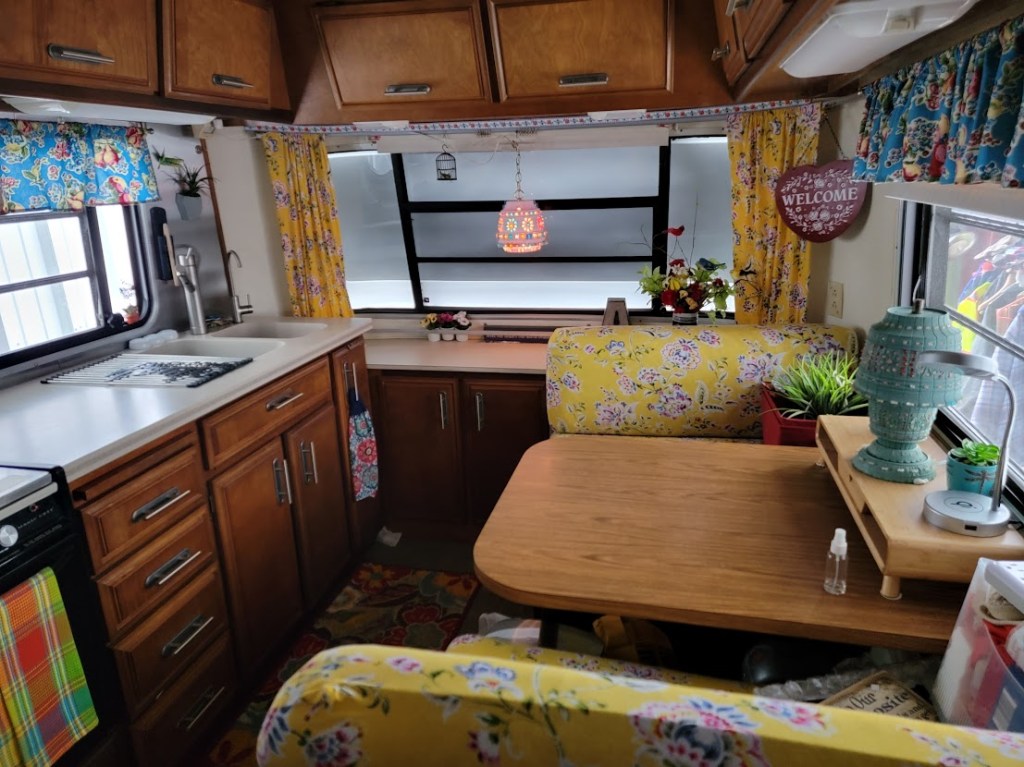
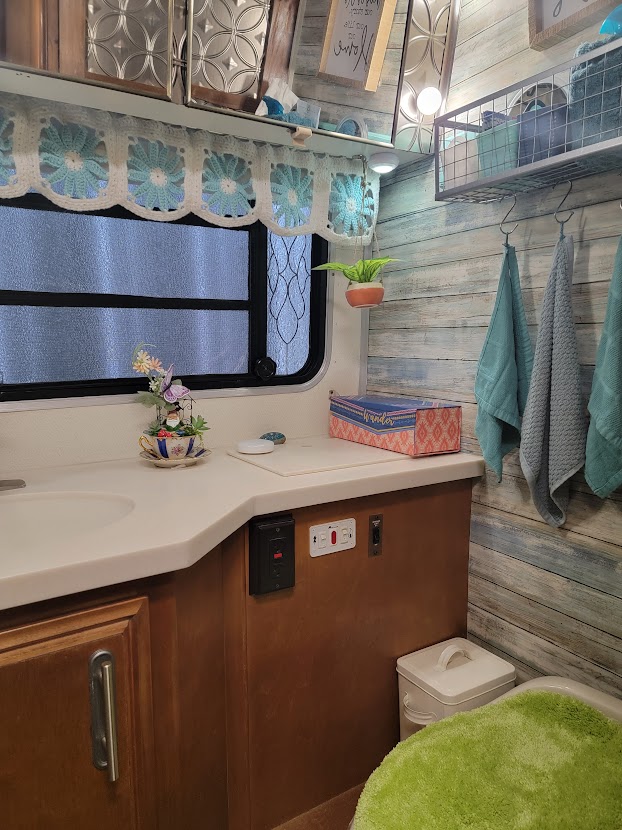
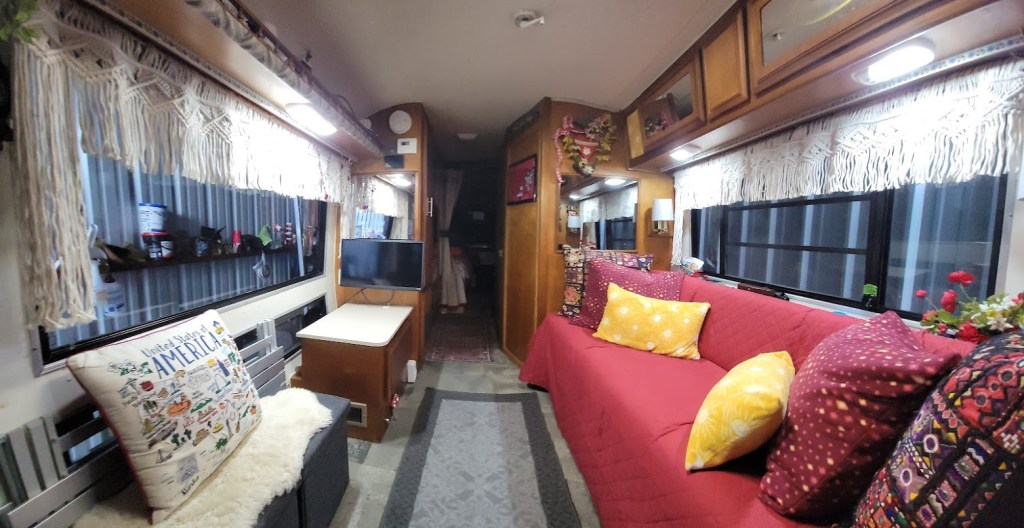
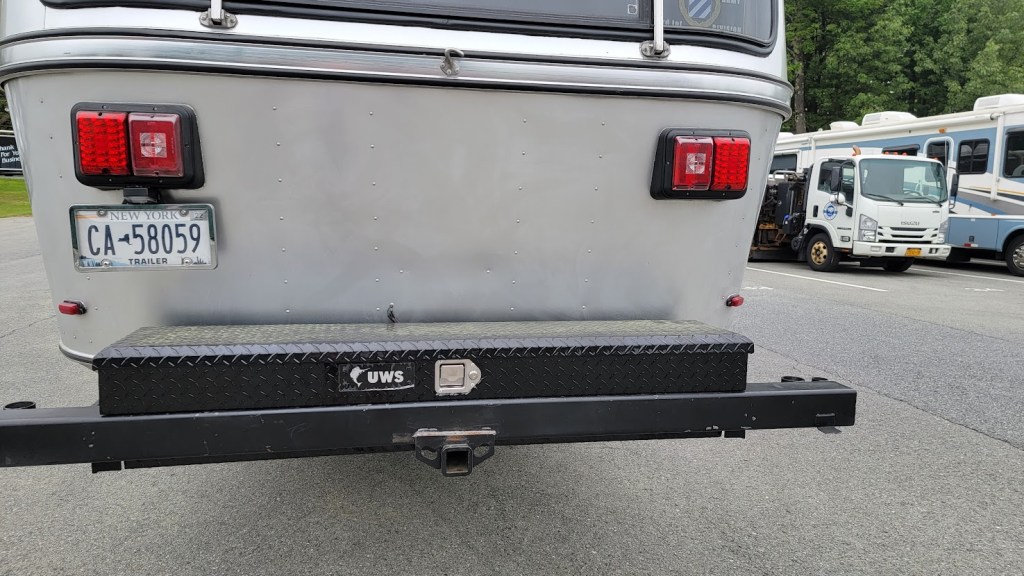
This is the second Avion we have owned. It is a 1987, 32S model which the Avion Corporation, originally based in Benton Harbor, MI only made for 4 production years in the late ’80’s. Our trailer is in beautiful condition, we are the 4th owners. Many upgrades were done before we bought her in 2020 but since then we have also done considerable upgrades to its major systems (electrical and plumbing) as well as decor and other features to create a wonderful full time home on wheels.
USE THE SLIDE SHOW BELOW TO TAKE A PEAK INSIDE WITH SOME OF OUR MOST CURRENT PHOTOS!


follow us
@pewterpalace87