First Time Avion Owners-ALERT!
-

Our Tips for RV Trip Planning & using the RV Trip Wizard!
I share my personal tips on using RV Trip Wizard as well as tried and true…
-
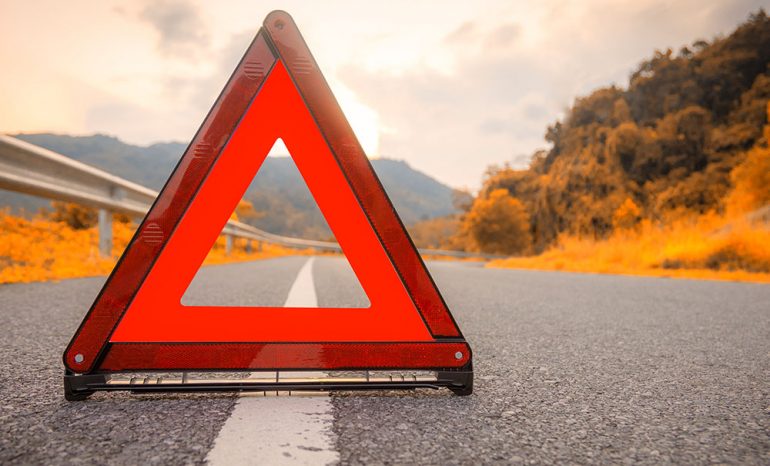
Why we use CoachNet for Roadside Assistance for our RV and truck- plus valuable tips on breakdown management!
This article covers our first hand experience using roadside assistance, the company we use as well…
-
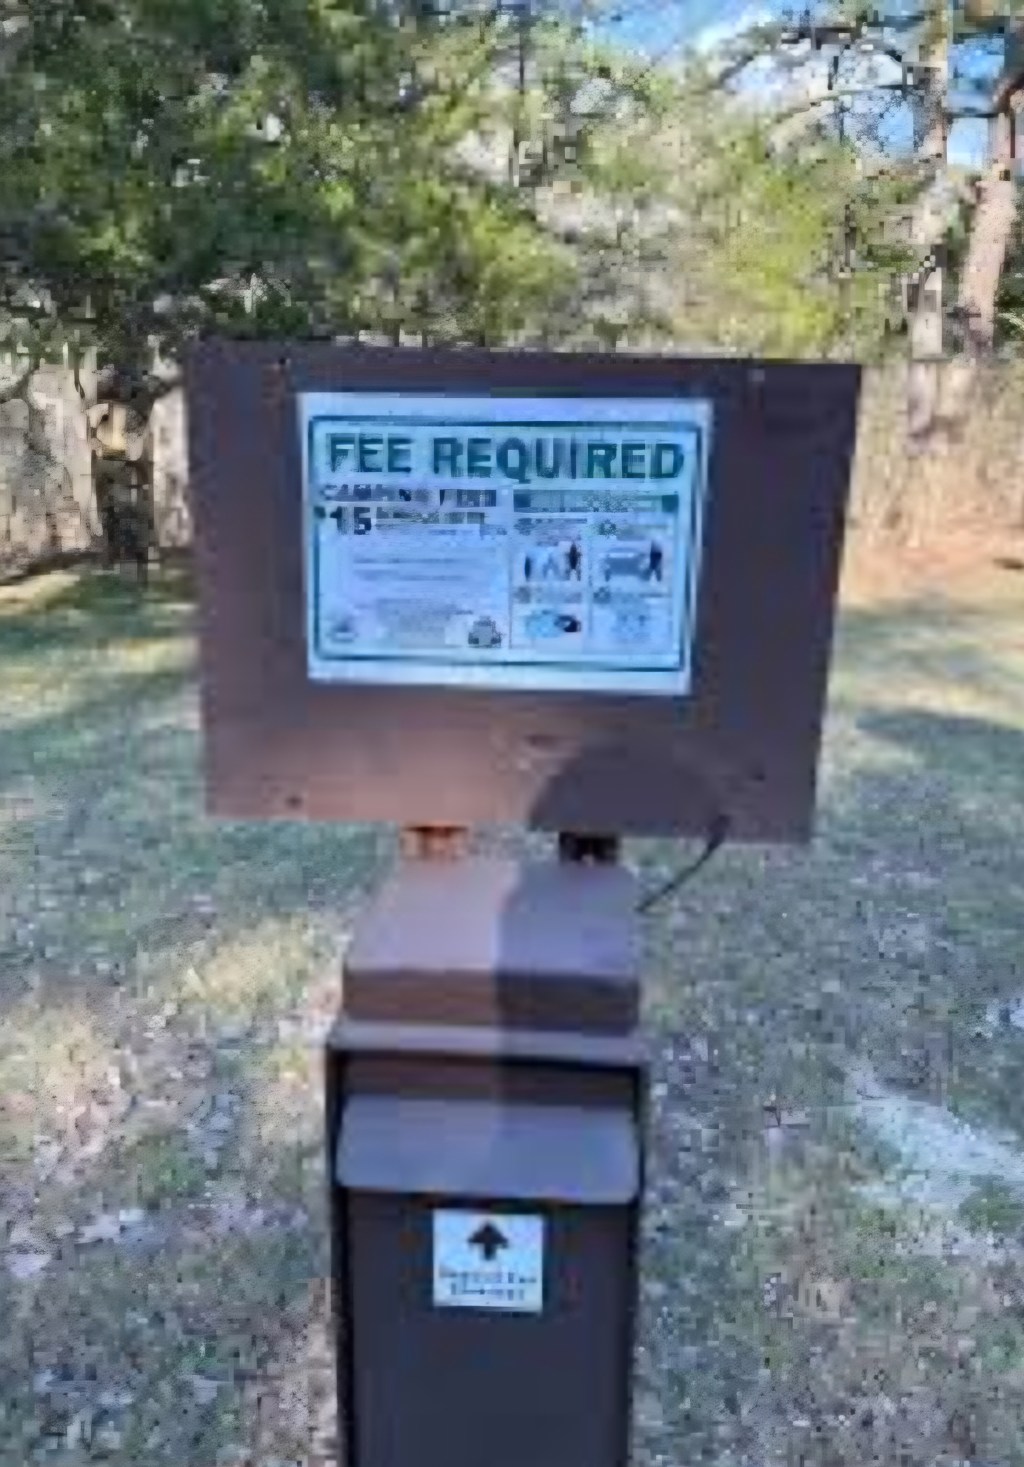
Self-Pay Campgrounds: Tips & Safety
They are a vanishing breed, but self-pay kiosk (a.k.a “IRON RANGERS” DO still exist at some…
-
AVION Merch is HERE!
Be sure to visit and shop our own dedicated Avion online store chocked full of AVION-themed…
-

Top 10 Tips to Campsite Selection!
After nearly 20 years of RV camping we have some tried and true tips for selecting…
-
Fresh Water Tank Sanitizing & Water Fill Sanitation
There are some slight variances depending on full timing versus vacation RVing. These are procedures and…
-
Does Your Freezer Look Like This??
Well, it happened again!! Actually, in truth, we have actually only needed to do this “household”…
-
12+ Tips for High Wind & Awning Prep for your RV & Campsite
Handy tips to consider when faced with a wind storm while camping in your RV. We…
-
Things NOT to buy, Things to love!
Well, we have been RV and camping now for over 18 years ( nearly 2 years…
-
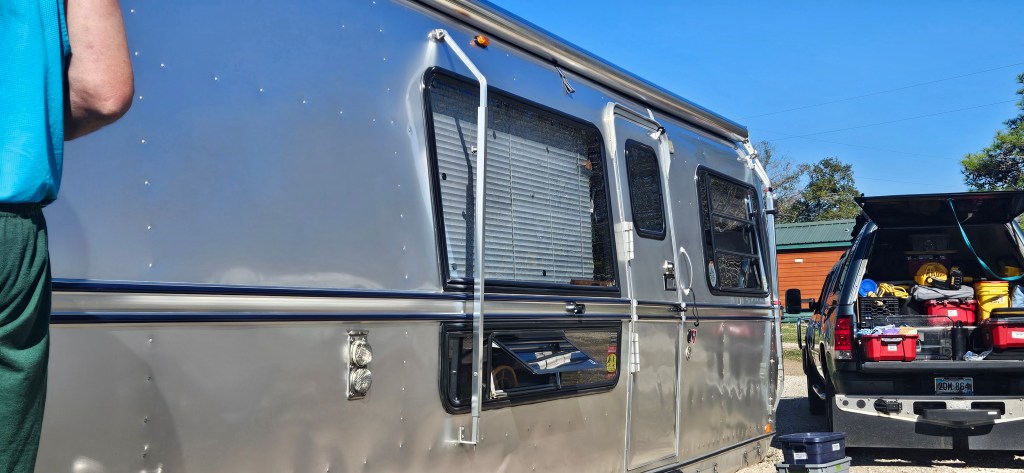
Adding some brightness to your Silver Avion-how we do it!
How to brighten your anodized aluminum Avion’s exterior. We include products, tips, and techniques for your…
