Refurbishment Projects
-
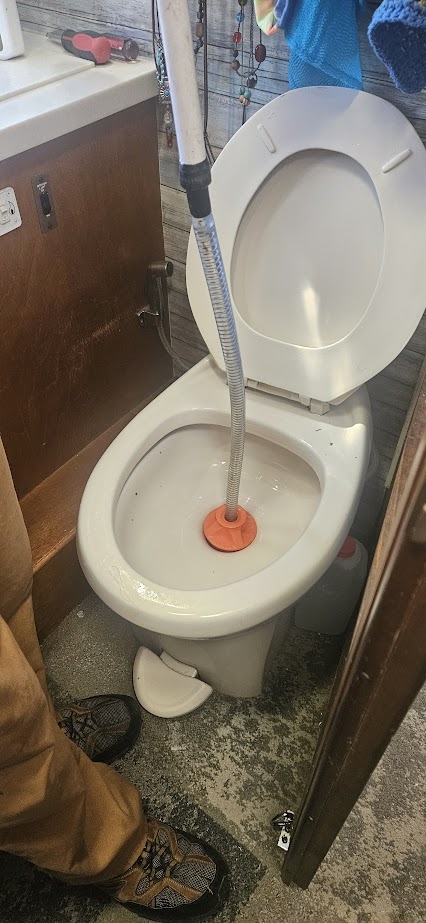
Spring Cleaning PT 1: Toilet and Sink Drain Pipes
Concise steps for maintaining clean black tanks, RV toilet, sink drain clean outs and more. Resource…
-

Grey Tank Lessons….
Great info on RV grey tank maintenance, tips, links to where to purchase replacement holding tanks-…
-
Leaky Rooftop Refrigerator Vent- How We Solved the Problem!
On our 32S the living room sofa area butts up against our refrigerator cabinet on the…
-
Repairing our black tank-leaks!
UPDATE: the repair we paid an RV shop ($600) to do only held for 5 months. …
-
1987 Avion Sales Brochure of all Models
Here is a link to a super nice, in color, full sales brochure for the 1987…
-
These Roof Fan Insulators Work So Well in Summer & Winter!
We ordered these off Amazon after seeing a fellow YouTuber note how effective they were. We…
-
Fresh Water Tank Sanitizing & Water Fill Sanitation
There are some slight variances depending on full timing versus vacation RVing. These are procedures and…
-
Does Your Freezer Look Like This??
Well, it happened again!! Actually, in truth, we have actually only needed to do this “household”…
-
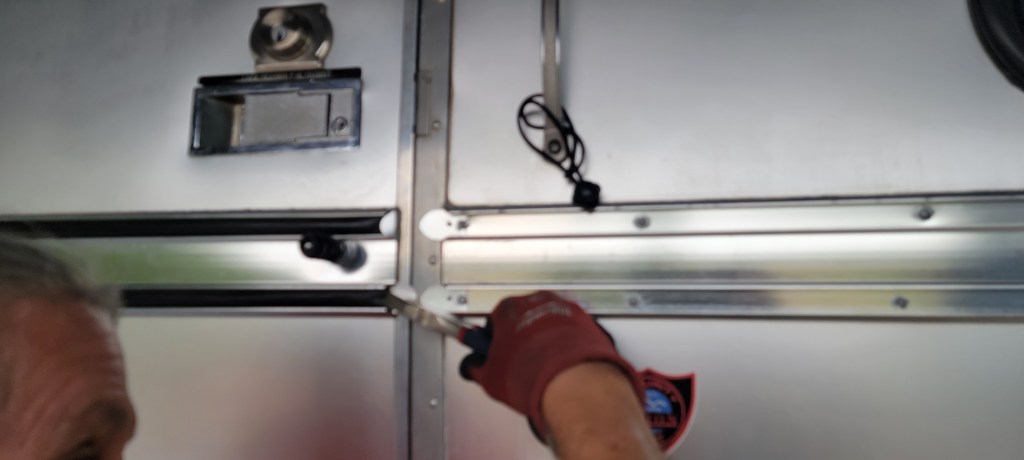
Avion Rub Rail Vinyl Inserts
Over time the vinyl “rub rail” around Avions shrinks, cracks or becomes brittle and faded. We…
-

Anderson Leveler System- modifications we have needed to make.
When we first purchased our 1973 Avion we purchased our first set of Anderson Levelers. We…
