Refurbishment Projects
-
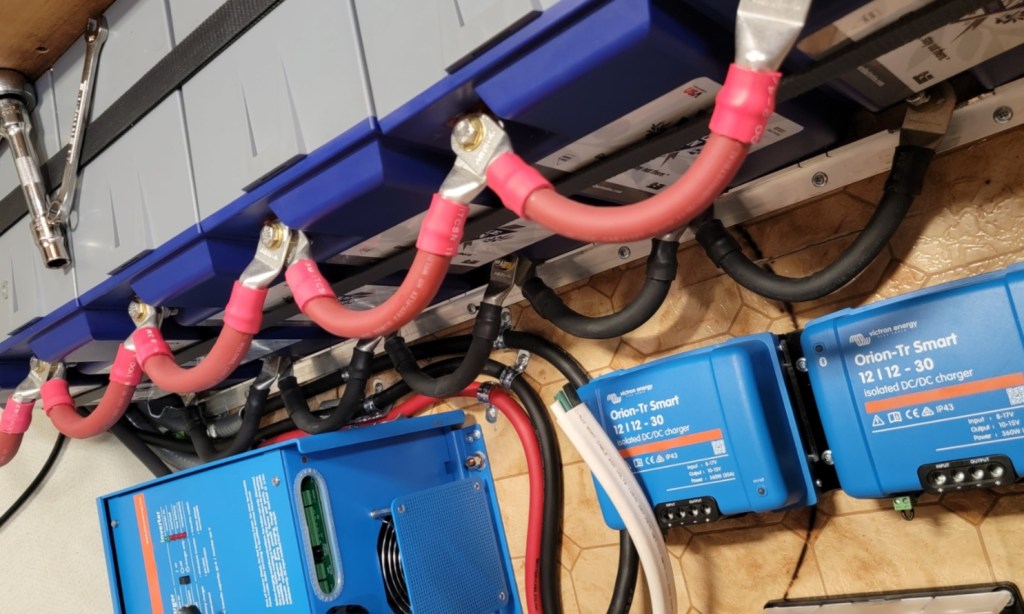
Lithium-Ion Battery Upgrade to our 1987, 32S Avion Travel Trailer
We made the decision in 2021 to upgrade from our 2 wet cell batteries to six…
-

Can I make the Anodized Surface of my AVION Look Better??
We discuss products we use to give our exterior aluminum a brighter, restored look and application…
-

We Narrowly Avoided a Catastrophic Accident – Frame Failure!
We got lucky and found TWO major frame cracks before a catastrophe happened. This article will…
-
….And then we heard a “POP”! OH NO, that didn’t sound good!
Thank goodness we were home, just sitting in our Avion living room. We heard a pop…
-

UNIQUE REAR Rock Guard install!
See how we converted a front original rock guard to a rear rock guard to protect…
-
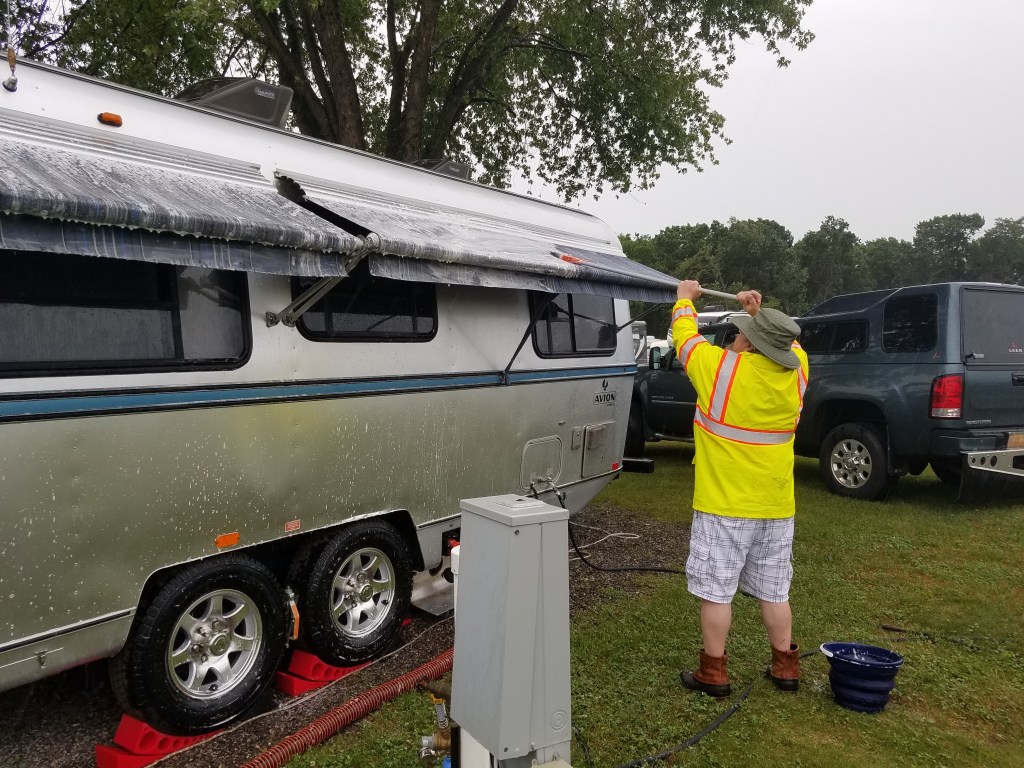
RV Awnings 101: how-to tips, purchasing & protecting your investment!
We have owned two Avion travel trailers. Below is an article about our history with awnings…
-
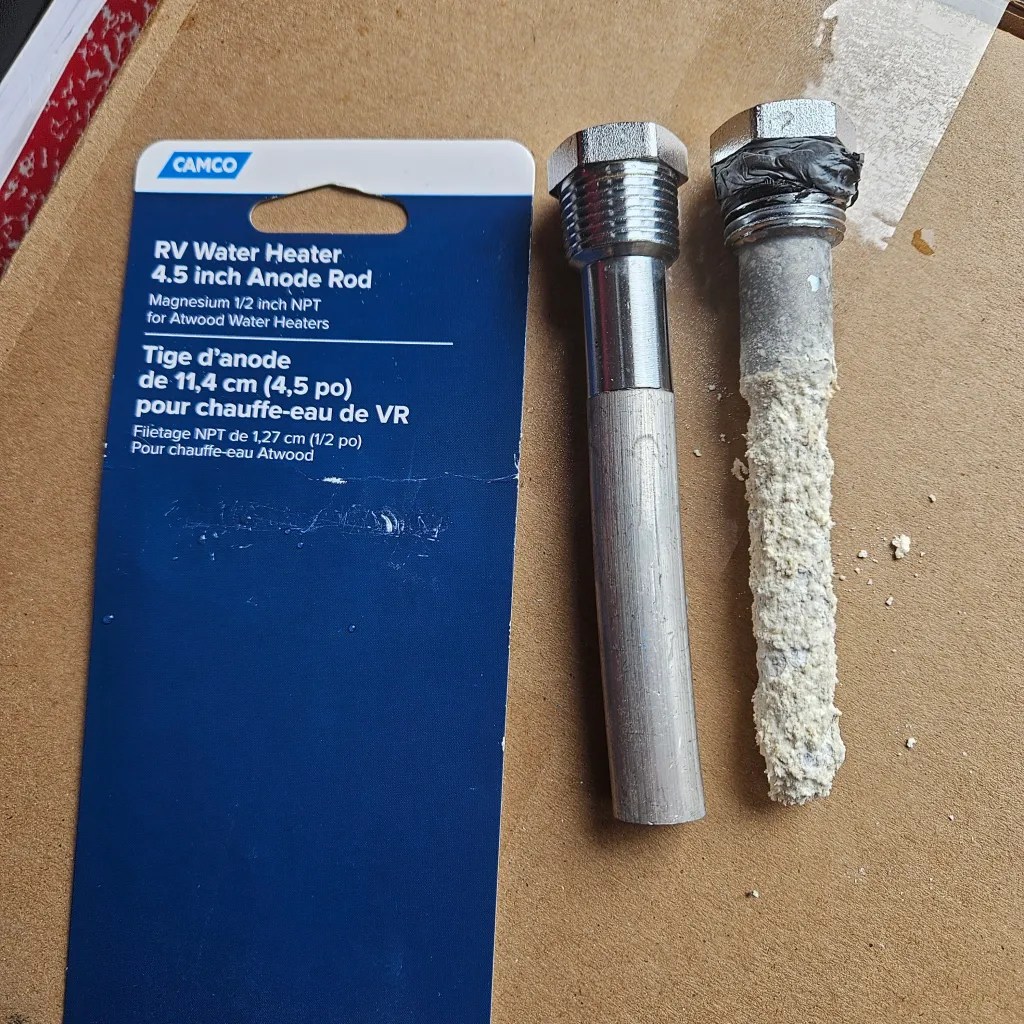
Hot Water Tank Maintenance- the FLUSH!
Quick tips on maintaining your hot water tank in your Avion.
-

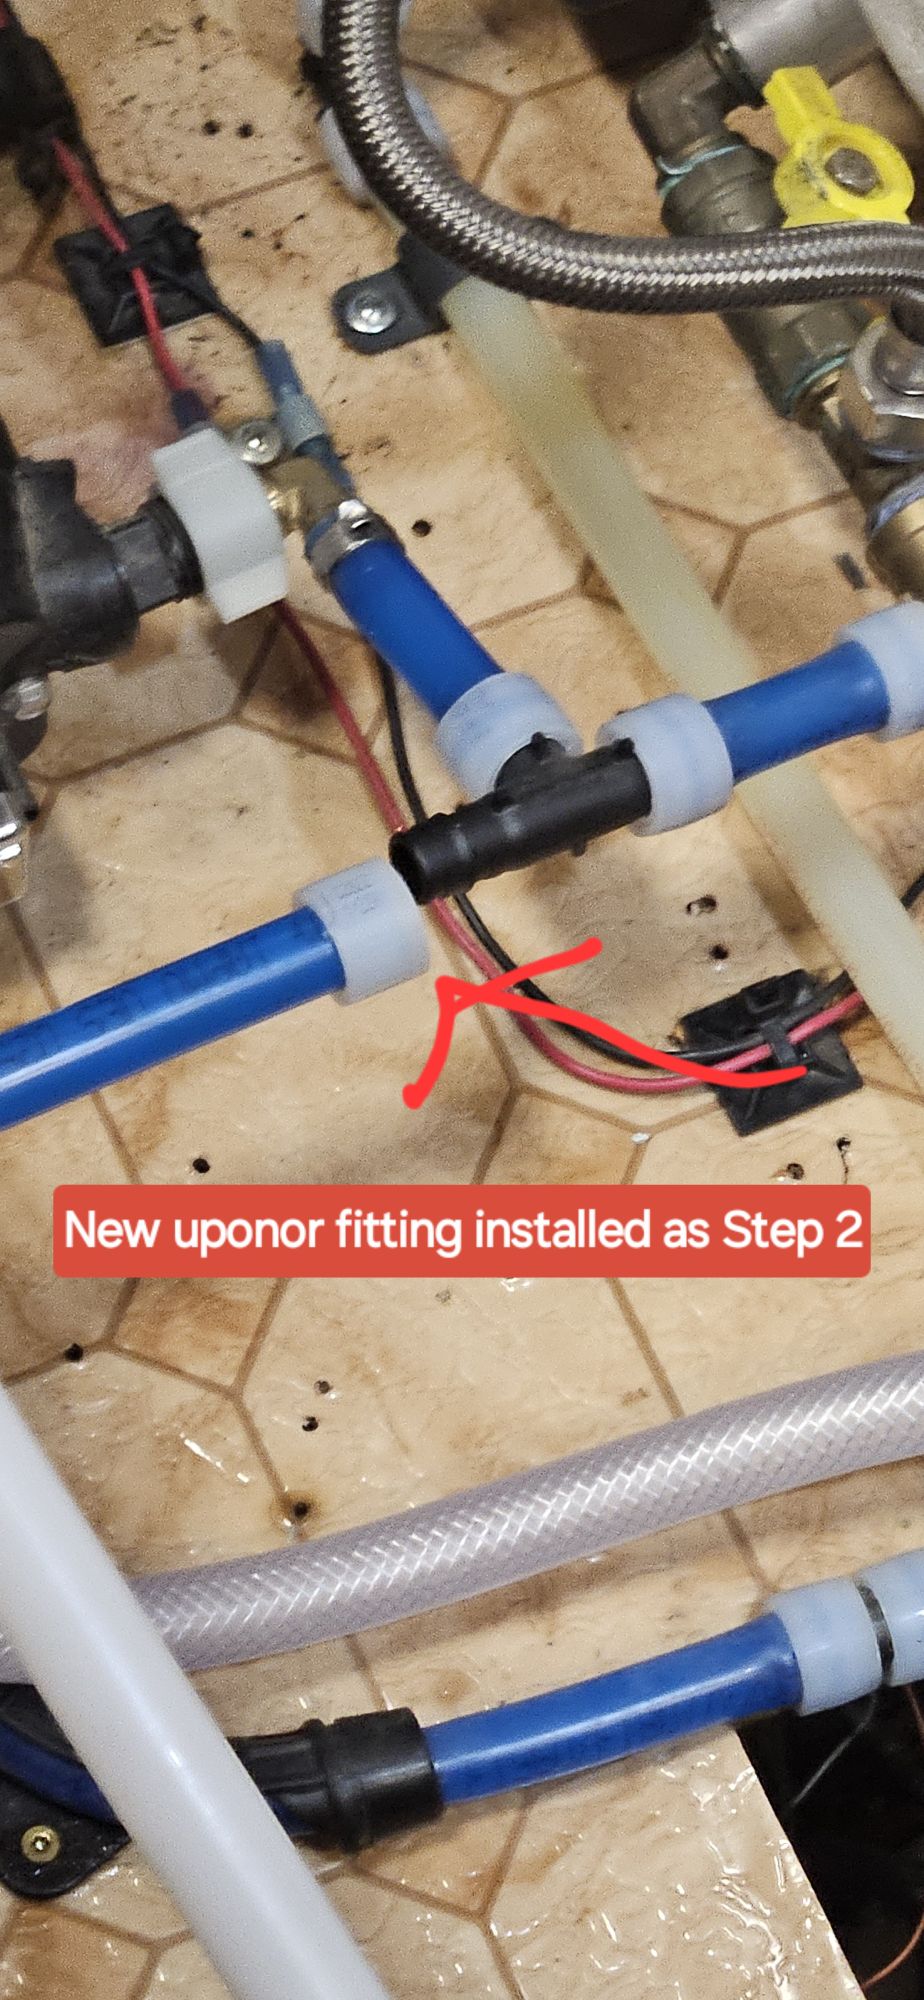
Drain Pipe Gunk Build-up! How to Clean and Prevent YUCK!
There is NO telling how long it has been since our kitchen and bath pipes have…
-
Even in Sunny AZ – Our Winter Requires Some Weatherproofing!
Here we are in sunny AZ in winter, but whoa it is still cold and even…
-

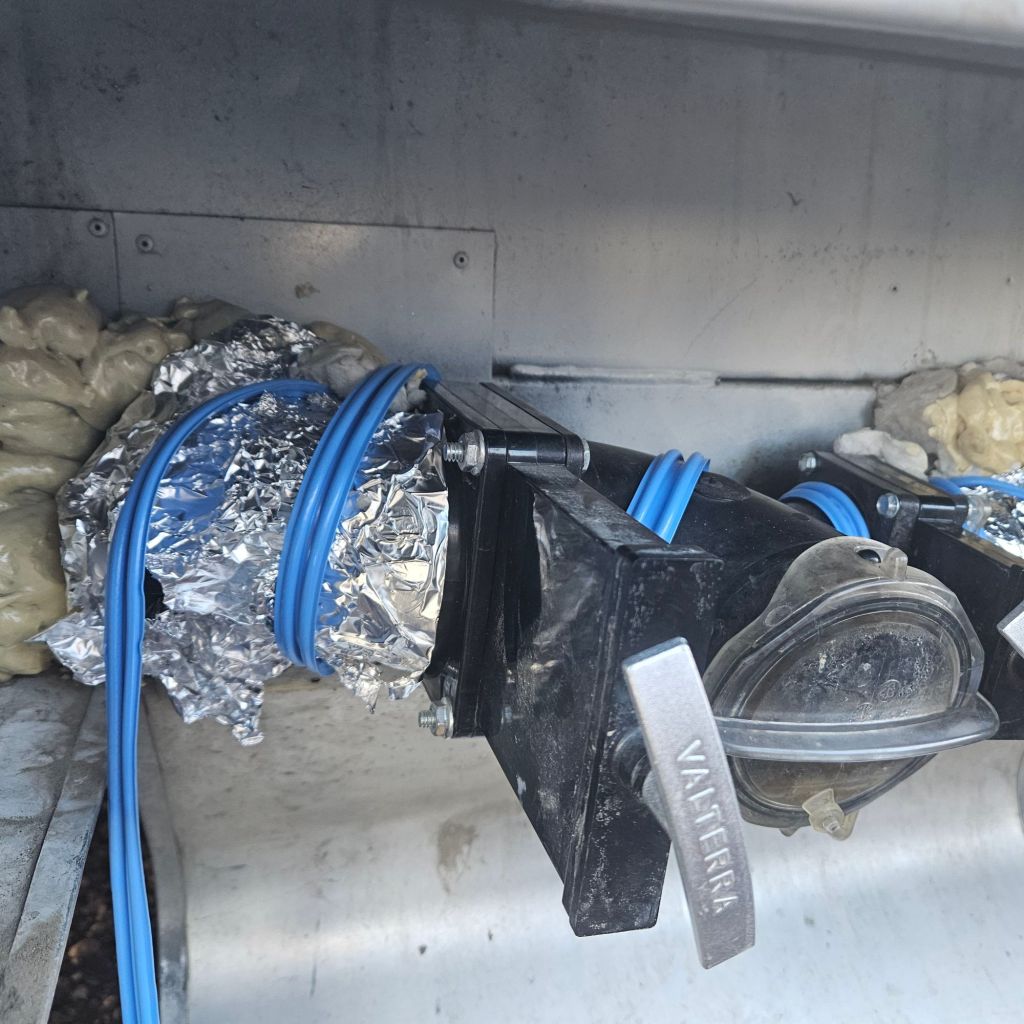
Fish in My Grey Tank??
Fish is NOT what I want in our grey tank! Can you imagine the stench on…
