RV Storage
-
Fresh Water Tank Sanitizing & Water Fill Sanitation
There are some slight variances depending on full timing versus vacation RVing. These are procedures and…
-
Things NOT to buy, Things to love!
Well, we have been RV and camping now for over 18 years ( nearly 2 years…
-
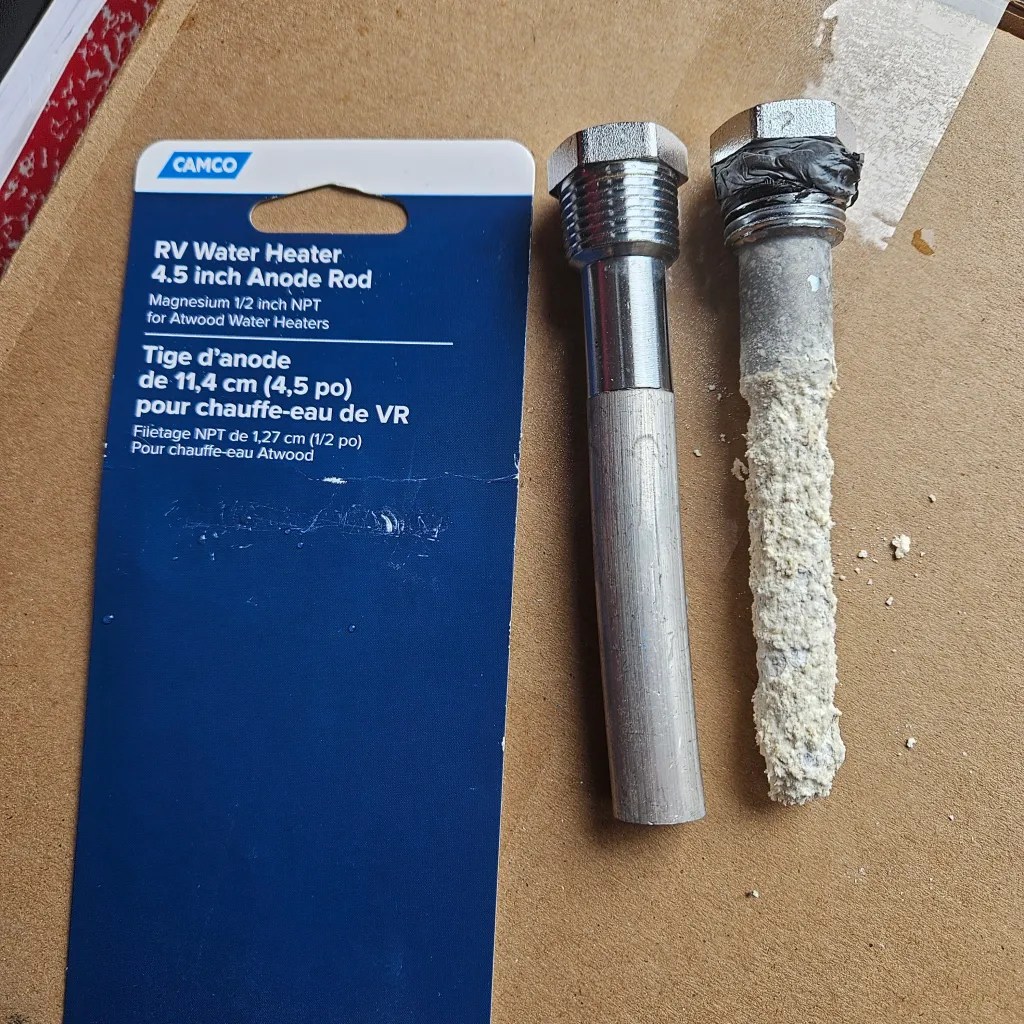
Hot Water Tank Maintenance- the FLUSH!
Quick tips on maintaining your hot water tank in your Avion.
-
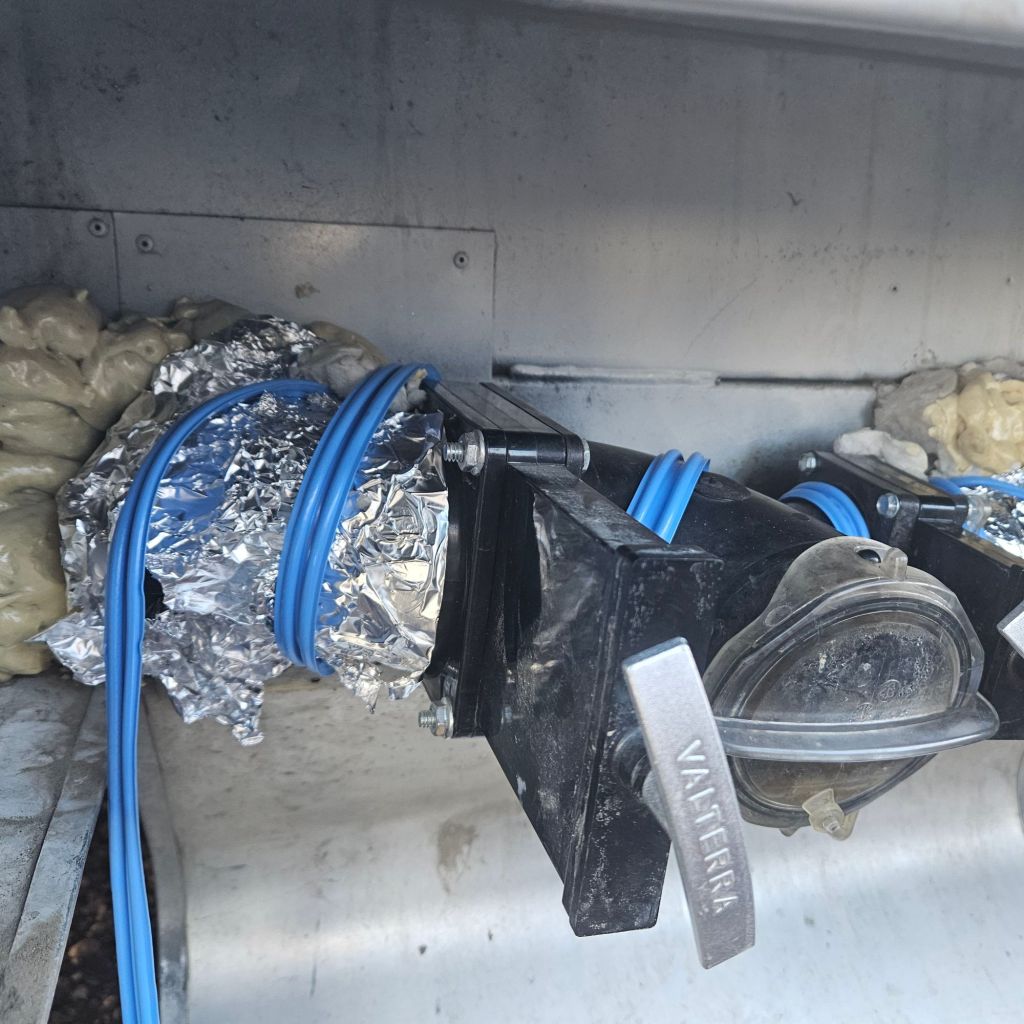
Even in Sunny AZ – Our Winter Requires Some Weatherproofing!
Here we are in sunny AZ in winter, but whoa it is still cold and even…
-
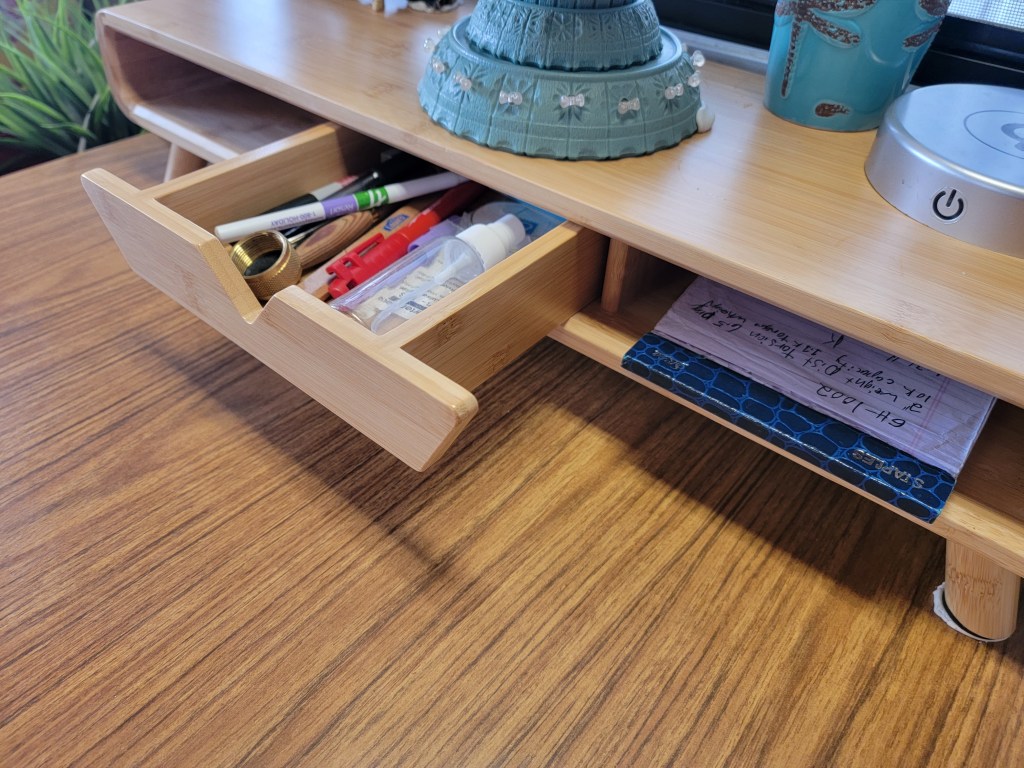
I Put it Somewhere….but Where is it? Tips for Organizing in Small Spaces
As many of you now know Kevin and I are striking out on our full time…
-

5 “Living Small”- Organization Tips & Products
In this short article I cover 5 basic tips and methods to help you live easier…
-

Making your RV Feel Like Home- Keeping Things STUCK in Place Even When on the Road!
Great organization tips and products we use to keep our decorative items and everyday items in…
-

How to Gain Storage Under Your Sofa in your RV!
Everyone wants more storage! This is a quick lesson on how we doubled our storage space…
-
BEST Mouse Repellent We Have Found!
How to tips on repelling rodents in your RV or to get rid of them for…
-
4 Little fixes… Big Helps with RV travel & living!
Living “little” has its challenges…living little and on wheels presents even more! While we are not…
