Avion Windows
-

UNIQUE REAR Rock Guard install!
See how we converted a front original rock guard to a rear rock guard to protect…
-
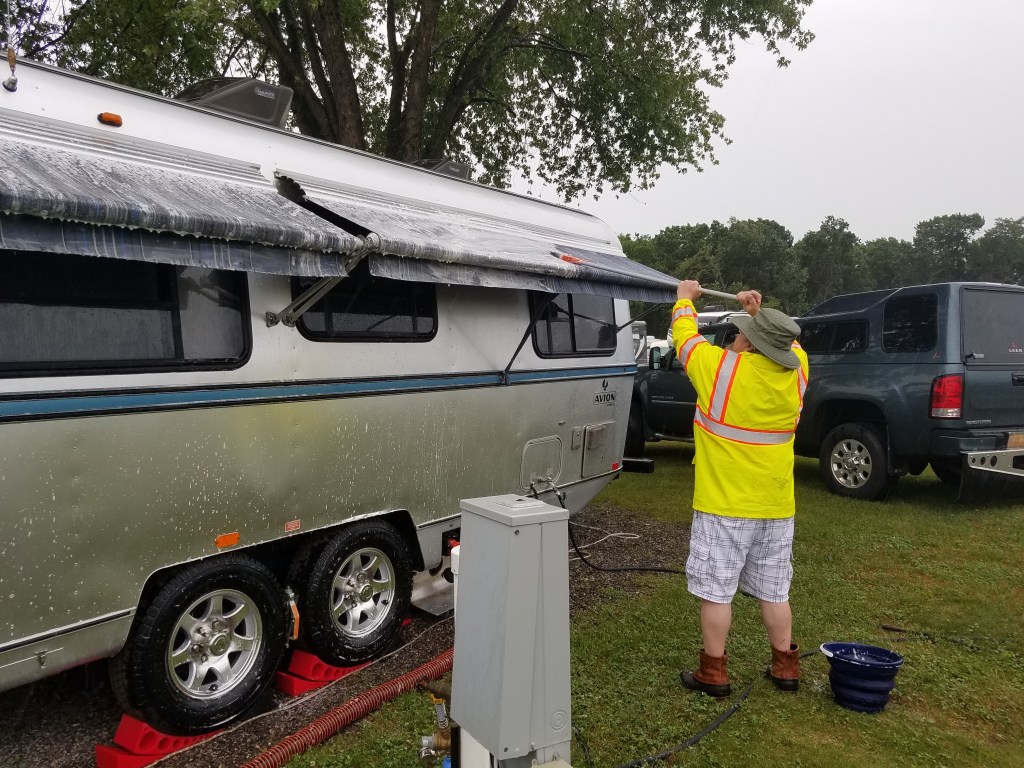
RV Awnings 101: how-to tips, purchasing & protecting your investment!
We have owned two Avion travel trailers. Below is an article about our history with awnings…
-
Zip Dee Window Awning Lock Latches-Why Do I Need Awnings??
Why are awnings important? Steps to install Zip Dee window awning travel locks/latches. Includes VIDEO on…
-
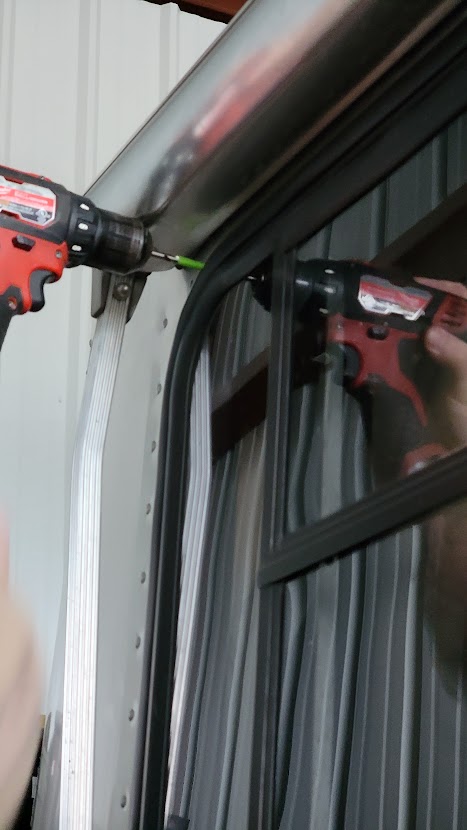
Loose windows? Here’s a quick fix!
Vintage trailer awning style windows can become loose over time potentially flying open due to wind…
-

Replacing Avion Rubber Window Trims
A complete how to guide to replacing window trim, including product sources, tips and videos
-

Looking to Connect with Avion Owners?
What are you doing at 7 PM (EST) on Tuesday nights? Join us for a live,…
-

Rock Guard Rescue- PT 3
For those following our Rock Guard 3R’s (rescue, restore, reinstall) we are on the final step. …
-

Rock Guard Rescue- Avion Trailer, Part II
Spoiler alert—be sure to visit our Rock Guard Rescue Part I before jumping in here! In…
-

Replacing the Front Window Gasket (Glass Bead)
Not the most “romantic” or instant joy repair….but a necessity for sure! Our 1973 Avion had…
