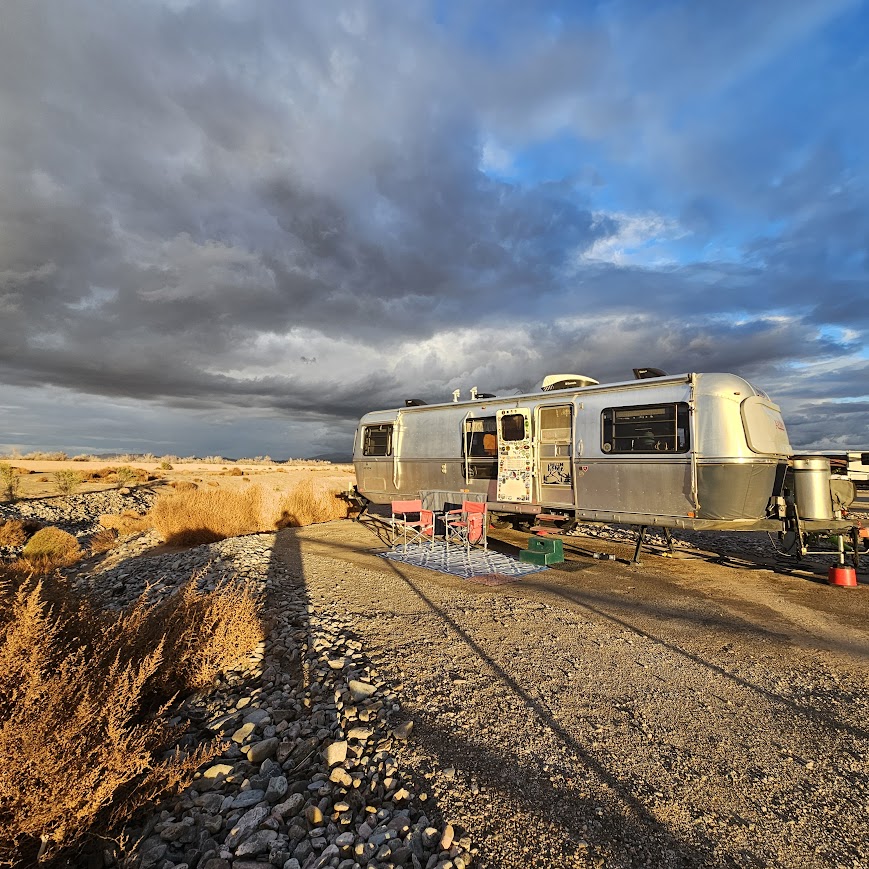
The Pewter Palace-1973 Avion LaGrande, 28Ft
-
Preparing & Budgeting for RV Travel-WOW! what we have learned!
First, a little background on our planning process to go full-time RV traveling once we both…
-
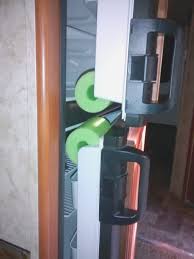
Loose windows? Here’s a quick fix!
Vintage trailer awning style windows can become loose over time potentially flying open due to wind…
-
Sneak preview Video, Our big Bathroom expansion VIDEO! just for our Blog Subscribers!!
We have completed our walk through video of our BIG Avion trailer mid bath expansion project!…
-

sharing 5 Problem-solver tips for rv-travelers
I thought I might give you a list of 5 “problem solving” tips, items or techniques…
-

Our ’73 Avion is Sold!
Update 6-20-20. Yes, We have sold our beloved 1973 Avion, 28′ LaGrande! This hard decision only…
-

Thank you to our Blog & FB Followers!
As we close out 2019 Kevin and I wanted to thank each of you for subscribing…
-

Friendship of Avion Owners is Limitless!
Never underestimate the power of the internet to connect old friends and make new ones! Sometimes…
-
Rock Guard Rescue-Avion Trailer, PT 1
We purchased our 1973 Avion in September 2016. Quite a birthday present for me if I…
-

Keeping RV Cabinetry in Tip Top Shape
There is no doubt that one of the key features of vintage trailers is their craftsmanship…
-
Winterization, Our Tips and Tricks for Avion Hibernation
It’s that time of year that I am beginning to dread more and more each year….winter…
