Our 1987 32S Model Avion
-

Flying Pests Meet their End!
Are you plagued by black flies, house flies, fruit flies? This little gadget has been a…
-
1987 Avion Sales Brochure of all Models
Here is a link to a super nice, in color, full sales brochure for the 1987…
-
These Roof Fan Insulators Work So Well in Summer & Winter!
We ordered these off Amazon after seeing a fellow YouTuber note how effective they were. We…
-
Fresh Water Tank Sanitizing & Water Fill Sanitation
There are some slight variances depending on full timing versus vacation RVing. These are procedures and…
-
Does Your Freezer Look Like This??
Well, it happened again!! Actually, in truth, we have actually only needed to do this “household”…
-
12+ Tips for High Wind & Awning Prep for your RV & Campsite
Handy tips to consider when faced with a wind storm while camping in your RV. We…
-
Things NOT to buy, Things to love!
Well, we have been RV and camping now for over 18 years ( nearly 2 years…
-
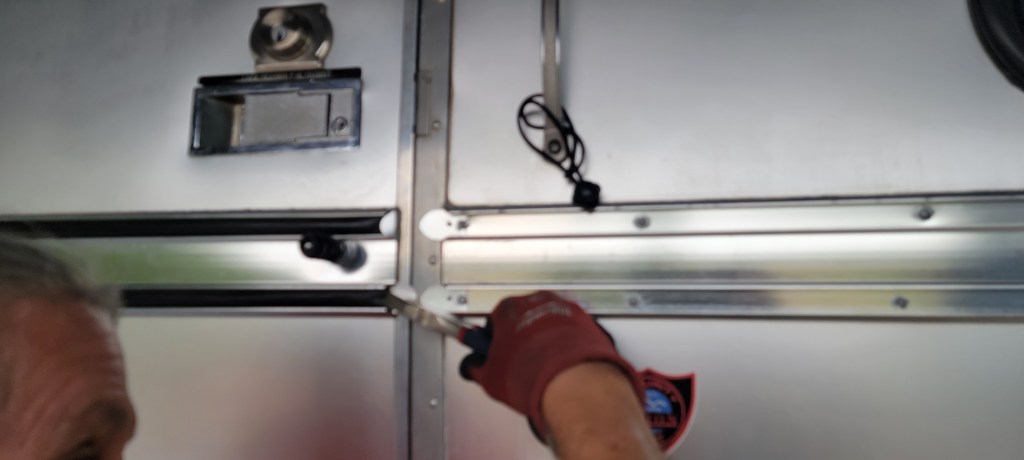
Avion Rub Rail Vinyl Inserts
Over time the vinyl “rub rail” around Avions shrinks, cracks or becomes brittle and faded. We…
-

Anderson Leveler System- modifications we have needed to make.
When we first purchased our 1973 Avion we purchased our first set of Anderson Levelers. We…
-
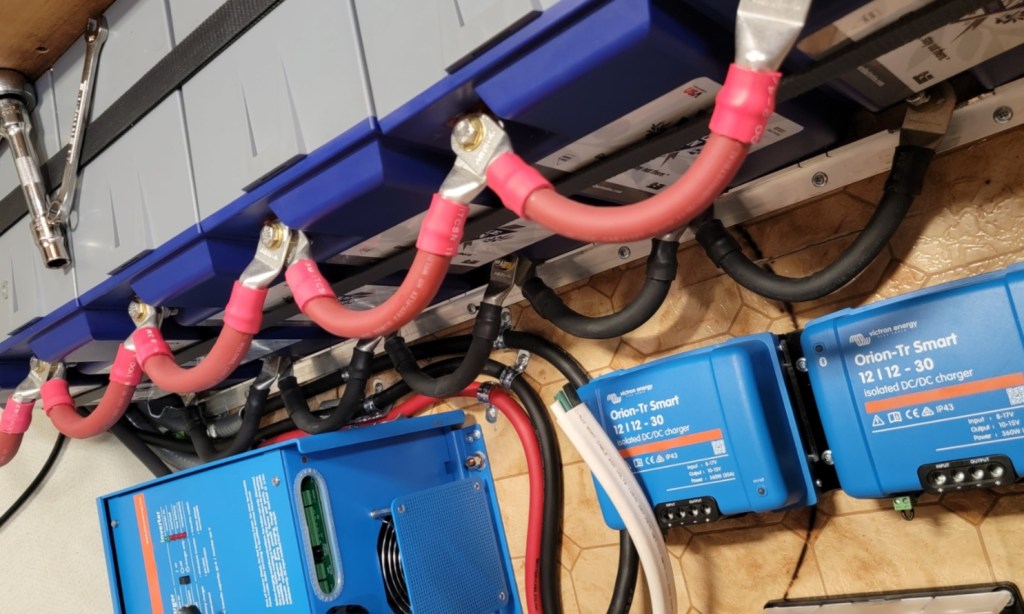
Lithium-Ion Battery Upgrade to our 1987, 32S Avion Travel Trailer
We made the decision in 2021 to upgrade from our 2 wet cell batteries to six…
