Gadgets We Love!
-

Our Tips for RV Trip Planning & using the RV Trip Wizard!
I share my personal tips on using RV Trip Wizard as well as tried and true…
-

Why we use CoachNet for Roadside Assistance for our RV and truck- plus valuable tips on breakdown management!
This article covers our first hand experience using roadside assistance, the company we use as well…
-
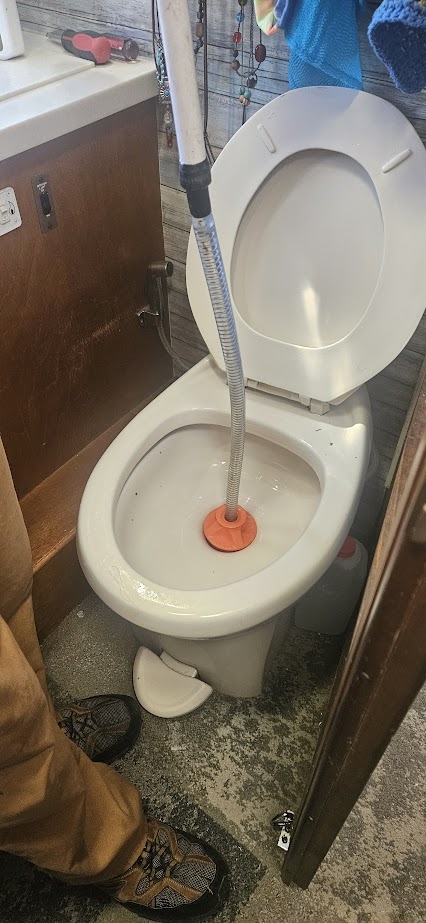
Spring Cleaning PT 1: Toilet and Sink Drain Pipes
Concise steps for maintaining clean black tanks, RV toilet, sink drain clean outs and more. Resource…
-

Grey Tank Lessons….
Great info on RV grey tank maintenance, tips, links to where to purchase replacement holding tanks-…
-

Flying Pests Meet their End!
Are you plagued by black flies, house flies, fruit flies? This little gadget has been a…
-
These Roof Fan Insulators Work So Well in Summer & Winter!
We ordered these off Amazon after seeing a fellow YouTuber note how effective they were. We…
-
Fresh Water Tank Sanitizing & Water Fill Sanitation
There are some slight variances depending on full timing versus vacation RVing. These are procedures and…
-
12+ Tips for High Wind & Awning Prep for your RV & Campsite
Handy tips to consider when faced with a wind storm while camping in your RV. We…
-
Things NOT to buy, Things to love!
Well, we have been RV and camping now for over 18 years ( nearly 2 years…
-

Anderson Leveler System- modifications we have needed to make.
When we first purchased our 1973 Avion we purchased our first set of Anderson Levelers. We…
