Gadgets We Love!
-
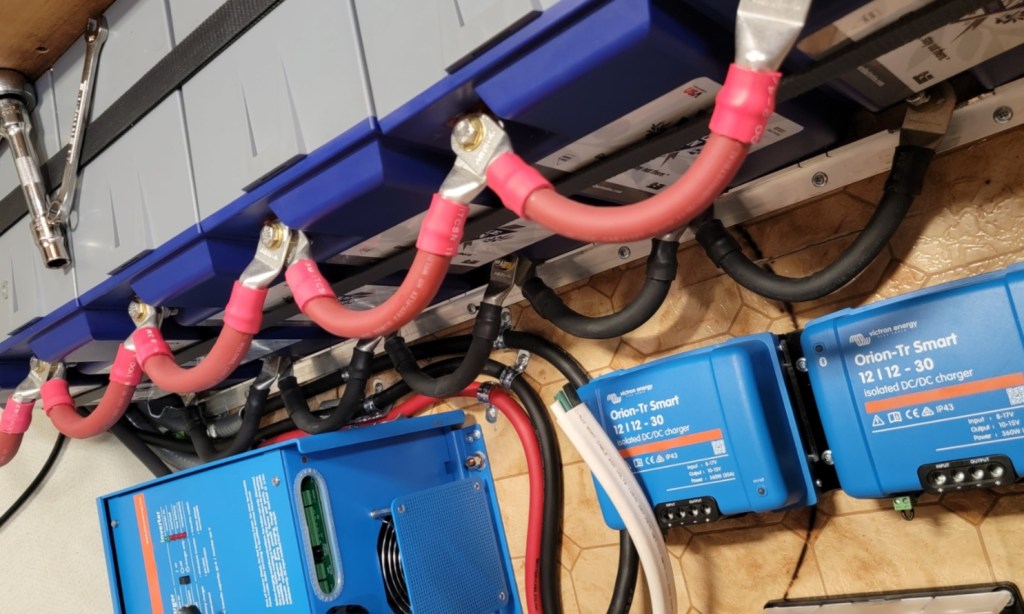
Lithium-Ion Battery Upgrade to our 1987, 32S Avion Travel Trailer
We made the decision in 2021 to upgrade from our 2 wet cell batteries to six…
-
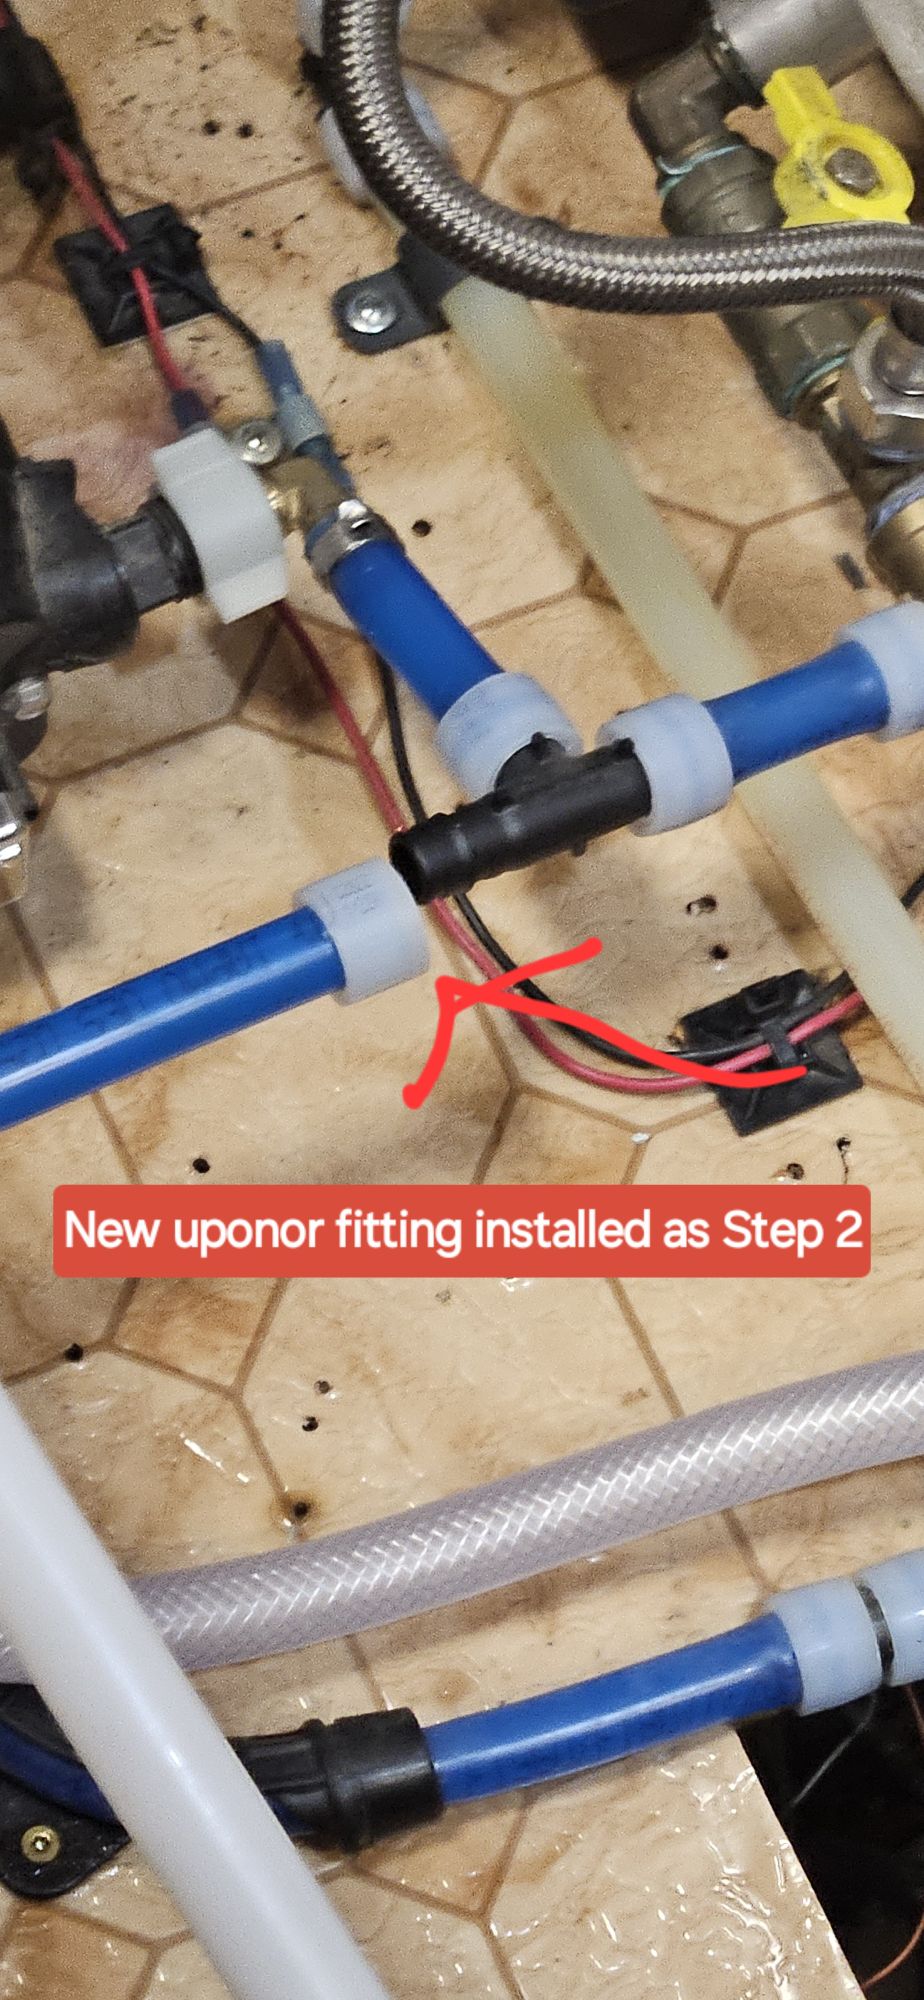
….And then we heard a “POP”! OH NO, that didn’t sound good!
Thank goodness we were home, just sitting in our Avion living room. We heard a pop…
-
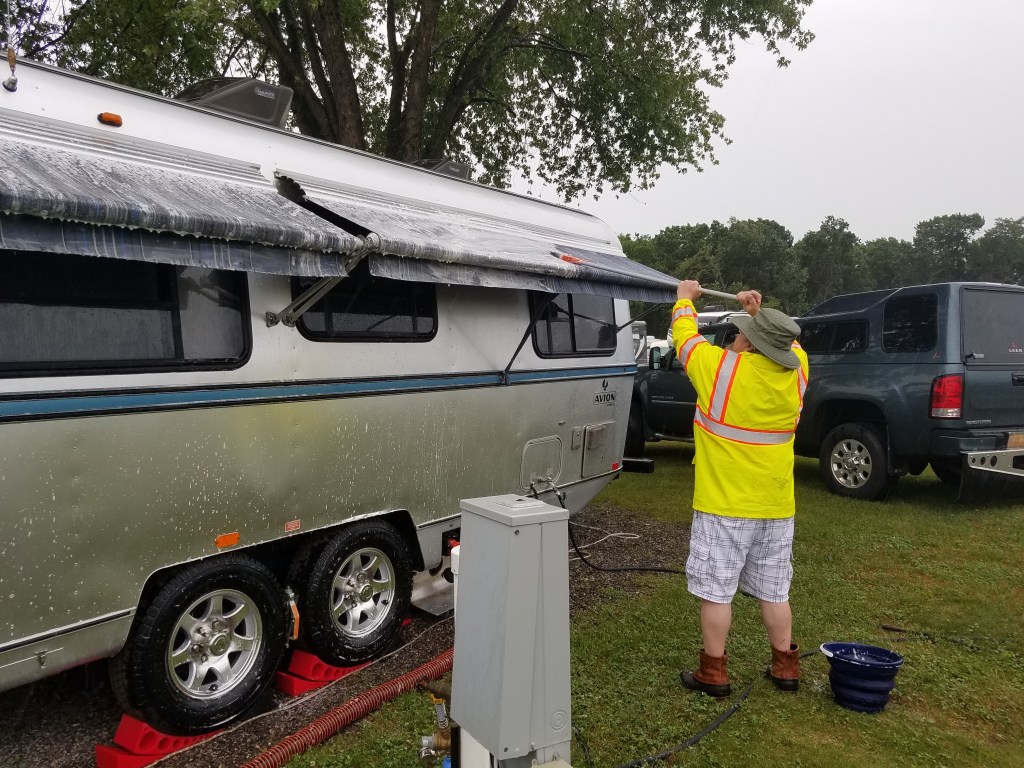
RV Awnings 101: how-to tips, purchasing & protecting your investment!
We have owned two Avion travel trailers. Below is an article about our history with awnings…
-

Fish in My Grey Tank??
Fish is NOT what I want in our grey tank! Can you imagine the stench on…
-
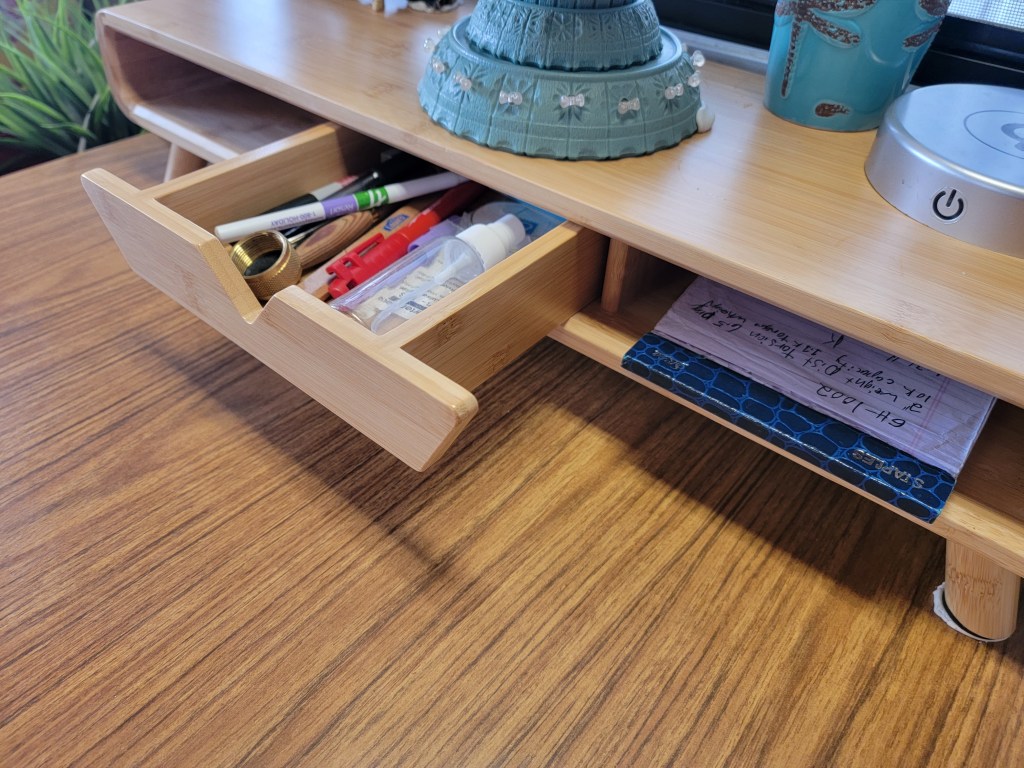
I Put it Somewhere….but Where is it? Tips for Organizing in Small Spaces
As many of you now know Kevin and I are striking out on our full time…
-

5 “Living Small”- Organization Tips & Products
In this short article I cover 5 basic tips and methods to help you live easier…
-
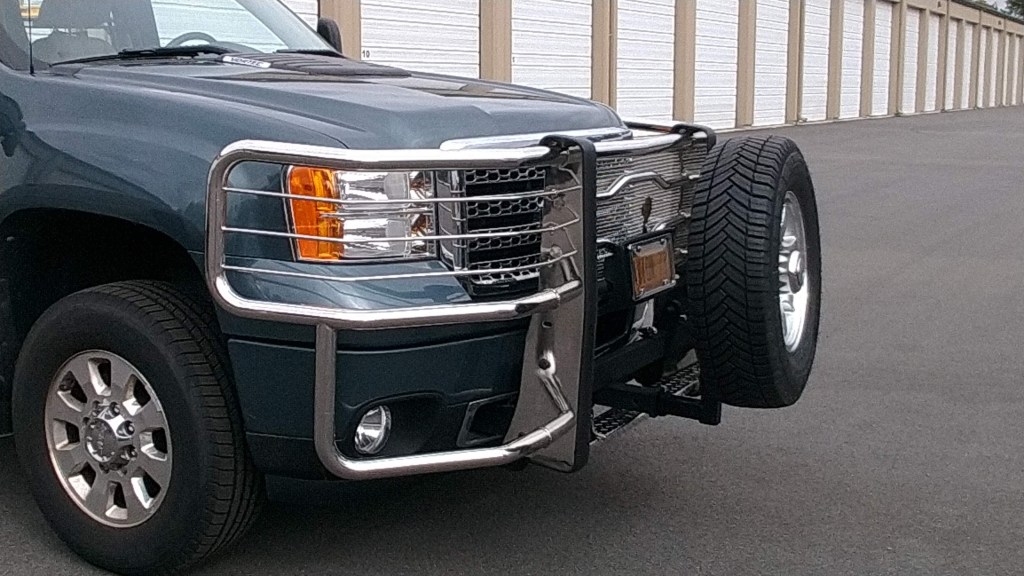
Trick’in our Truck – for Safety, Comfort & Towing our Avion Travel Trailer
Outfitting our 2011 GMC 2500HD Denali for towing our vintage Avion Trailer- special equipment for full…
-

Making your RV Feel Like Home- Keeping Things STUCK in Place Even When on the Road!
Great organization tips and products we use to keep our decorative items and everyday items in…
-
BEST Mouse Repellent We Have Found!
How to tips on repelling rodents in your RV or to get rid of them for…
-
4 Little fixes… Big Helps with RV travel & living!
Living “little” has its challenges…living little and on wheels presents even more! While we are not…
