Uncategorized
-

Grey Tank Lessons….
Great info on RV grey tank maintenance, tips, links to where to purchase replacement holding tanks-…
-
RV Life BUDGETING: 2025 in Review
Its time for our annual recap of our most common budget categories. We know some of…
-
So you want to see Alaska?? By RV or Drive & Hotels?
Greetings! As many of you know we celebrated Kevin’s first day of retirement on May 1,…
-
Leaky Rooftop Refrigerator Vent- How We Solved the Problem!
On our 32S the living room sofa area butts up against our refrigerator cabinet on the…
-

Flying Pests Meet their End!
Are you plagued by black flies, house flies, fruit flies? This little gadget has been a…
-

Top 10 Tips to Campsite Selection!
After nearly 20 years of RV camping we have some tried and true tips for selecting…
-

Leitner Lake Rec Area- Military FAM Camp, GA
We stayed on the Army base of Fort Gordon/Eisenhower in Harlem, GA on our southbound trip…
-

Harvest Host Site: Shenandoah Heritage Market, VA
This Harvest Host location is a perfect place to day trip into the Shenandoah National Park…
-
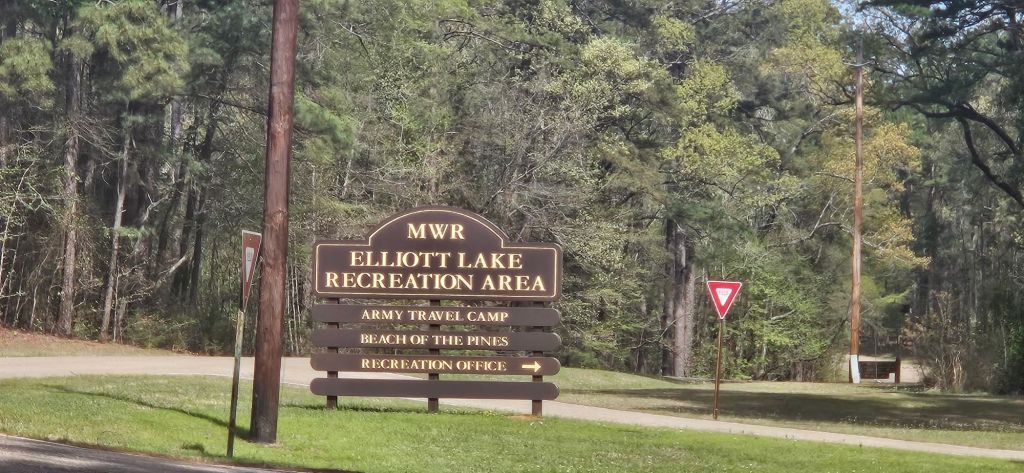
TX – Elliot Lake Rec Area-Military Base FAM Campground, TX
Traveling on I-30 from TX to AR then this is a great FAM camp to stay…
-
Repairing our black tank-leaks!
UPDATE: the repair we paid an RV shop ($600) to do only held for 5 months. …
