UPDATE: the repair we paid an RV shop ($600) to do only held for 5 months. We had to remove this old tank and ordered a new one (near exact size and measurements) from http://www.Pellandent.com. They work with a company in CA called Inca Plastics. We are very pleased with the new tank and their customer service.
A FEW TIPS before we get started:
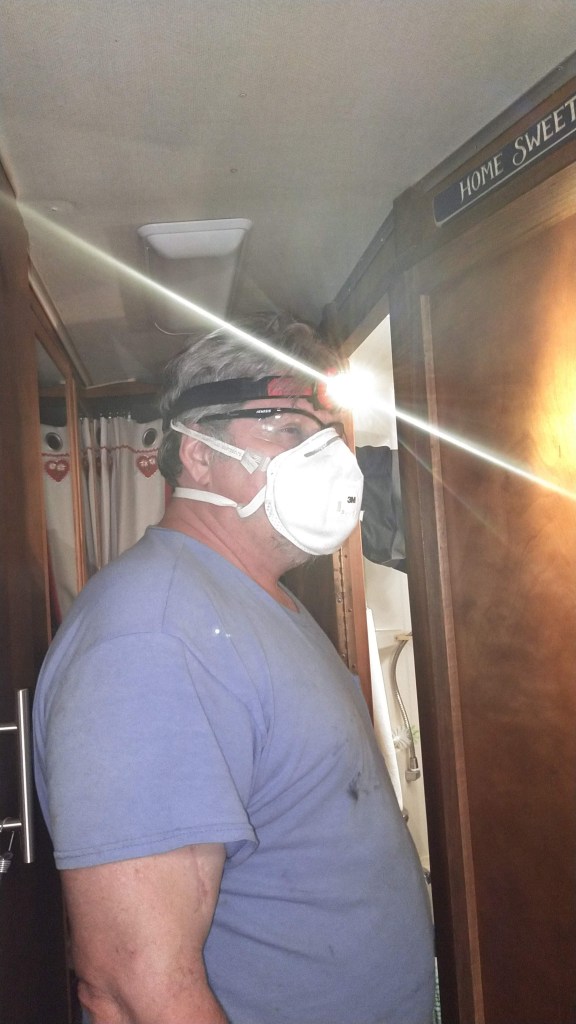
- Have a face mask (can be good medical grade disposable type)
- Have eye protection, safety goggles, face shield is even better
- Have a auto creeper to get underneath
- Take LOTS of video or photos of every step so you have visual reference points for every step you take like, removing the tank supports, how the drainage and vent pipes are attached, measurements as you go along.
- Have a helper nearby to hand you needed tools, take down notes.
- We highly recommend you try to do this job on either a concrete or paved surface. You must be able to wheel around on the creeper AND if your Avion is like ours, there are lots of sheets of hard residential type styrofoam bats that have been stuffed up under the belly pan and you need to drop them all down around your work area. ** number them or keep them in stacks from where they go—its like a puzzle for sure!
- Super clean your tank before starting (see below the steps we took)
- Watch a bunch of YouTube videos on how to drop and repair tanks. They are helpful to “get you in the mood!” We have saved a bunch of the ones we used for reference to our YouTube channel for the Pewter Palace. Link Here-happy watching!!
This is what happens when you inadvertently—–read TOTAL BIG MISTAKE put on your tank warmer pads in the middle of summer when they are NOT needed and your tank is pretty much empty! Yup, big no, no and it happened because our tank heating pads were never set up with their own switch so when we put fuses in the power center in the wrong place (and lit these pads up) this is what happened over a little time and no awareness on our part.
BUT! leaks can also happen simply from age, from lots of hard knocks from rough roads, road debris hitting the tank, or the support systems giving way. Yes, one Avioner had his black tank literally drop right out of the bottom of his rig!
VIDEO of our black tank with heating pad still attached–I SPY a problem!
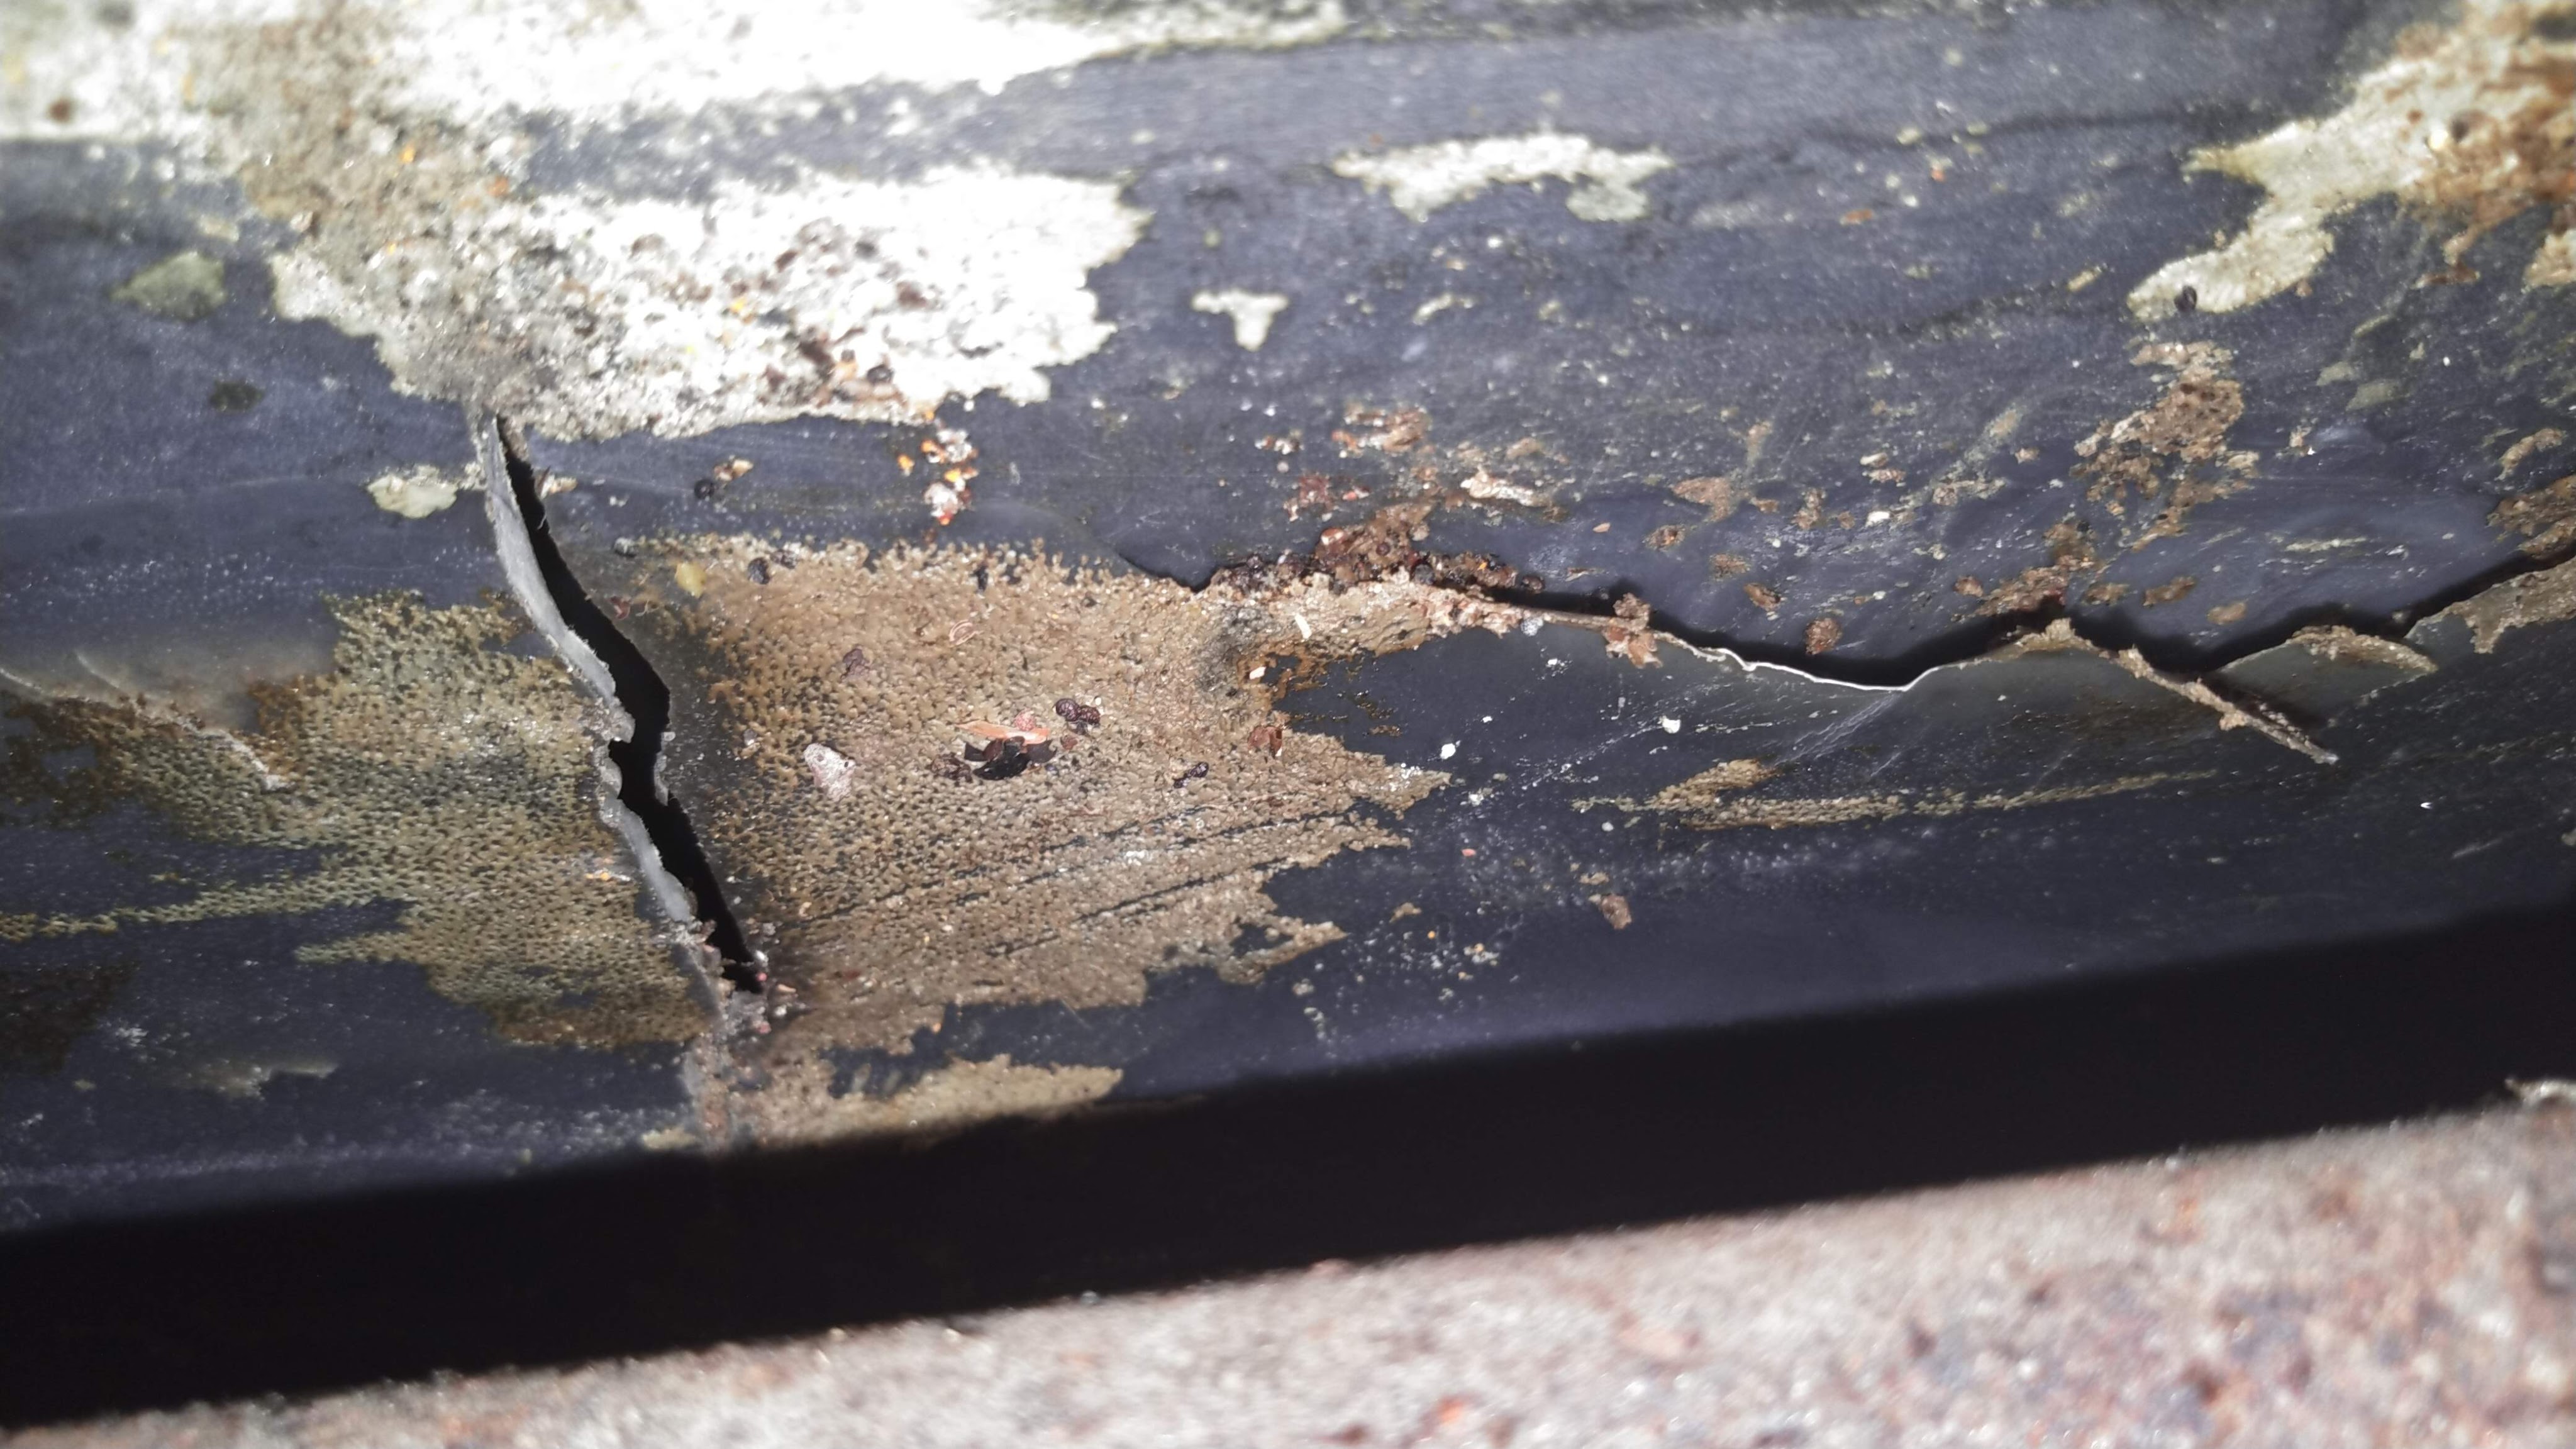
HOW DID WE KNOW WE HAD A PROBLEM? We only found out because at some point the heating pad under our blank tank melted away enough of the plastic to the point where it stressed and created cracks and we had water (not nice water either) leaking onto the ground. It was not a gusher, but enough to tell us trouble was brewing! Thankfully it appears our fresh water and our grey water tanks were spared at least we believe so as they are not leaking and both of them did have some liquid in them at the time this was happening.
Here is a video Luisa shot while on the creeper underneath our 1987 32S Avion to show you our set up and where the cracks were visual.
Repairing or replacing RV black tanks are never a good thing. There are a number of issues:
Messy job! Be sure you take your RV to a campsite with FHU or a dump station and wash, wash wash that baby out really good! This is what we did for this first primary step in this whole repair/replace project:
(1) We filled our black tank to near full with clear water and added 3 doses of our Unique tank cleaner digester. We let this sit for a day (yes, it was dripping from the leak into a pan on floor but still doing the job anyway)
(2) We drove (to slosh things around a bit in the tank) to a local campground that has a dump station we use as needed after boondocking.
(3) We did a 2x fill and flush of the system- including taking the screen off the bathroom window so we could get a hose in there to refill quickly. (please use a grey water or dedicated hose for this…NOT your fresh water hose!)
(4) Then we used the “magic toilet wand” attachment to the hose and for at least about 20 minutes sprayed the daylights out of ever crack and crevasse, tube, tank and pan inch we could.
The black tank was as clean as it is probably gonna get after all this. WHY do all this? Because once you start having to take off the drain pipes, etc. and fool with tilting the tank to dislodge it from where it is attached, you are bound to get yucky leakage…and you do not want that on your face, your hands, your body or hopefully anywhere else!
LET’S GET STARTED:
Prepping the actual tank work area:
- Unbolt stabilizer bar that is near rear tire (ours is a tandem trailer) and our black tank sits very near back side of rear axel. Set stabilizer bar and its bolts off to the side safe away from the work area.
- Remove the belly pan sheets that will be near and around your tank area, we labeled them so we know where they go back into. Have a plastic tupperware container or shoe box nearby to put all the hex screws (in our case) in. If riveted on you will have to drill out all the rivets and then either re-rivet or use hex screws to put pans back up after job is complete.
- Set aside all the styro insulation bats and pan sheets. Take photos and/or videos of what you have as your tank set up for archive purposes later.
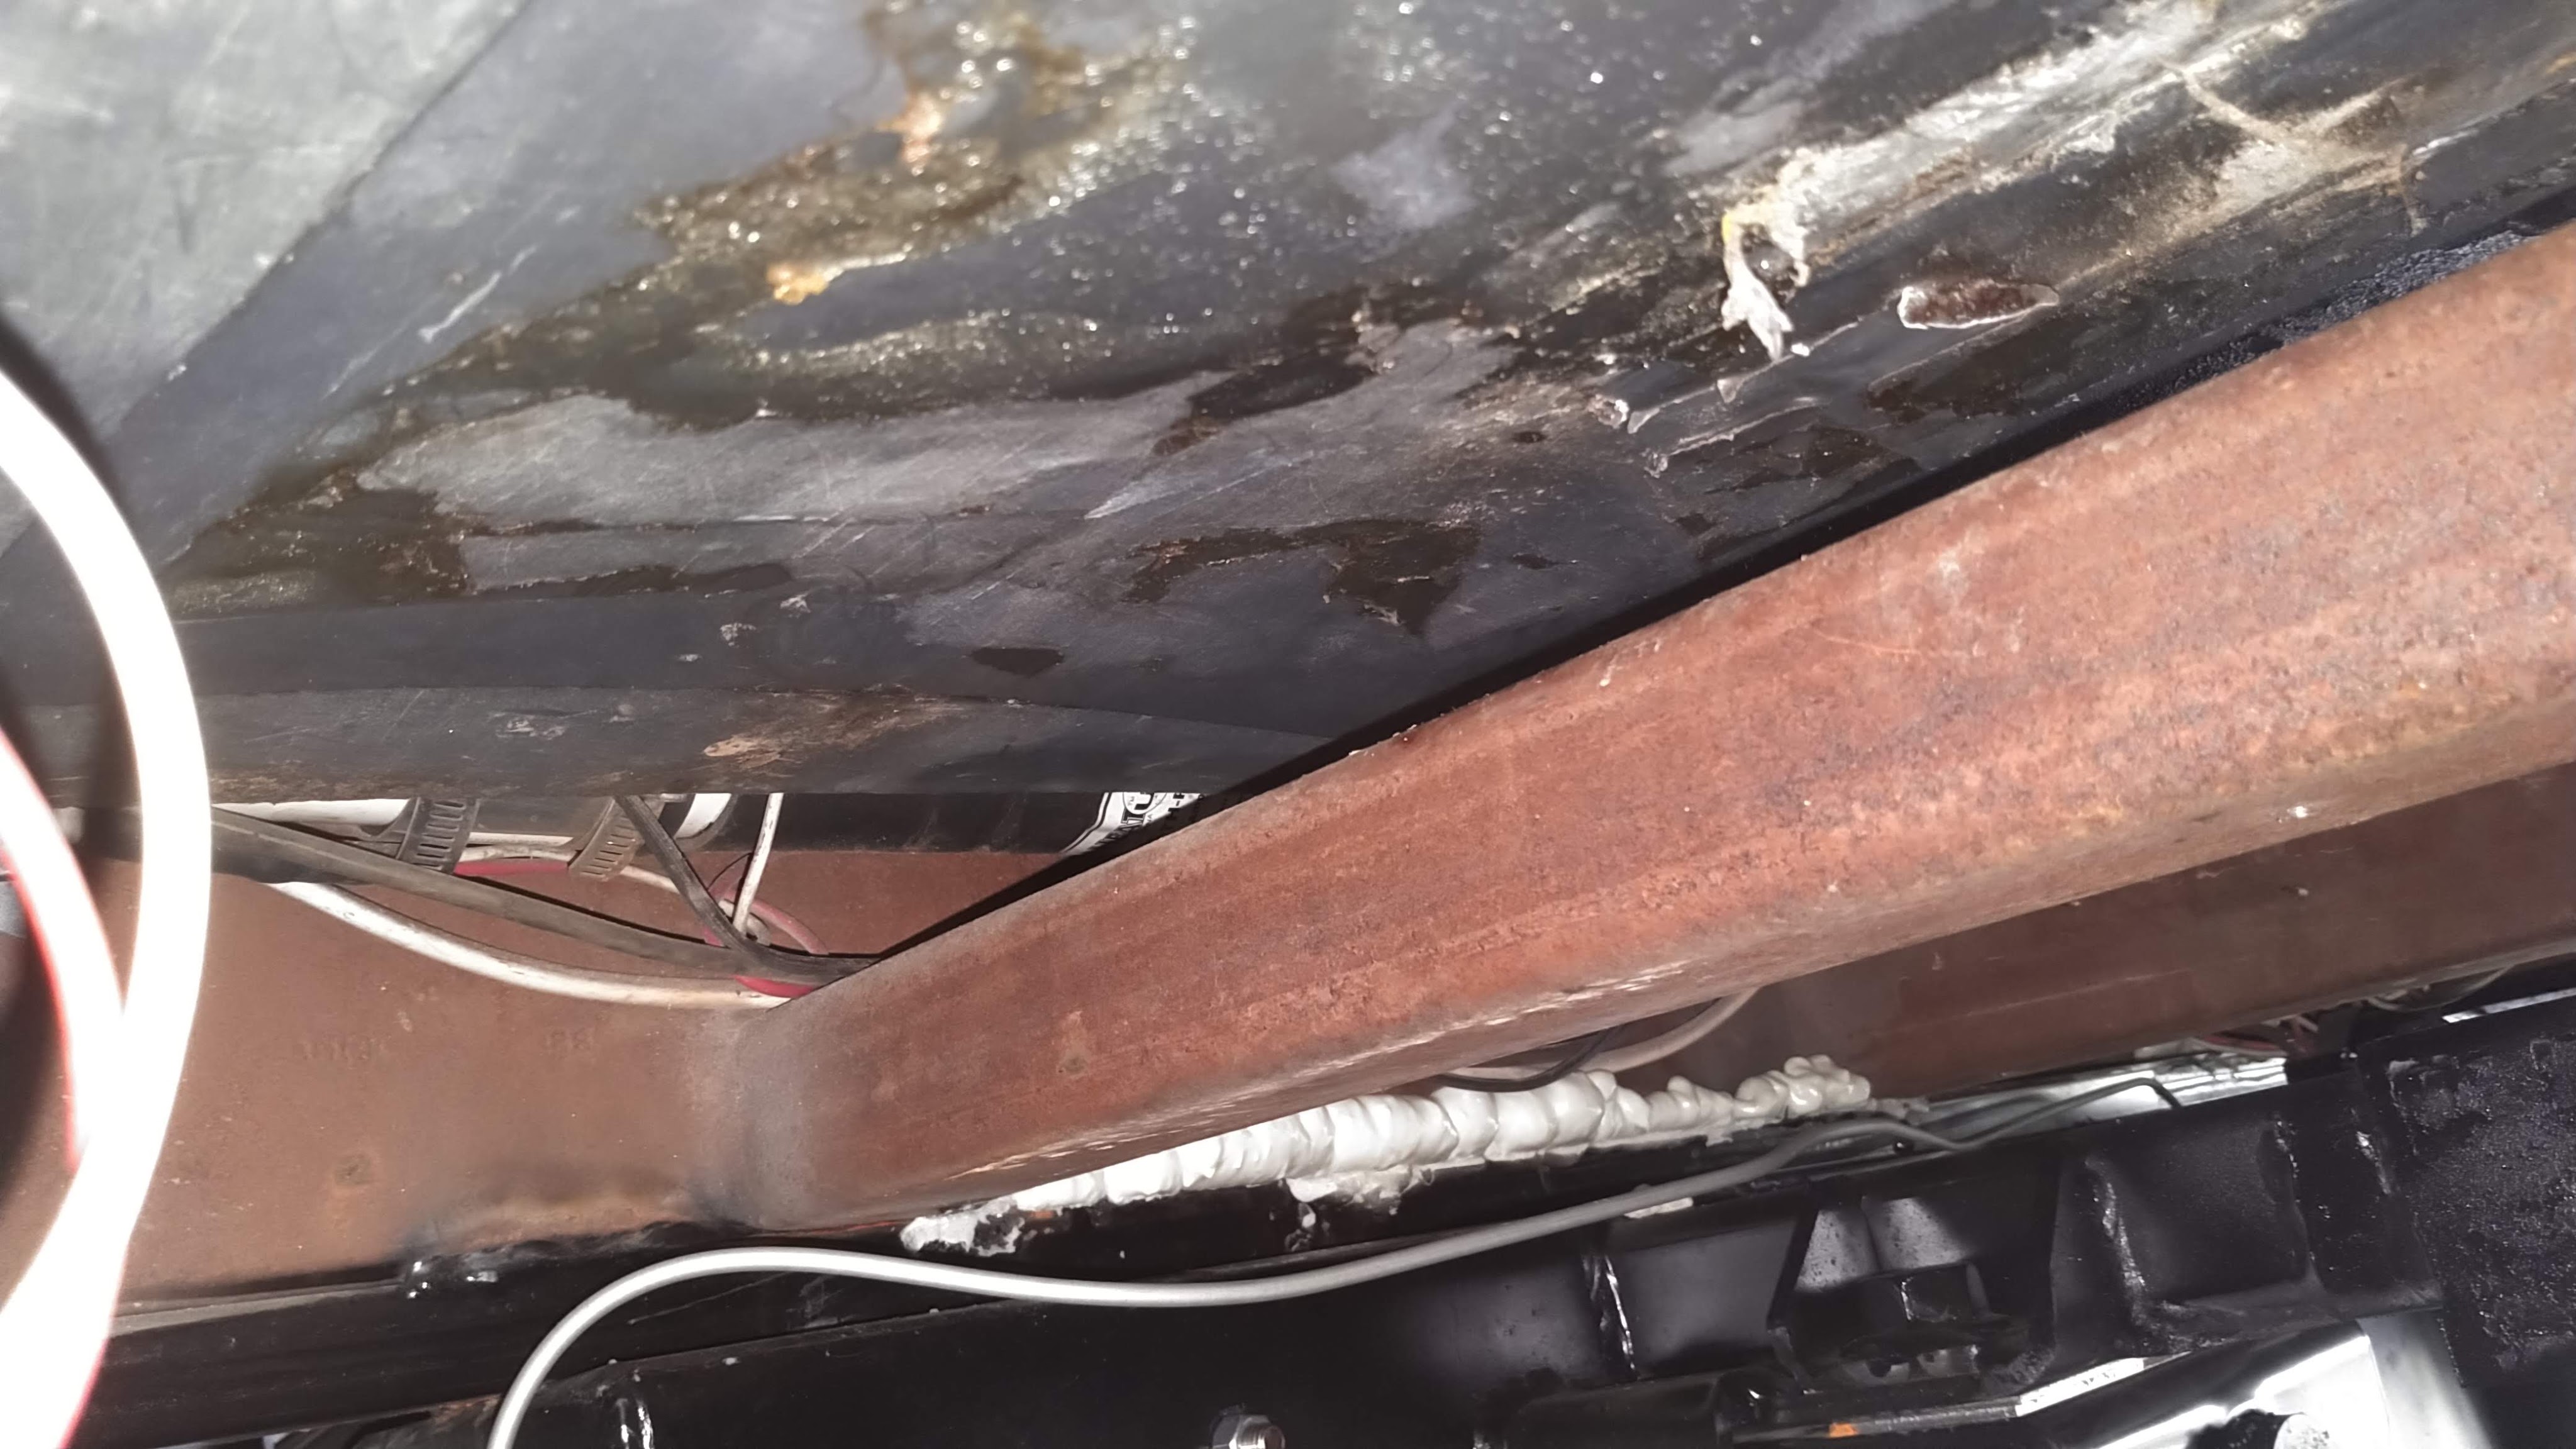
- While you have the belly pan sheets and insulation out, give your frame and other visible components a really good look over, take photos again. Check your trailer frame for rust and deal with it now, rather than later!
Evaluate Tank Condition Part 1:
Using flashlight (we found headlamps far superior for this entire project) inspect the tank as much as you can visually. This includes bottom and sides. Look for punctures, tears/cracks or any other type of degradation. Check seals around the pipe outlets for dump pipe for any leaks at the connection points.
Tank Removal:
First you have to remove your toilet in the bathroom. This may be easy, or it may be a PIA. Ours was a PIA because at some point in its 35 yrs the gasket put to snug in the pipe was glued in place. It would not budge. The collar plate on the floor was no problem getting off, but Kevin needed to use a Dremel tool and Diamond edge small 2″ blade to cut out the pipe that came from the tank up to the collar on the floor.
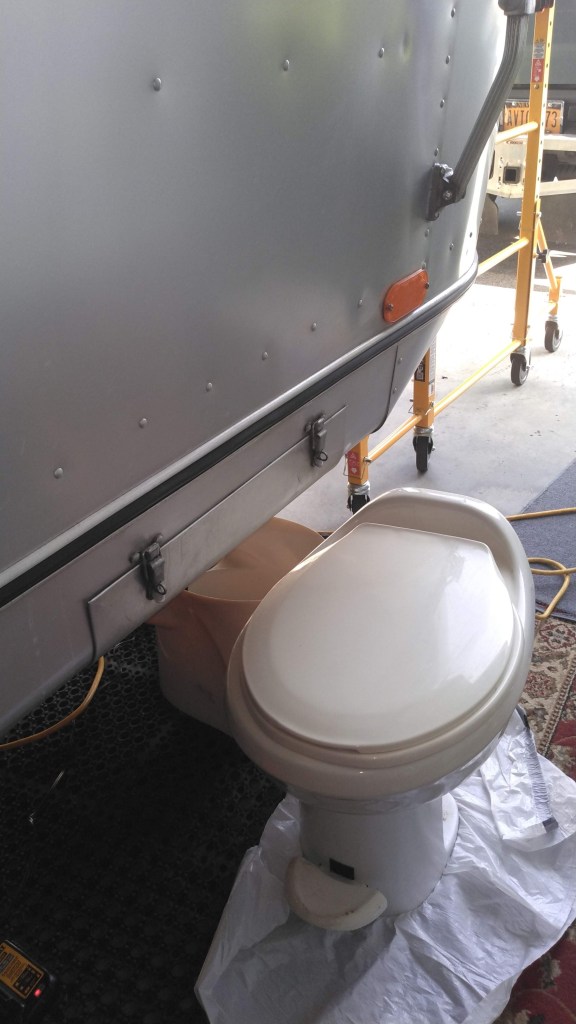


With the toilet removed and put in a safe location, next…
Remove the vent pipe connection to the top of the black tank. In our 1987, 32S model this stack was in the right front corner of our furnace cupboard. You will need to locate yours based on your model. Thankfully, this was an easy task as the pipe had a screw off connection. Score 1 finally!
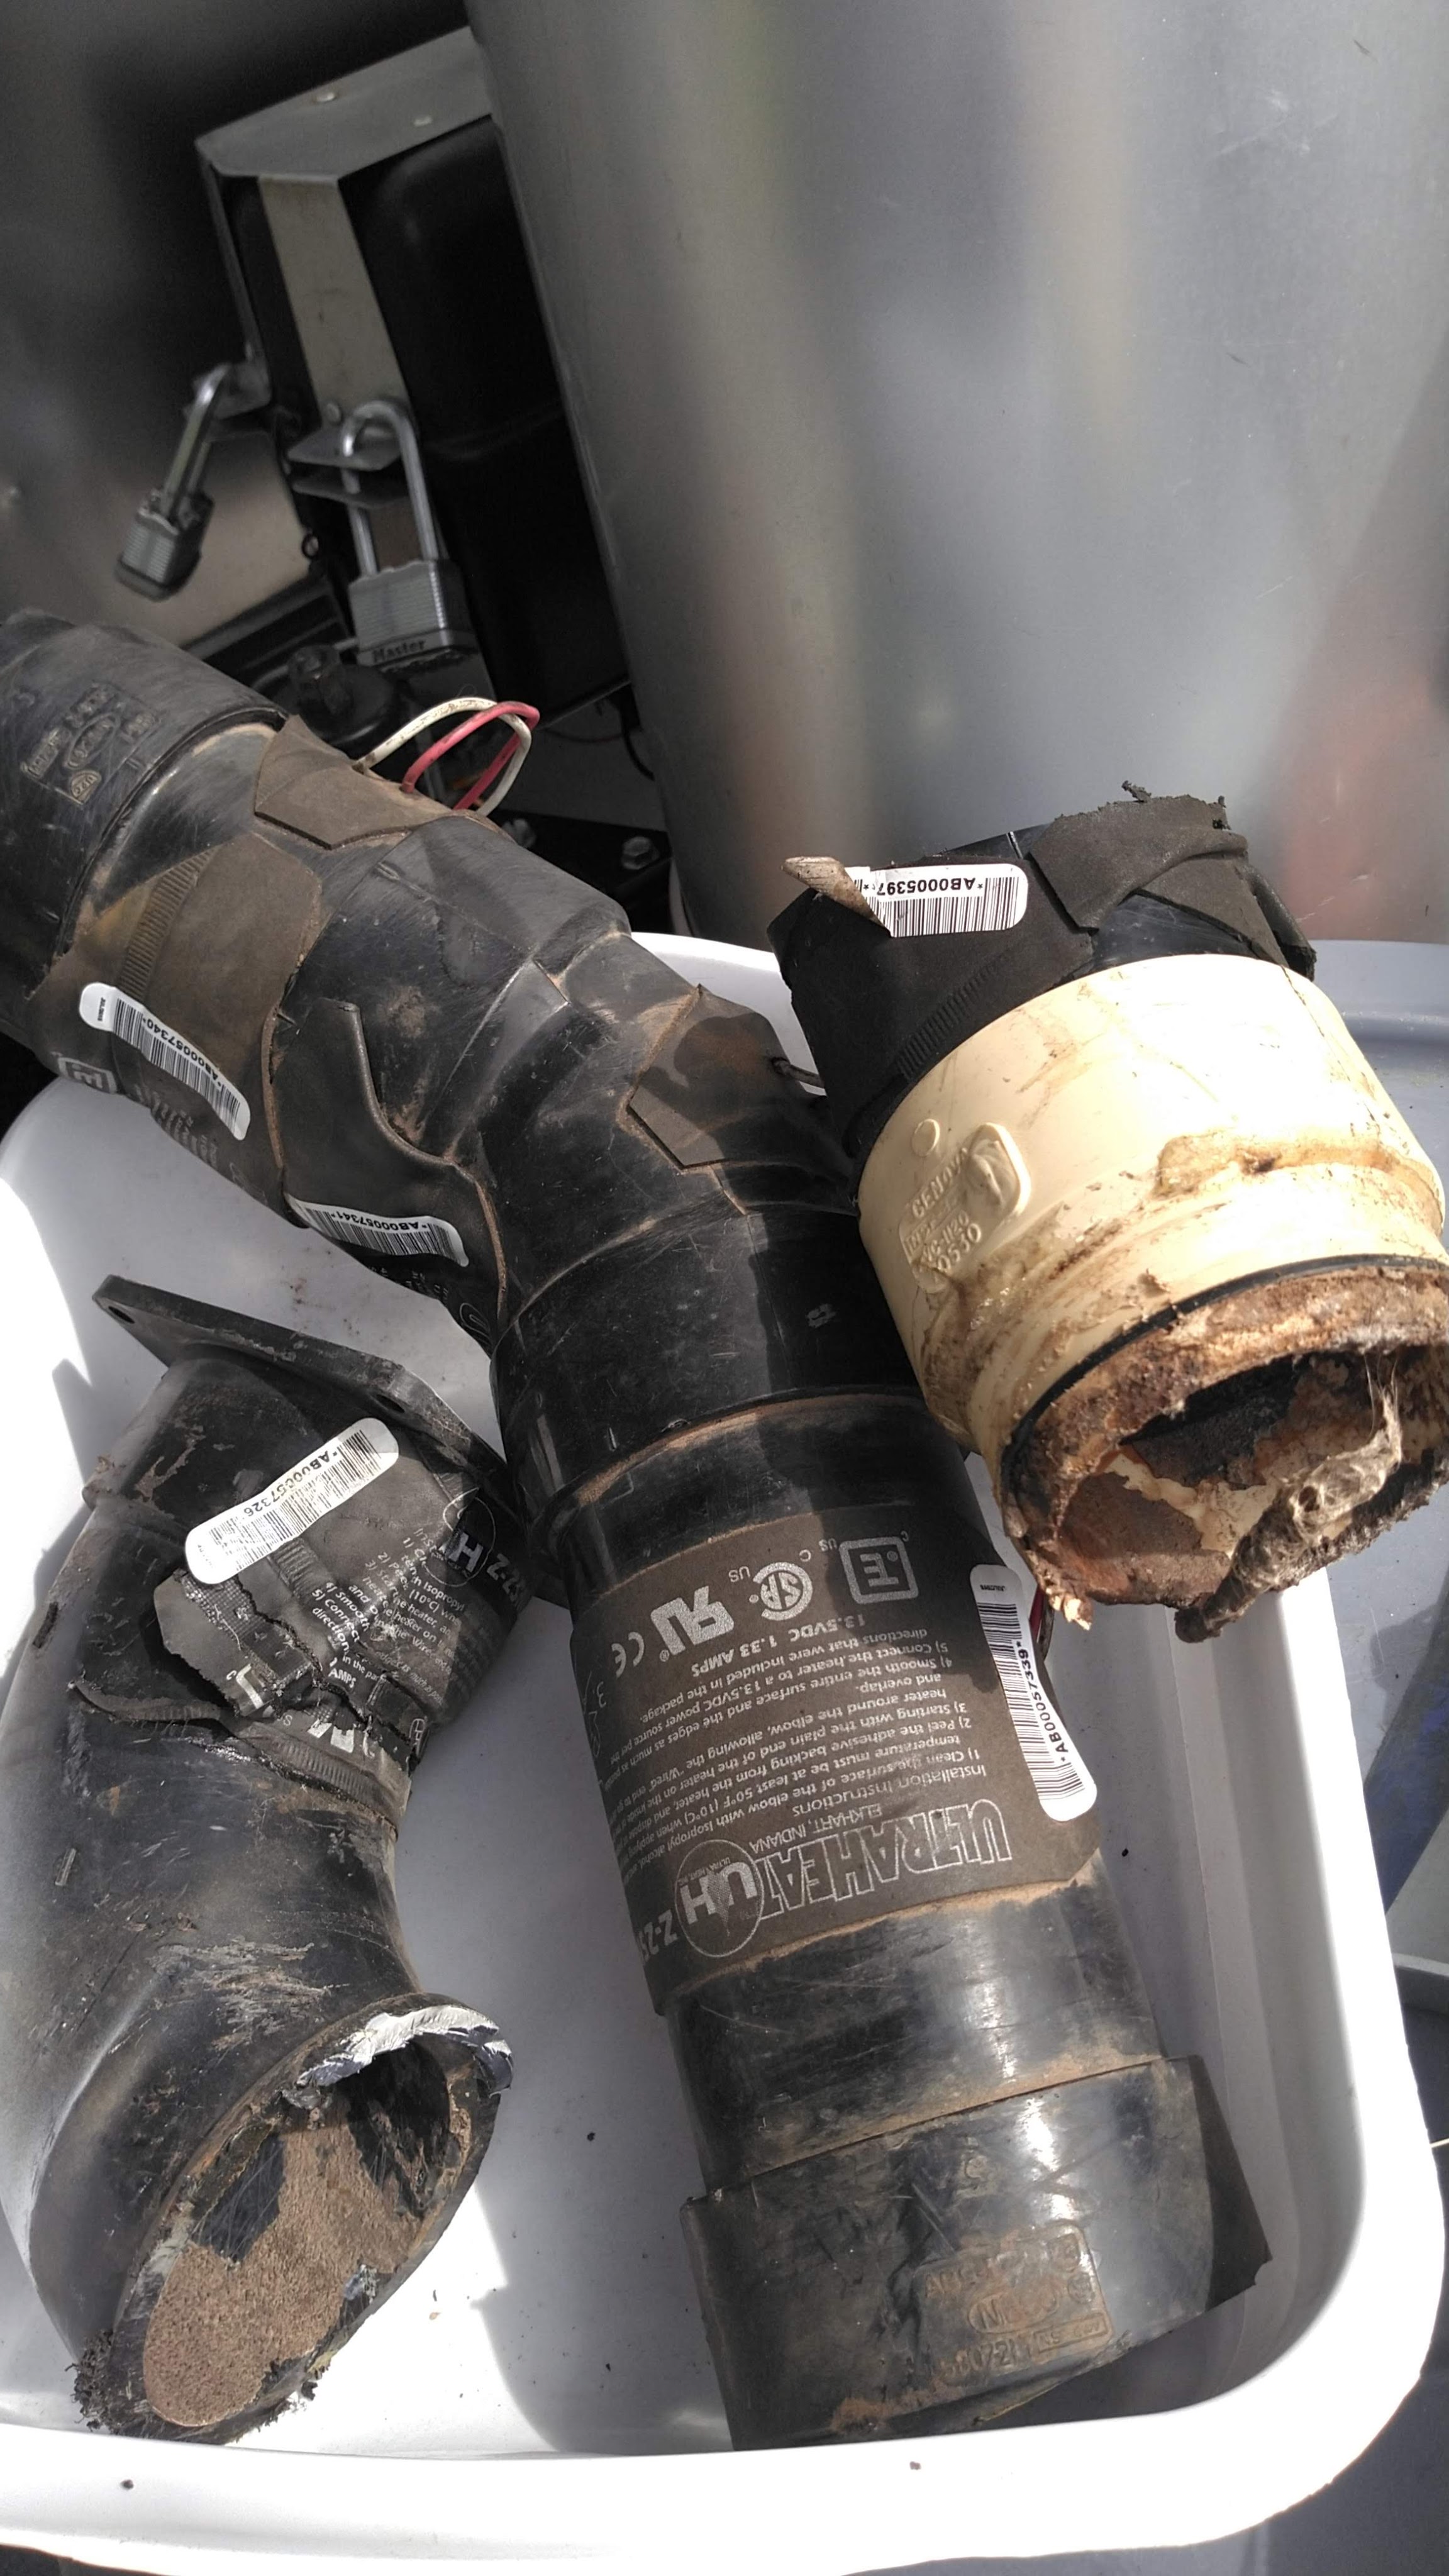
With both the toilet and vent stack disconnected, now its time to go back under your rig and remove the 3″ discharge pipe that takes sewage to your bayonet valve and to the sewer dump hose you connect when dumping your tanks. Ours was a twisty mess of several connections to get the right angle from the side discharge outlet of the tank to ultimately outside to the sewage valve bay area. Go easy as you may be able to salvage this piping completely and reuse. Unfortunately ours was really stuck on and we had to cut off the final elbow joint that fit through the sewerage bay area. Keep these parts to know what you need to buy should you need replacements when completing your new tank install.

Leave a comment