We needed to find a good source for our 1987 32S front and rear marker lights.
Amber in front (4) plus one centered on curbside near awning roller cover….
( 3 ) red lenses in rear.


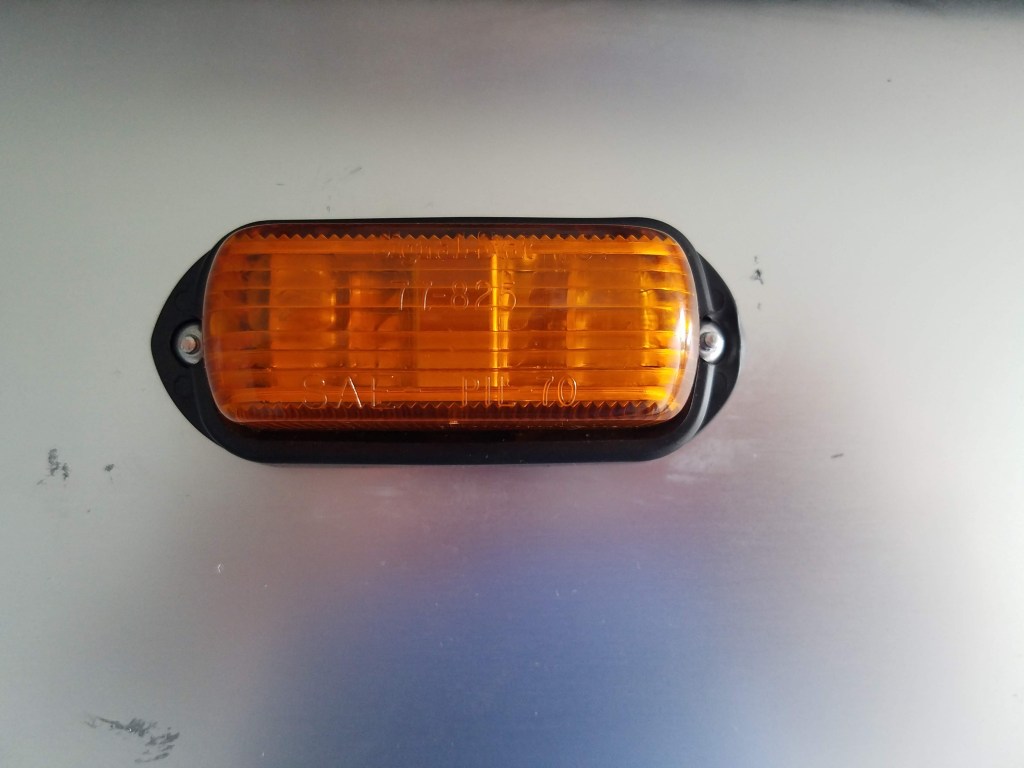
Below is the excellent new product we found that fits perfectly to the 3″ on center and continues to be the same style as the originals with the rubber base and slip in lenses.


I have put this photo specifically in below to show how we use a thin bead of Parbond along the top and 1/2 to 3/4 the way down each side of ANY light, or any fixed object, plate, etc. that must be installed on the exterior of the Avion. This protects those vulnerable areas (now that have screws or rivets through the skin) from water penetration.
Kevin used 5/32 Olympic Rivets to secure the fixture in place.

So very often, as was the case with our ’73 Avion and now in our ’87, because of a lack of Parbond or similar sealant above the light fixtures, water gets in there, rusts the bulb clips and in some cases aids to corrode the wiring junctions. A few seconds of Parbond application (see our other posts or our FB page about the fill-able syringes we use to feed a nice thin bead-rather than straight from the tube!) solves water penetration issues. Parbond sets up firm, but not permanent and can be removed. We use the aluminum color on this type of project, and clear Parbond on our black rubber window trims. Clear could certainly be used on the light fixture project too. Any other things you may have to afix to the side, e.g. an aluminum patch, etc. we recommend using the aluminum colored Parbond if the area will be eye level or lower. This is what Chuck Cayo used when repositioning our awning brackets when we changed from an original Carefree system on our ’73 to a new Zipdee system in 2018. So if its good for Avion-Guru, Cayo…it works for us too!!


Last step on this project….
These marker lights come with incandescent, typical automotive bulbs. Fine enough and what is shown in the lit up photo above. However, we plan to change out EACH of these lights with LED bulbs to save energy, burn cooler and even brighter, and above all…so we get far longer life out of each bulb and should not need to do much maintenance at all with them.
We have worked with M4Products.com customer service AND the makers of the light fixtures to verify that the following small style LED bulb replacement will work in these new marker light fixtures.
We hope this post has helped you with this project! Let us know!
Be well, travel safe, enjoy the journey!
Kevin & Luisa Sherman, thankfully Covid-19 free!


Leave a comment