Thank goodness we were home, just sitting in our Avion living room. We heard a pop back in our rear bedroom. Yikes, what just happened??!!
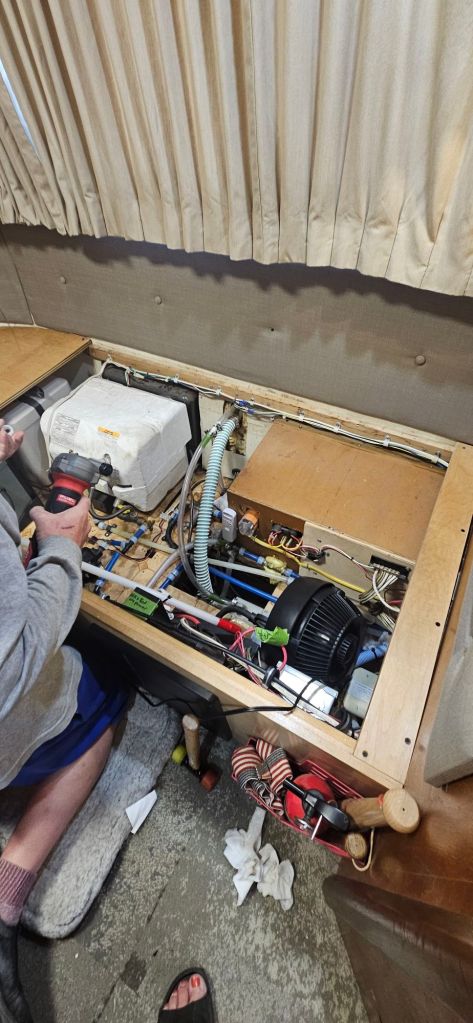
Mind you, that is where ALL our mechanicals are on this 1987 32s model!
Kevin reacted quickly and realized we had left the water pump on after using it 15 minutes ago. He shut it off immediately (literally within 45 seconds of hearing the pop!)
Quickly, we removed the streetside mattress, etc, and opened up under the bunk.
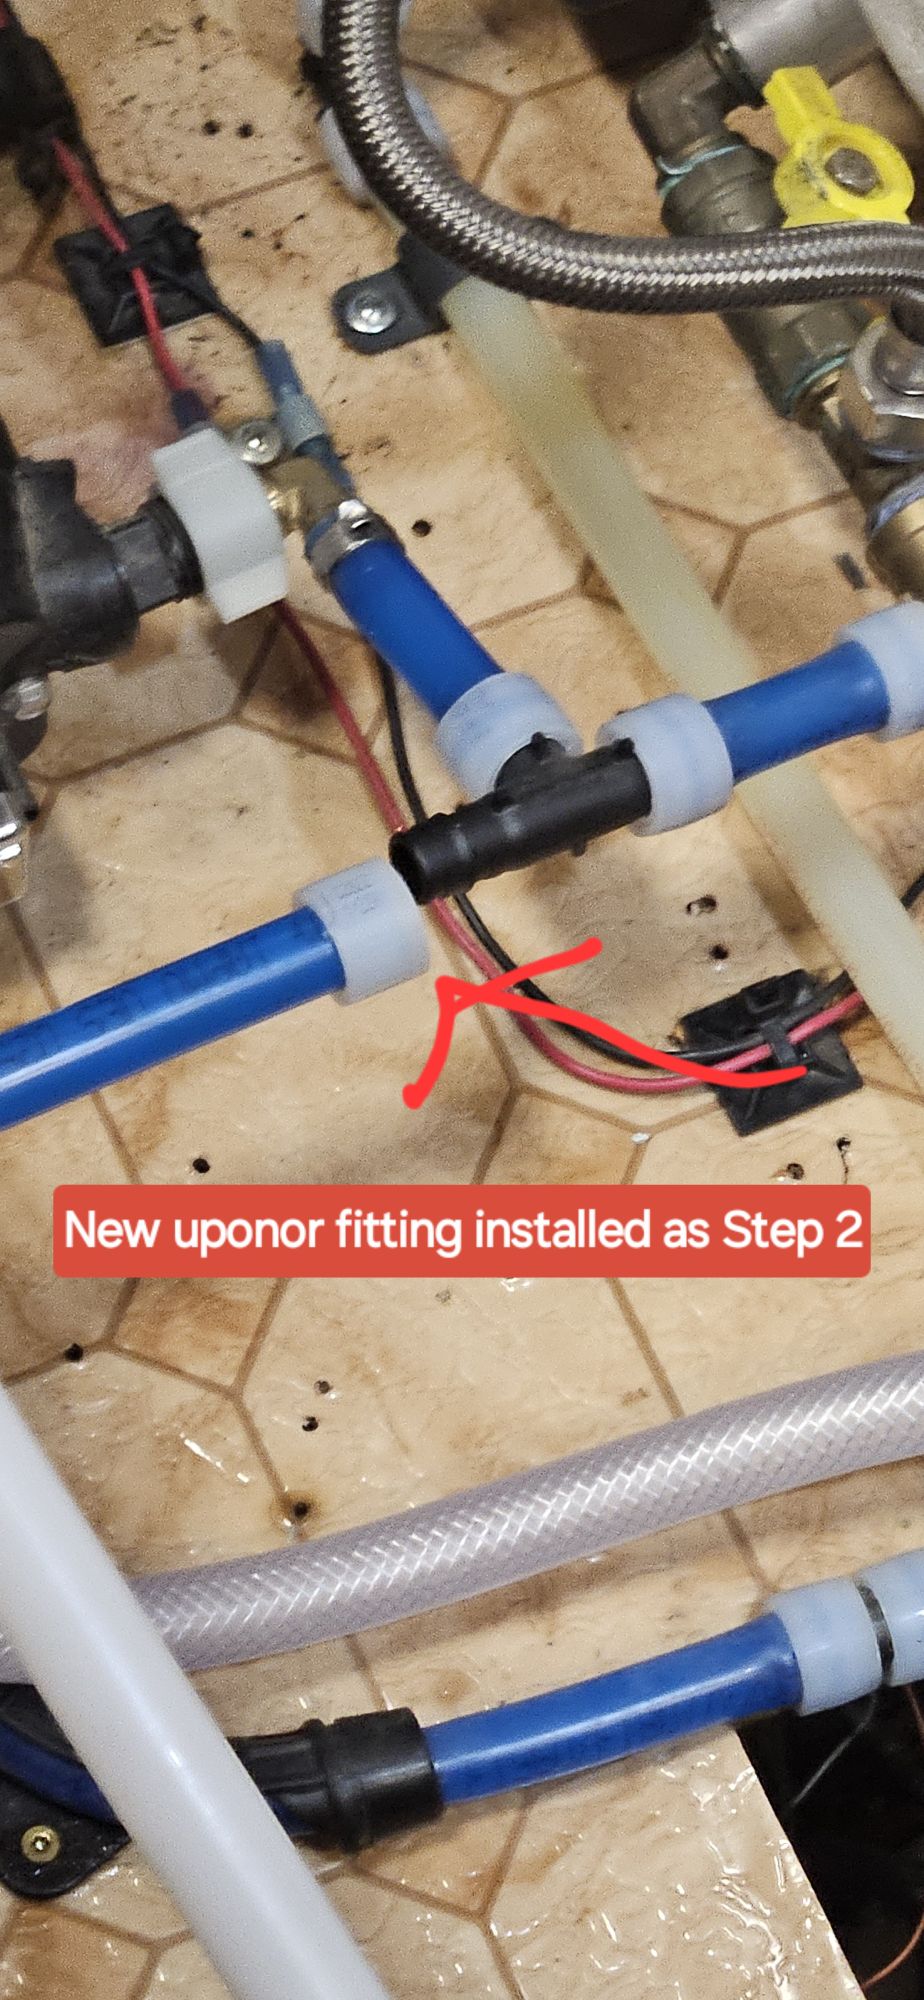
Yup, a short, 4 inch waterline connection in our 1 1/2 yr old PEX system (we installed ourselves) had popped off the “T” connection. Water had come into the area pumping out of the water pump. Thank goodness we were here, and he shut it off quickly even before opening up under the bunk.
RULE OF THUMB #1: ONLY TURN YOUR WATER PUMP ON WHEN YOU ARE ACTUALLY NEEDING TO USE WATER.
RULE OF THUMB #2: ALWAYS DOUBLE CK THAT THE WATER PUMP IS OFF IF LEAVING YOUR RV.
RULE OF THUMB #3: WE ALWAYS TURN OFF THE CITY WATER CONNECTION AT A HOOK UP SITE IF WE ARE LEAVING THE RV FOR MORE THAN AN HOUR.
WHY?? Because if a pipe were to break in your RV you will come home to a Neverending flood of water if city water is left on. Why? If the water pump is left on, and a pipe breaks – your water pump will continue to pump water from your fresh tank into your RV and flood it AND if it drains your fresh water tank you most likely will burn out your water pump and worse this could start a fire.
SO BACK TO OUR PLUMBING ISSUE!
“1-800- Mobile RV Tech to the rescue”….also known as Kevin himself! This guy is amazing- but not for hire! Ha ha ha!
Within minutes, Kevin was in our truck, pulling out his Milwaukee PEX repair kit and spare couplers.
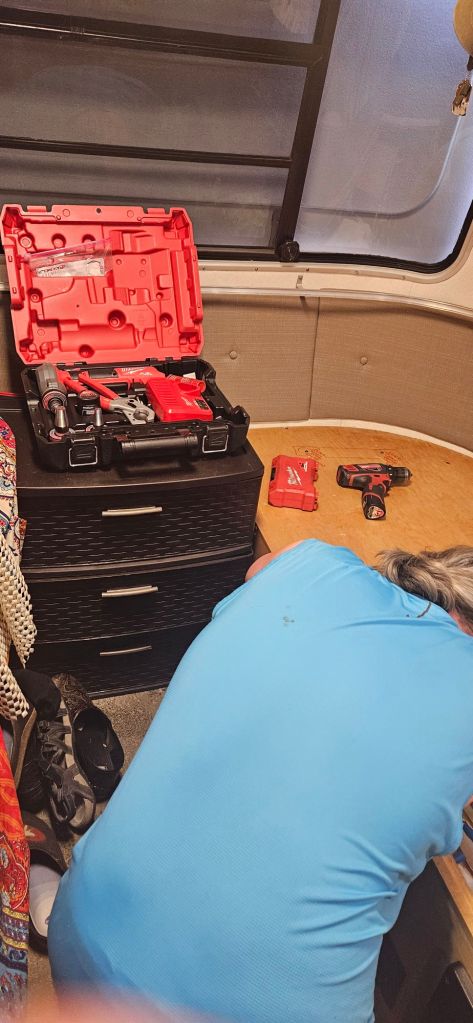
Honestly, I think it took him as much time to retrieve the tools and new coupling than it did to do the repair.
So yes, this is why we have an extended hightop Cap cover on our truck so we can store repair stuff and camping gear. As you know, Avions are not known for their storage capabilities!
Step 1- use pex cutter to cut the pex A pipe just behind the connection that failed.
Step 2- using the Pex A Milwaukee expansion tool – put on a new white connection ring. Allow about 1 min to allow connection ring to shrink back down around the pex piping.
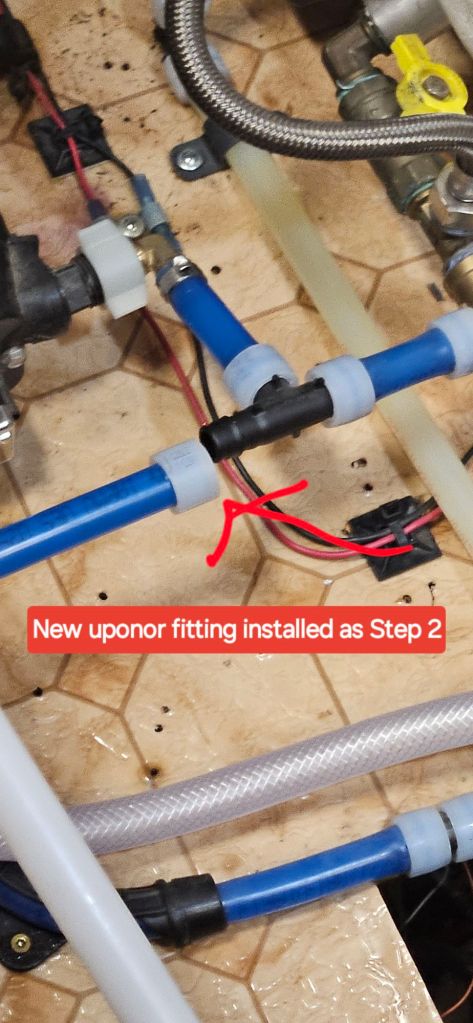
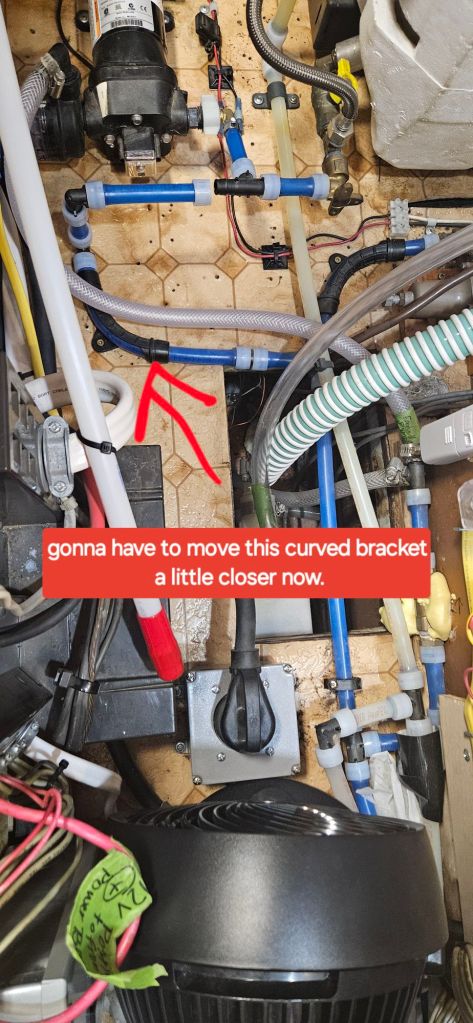
Step 3- Kevin did move the curved hose bracket shown in photo just a tiny bit to ensure a good secure fitting and tension for the new connection.
All good.
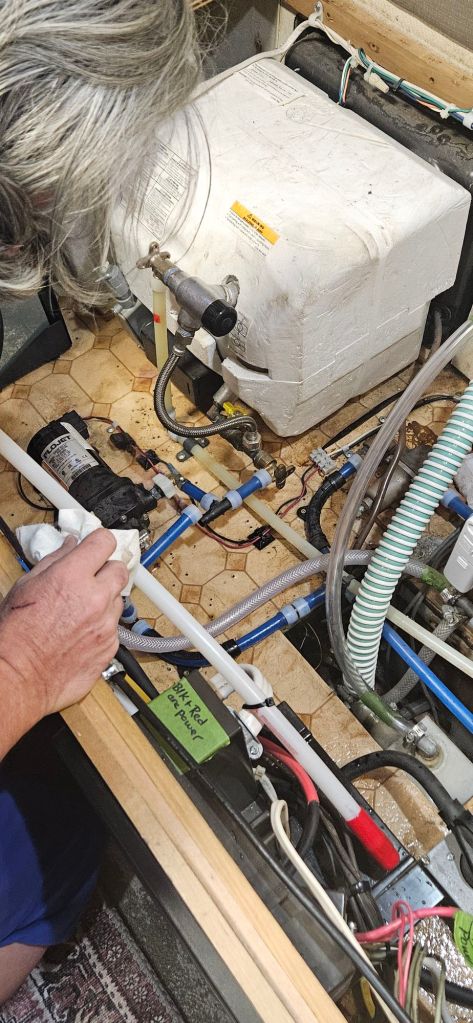
He then tested the repair by having me turn on the water pump and he watched the fitting then went to bathroom and ran the sink faucet.
Everything checked out fine.
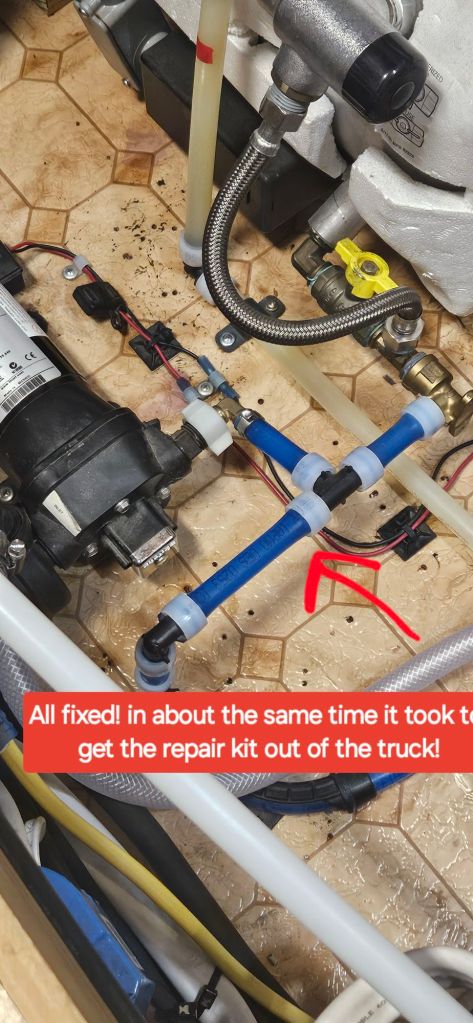
We have NO doubt a mobile RV Tech bill for this would have been at least $300++. It really drives home if you are willing to invest some time, some money in proper tools and time watching the many ‘how to’ videos done by professionals or RV folks you trust it is better! Then you are well poised to do your own repairs. Because just like living in a sticks n bricks house, things happen, repairs are necessary now and again.
Hope this post helps you if you hear a POP!
As always we wish you …
Safe travels
Kevin, Luise & Nutmeg

Leave a reply to Jeff Hewgley Cancel reply