
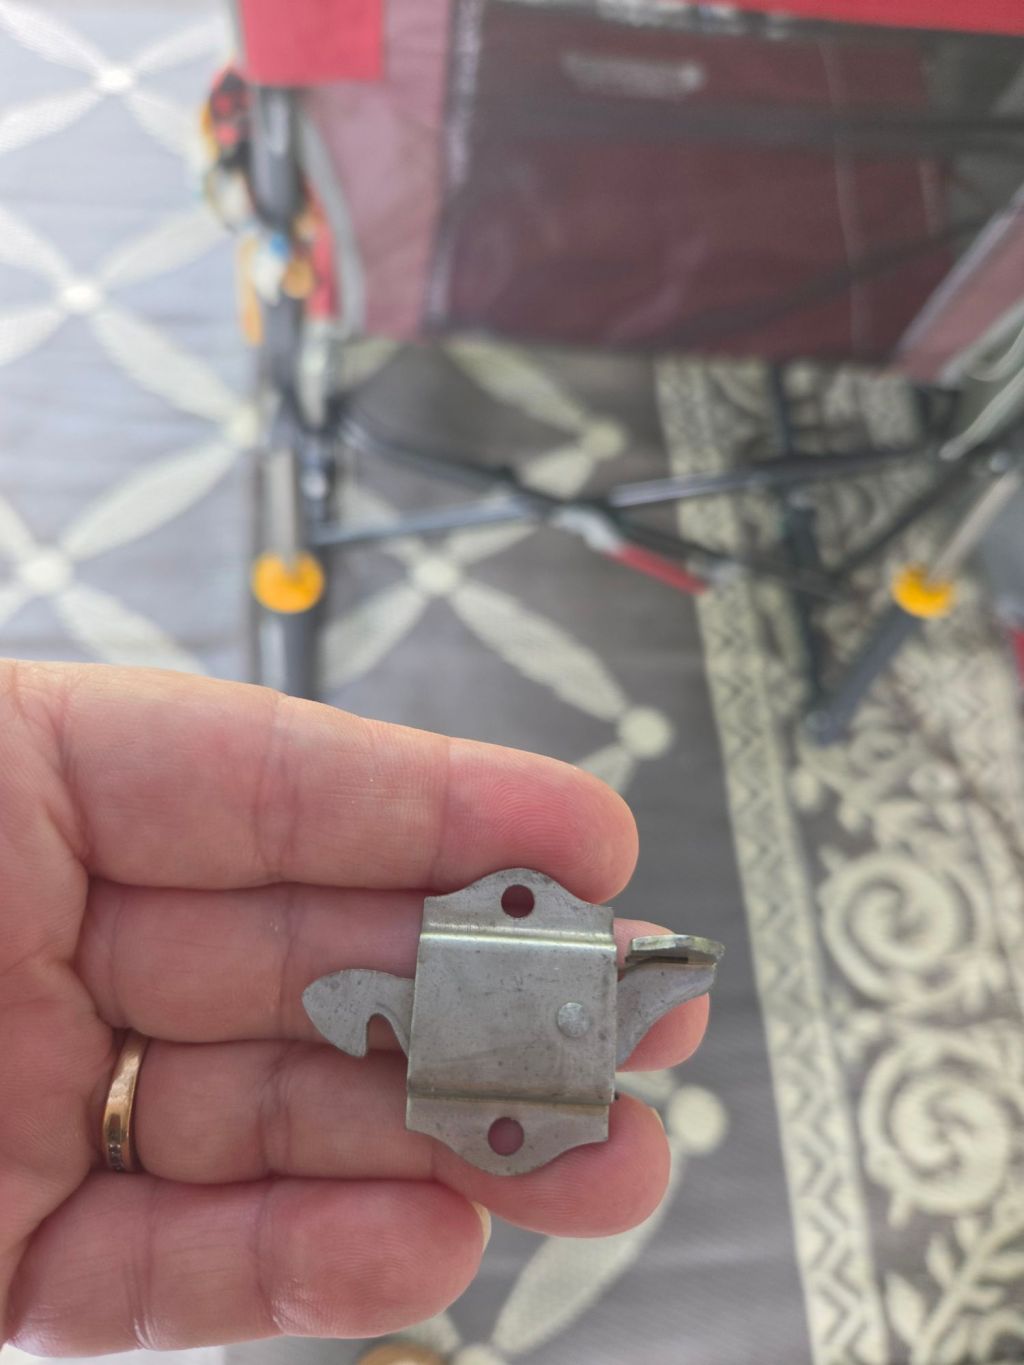
Our 1987 32S screen door never had what is referred to as a “Rooster Latch”. This is the Latch that holds the screen door to the main door so when you use the door handle to come in or out the screen door goes with it. It’s a small thing but makes a difference.
For many years we used a piece of fuzzy style velcro with the fuzzy strip on the screen door edge and the prickly comb par on the solid door. Venerable Avion dealership owner, Dean Bailey (]passed in early 2026 at age 94) taught us this at on of the Silver Avion Rallies wr frequently attend each July in Elkhart, IN.
On a recent trip through MI we stopped by to see Chuck Cayo in Watervliet. MI. He had some Rooster Latches on hand so….we had a new project to add to our list!
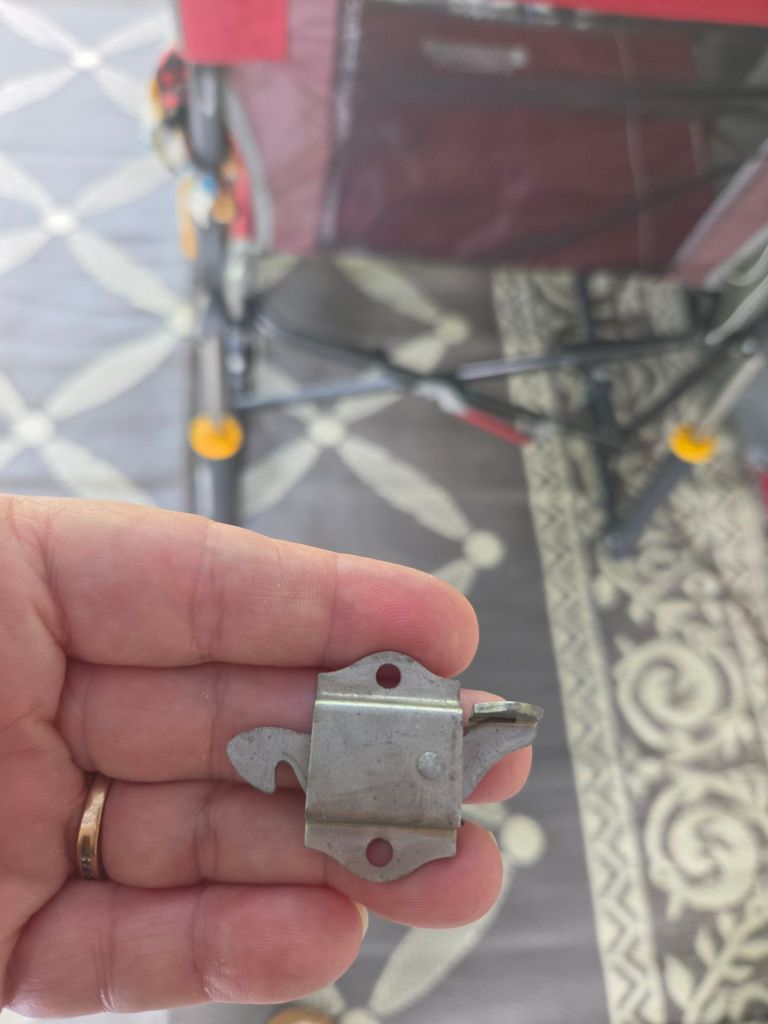
HERE WE GO!
Locate where latch needs to sit on your screen door. Our screen door already had a small slot just to left and near top of the aluminum grab handle of the screen door.
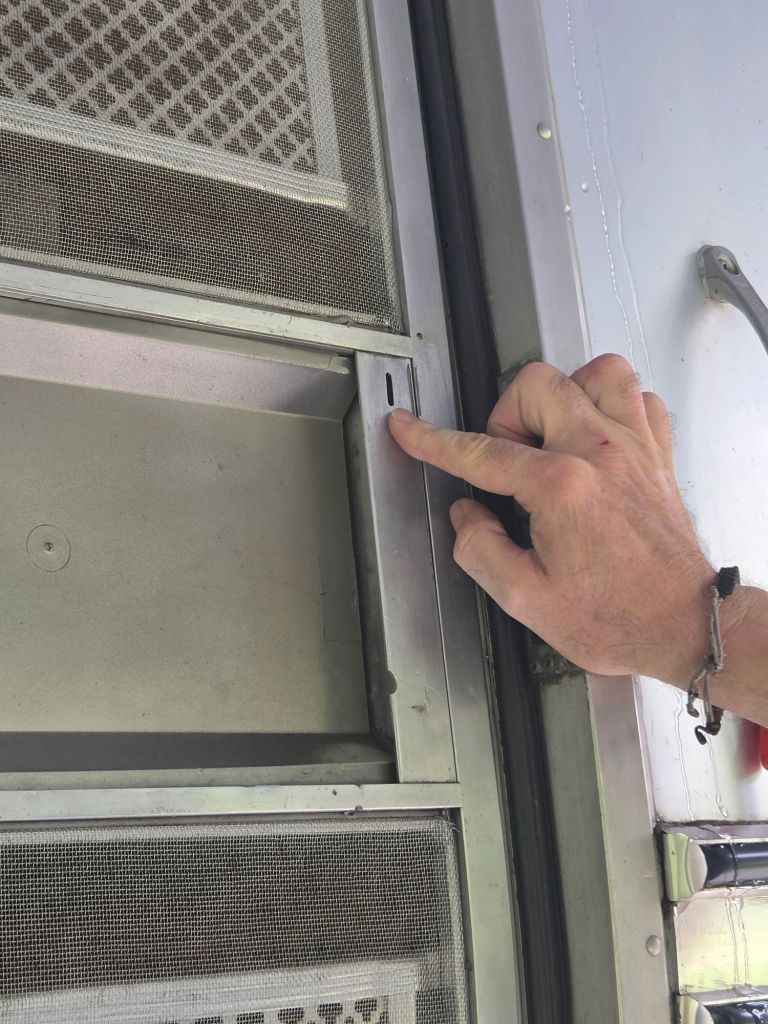
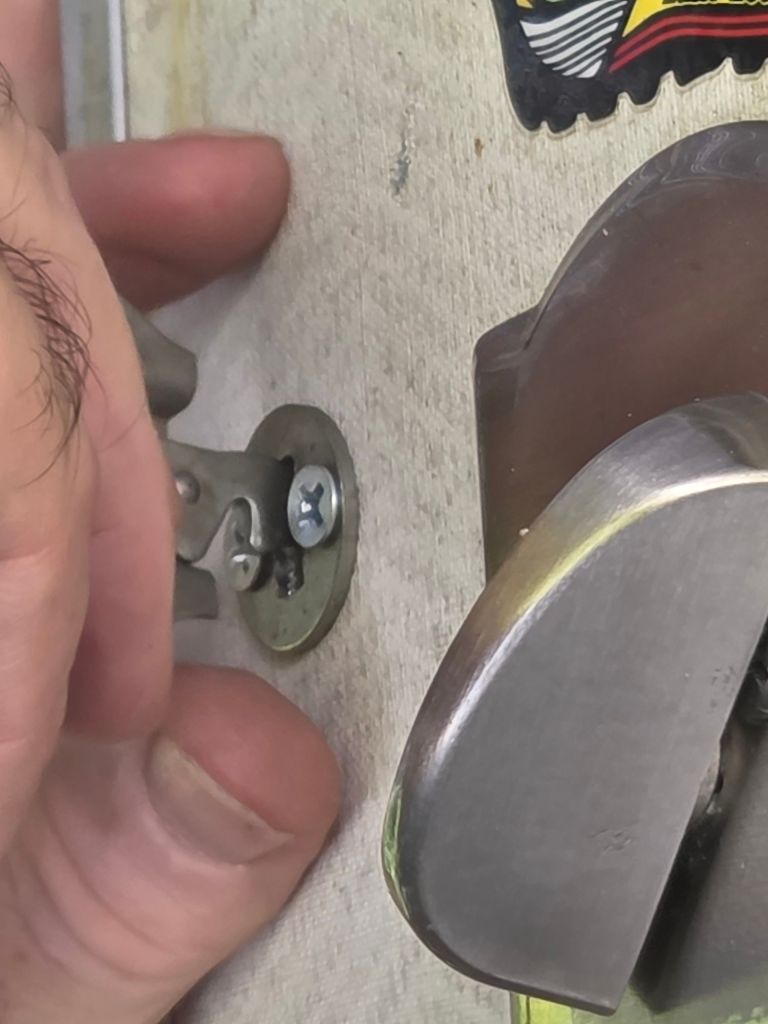
You may find it better to attach the latch part first to the screen door. The roosters “head” goes through the slot facing towards the solid door when you hold the two together . Below is a photo of the small thumb latch side of the Rooster Latch. This makes it easy for you to gently push down and the roosters “head” will come out of the receiver which is attached to the inside of the solid door.
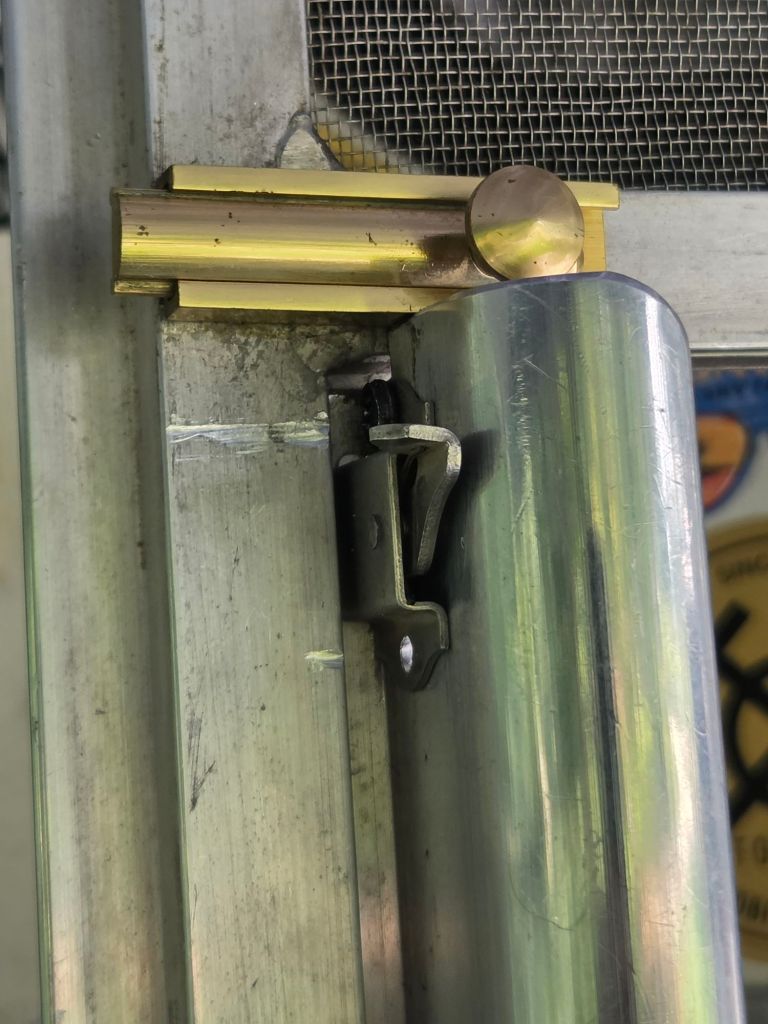
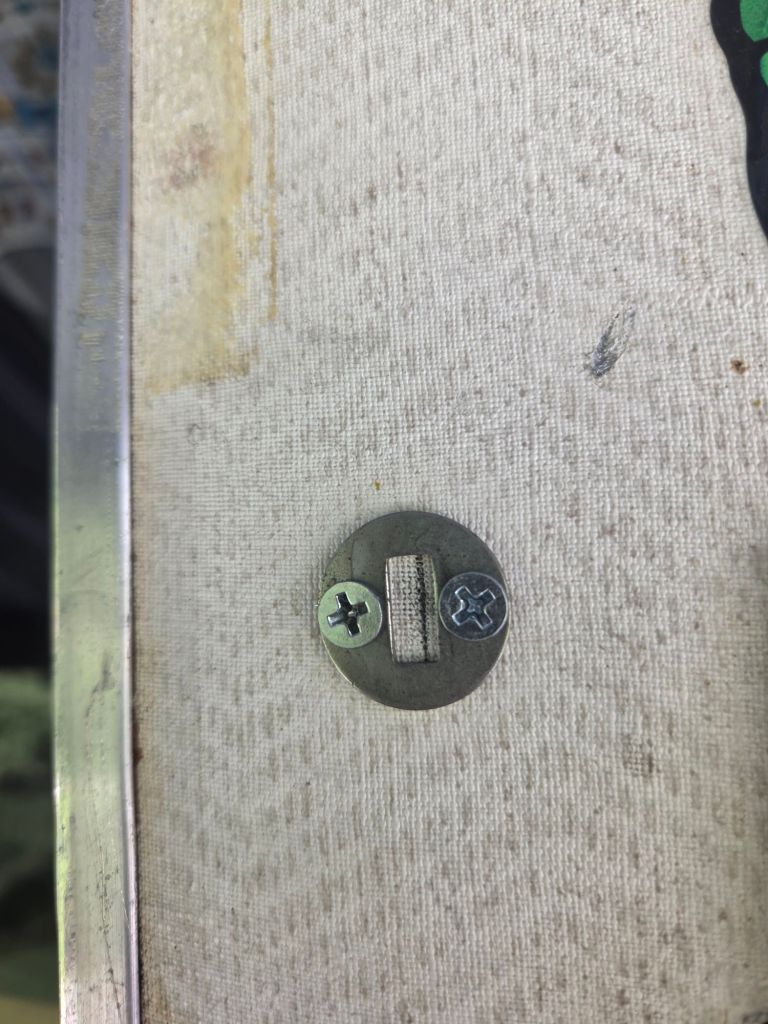
Once the rooster latch portion is installed, now it’s time to correctly position the circular receiver plate. It has a slot. We found out the hard way that the receiver plate needs to be installed a little higher than even with the rooster head by about 1/8-1/4 in higher. You can figure this out by holding the screen door and solid door together. With your thumb push down the lever to raise the roosters head. See where that hits. You want the position of the receiver to allow the head to raise but also so that the crook of the head seats into the receiver slot.
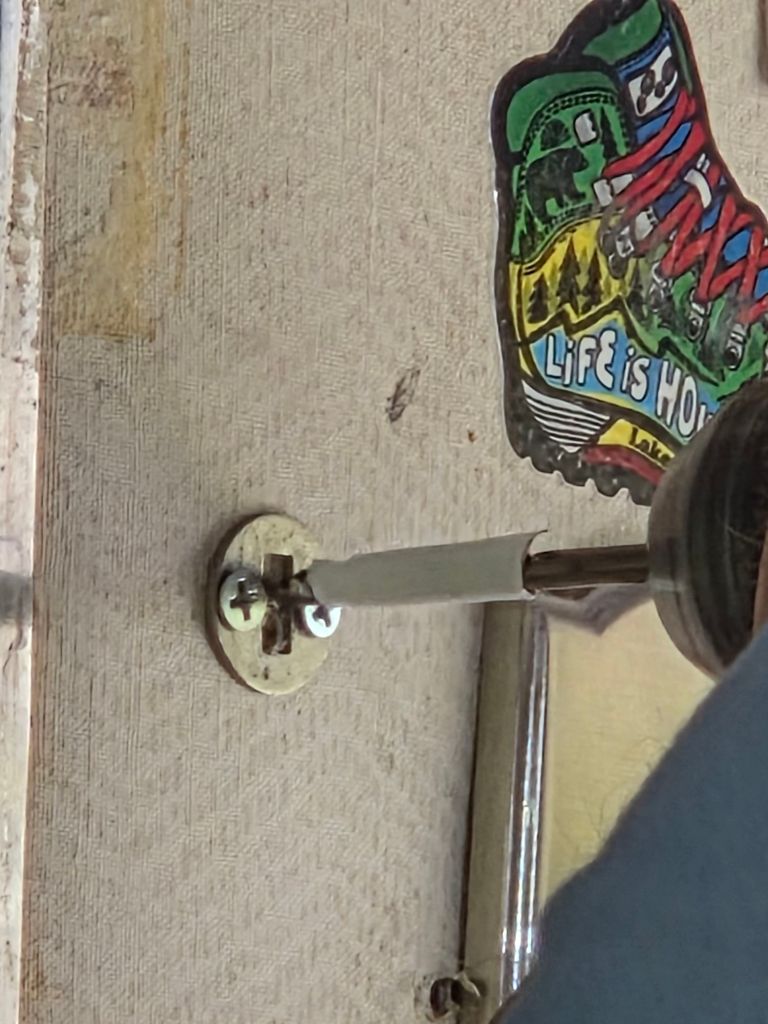
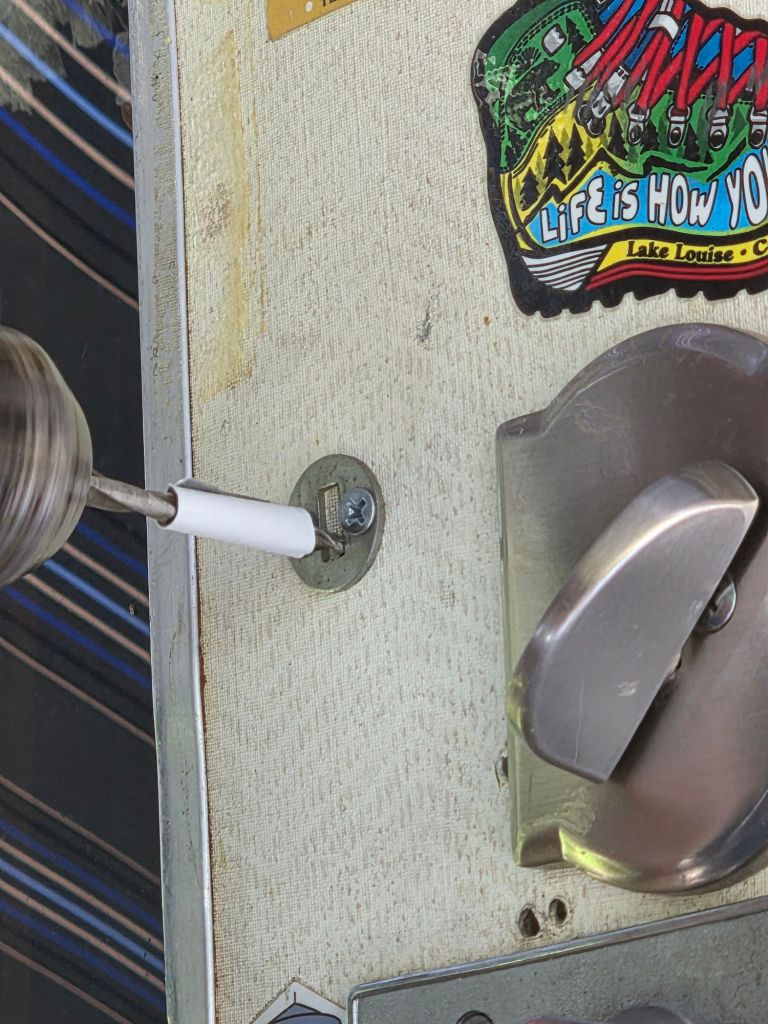
Once the reciever plate is screwed in (notice the drill stop tape marker Kevin has put on.) Be very careful to only drill small short hole and not thru the door all the way!!!
Now using that drill bit again you will need to drill a few short pilot holes to match up with the slot so the rooster head can lay in it when you want the screen door and solid door to open and close together.
NOTES: * we had to reposition our receiver plate a second time to get it in the right position bc we did the project starting with mounting the receiver plate first. This is why we recommend installing the actual Rooster head latch on the screen door first.
Here is a photo of some of kevins tool and workspace set up and additional photos.
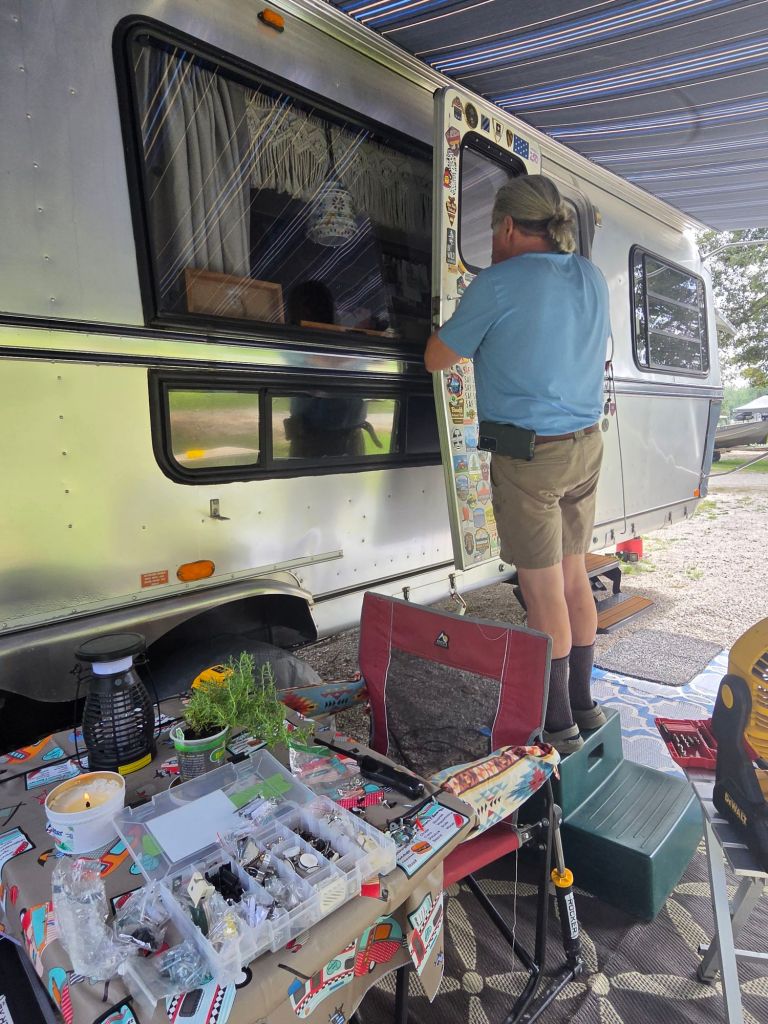
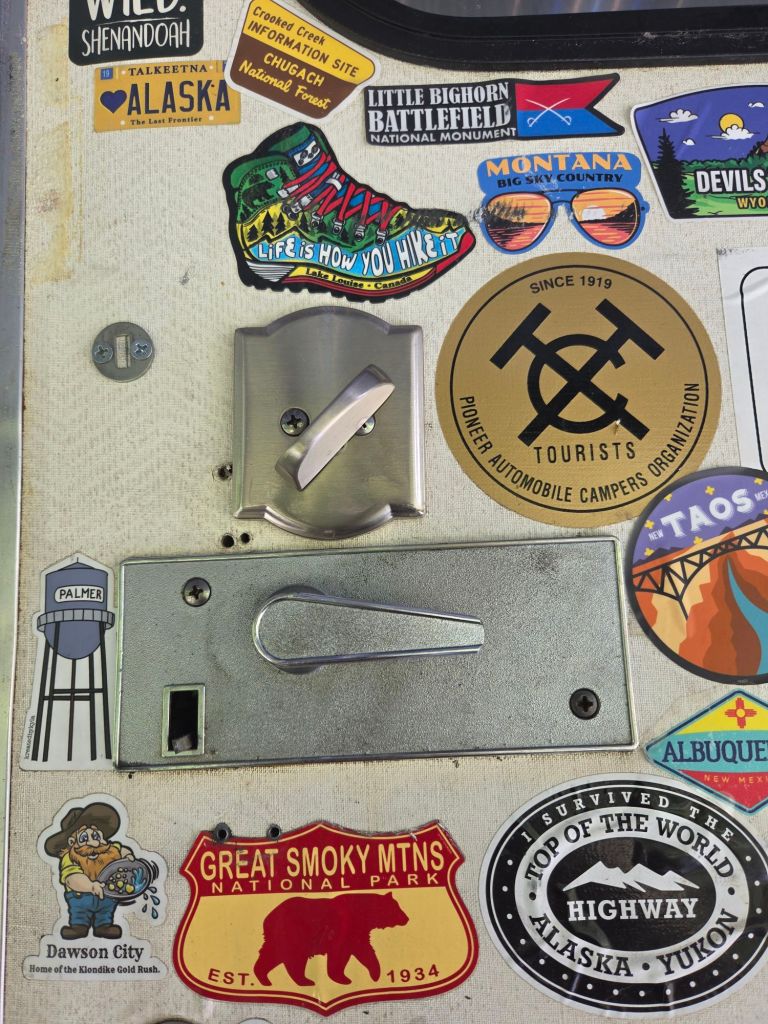

Hopefully your Avion already has a Rooster Latch closure. This little project took way longer than we thought it would!
BONUS NOTE!
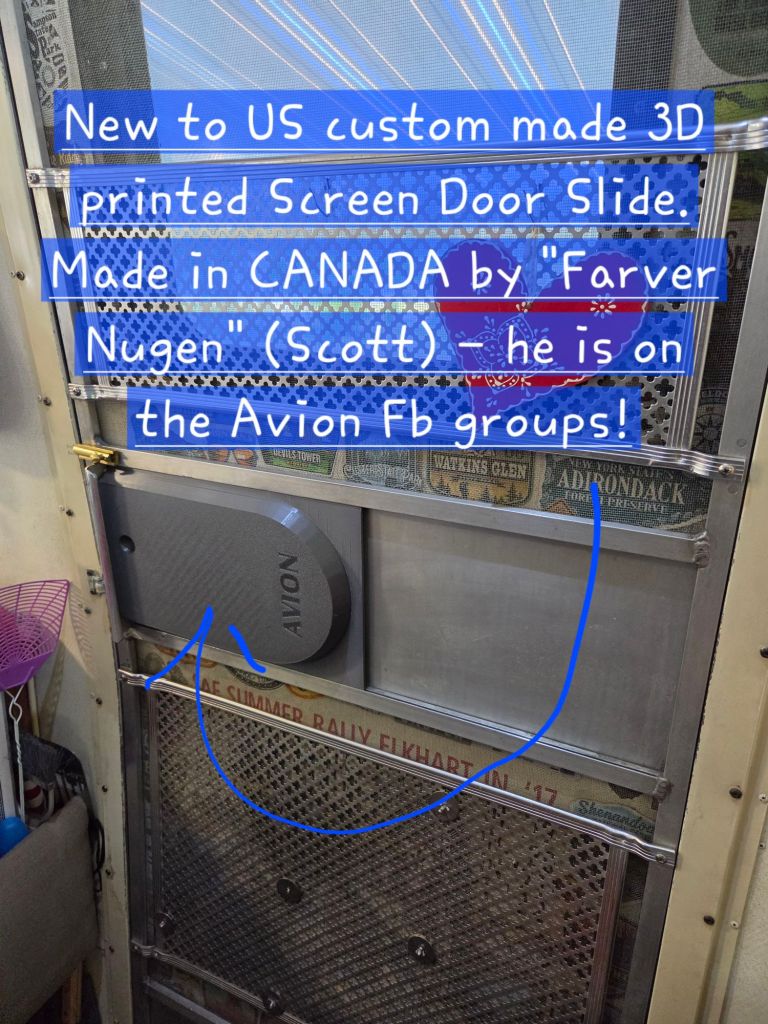
I should mention one of the main reasons we had to install this was at the same time we were replacing our original, cracked and “bandaided with clear tape” old screen door slide (to prevent bugs and flies from coming in!)
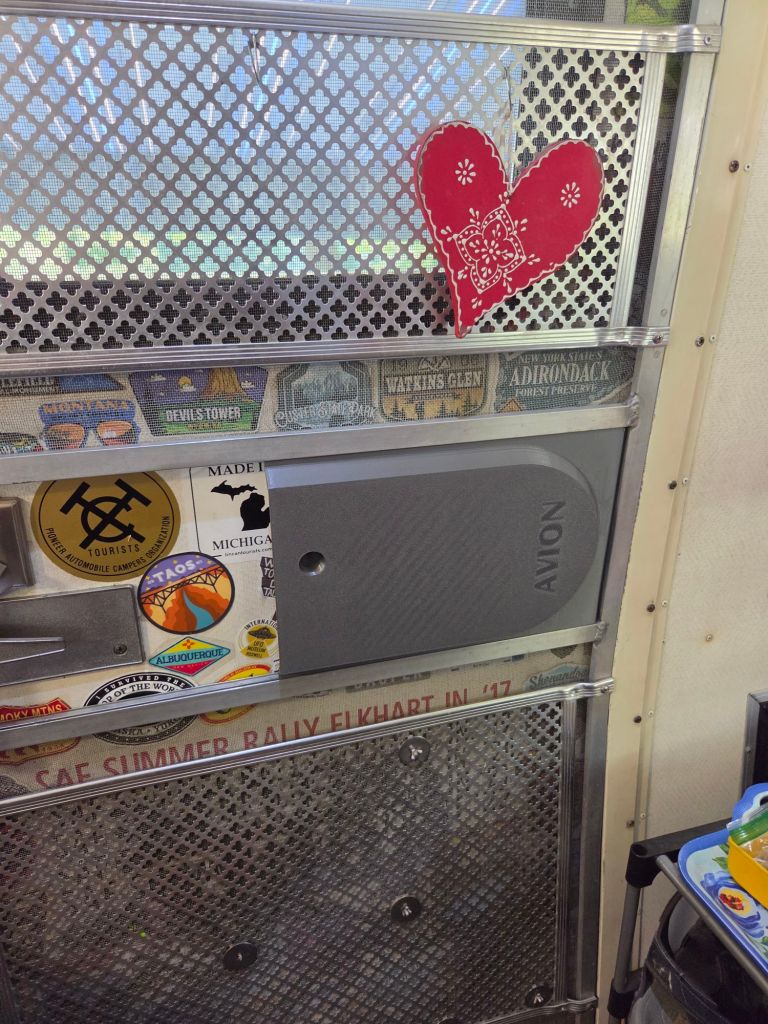
See photos below with that now also finished. These new jazzy inserts are pricey but very well made and feature the word Avion on them- that the originals did not. They are beefy and it is sure to last way longer than our lifetime! We purchased it from Scott in Canada who is making and selling them with his 3D printer. His craftsmanship on this is excellent. He took great pains to get them just right. He can be found on many of the Avion Facebook groups as “Farver Nugen”.






Leave a Reply